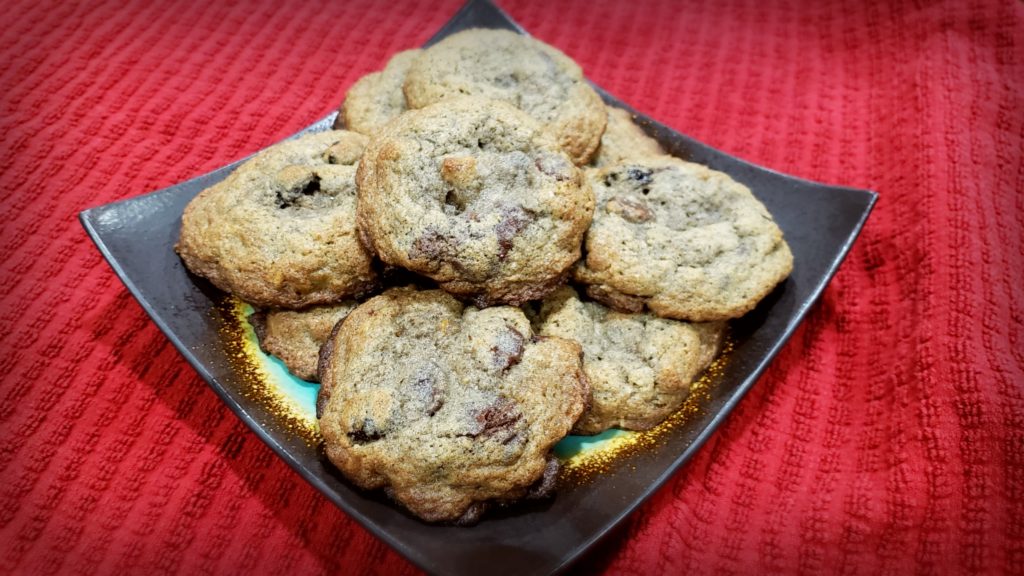
Category: Recipes

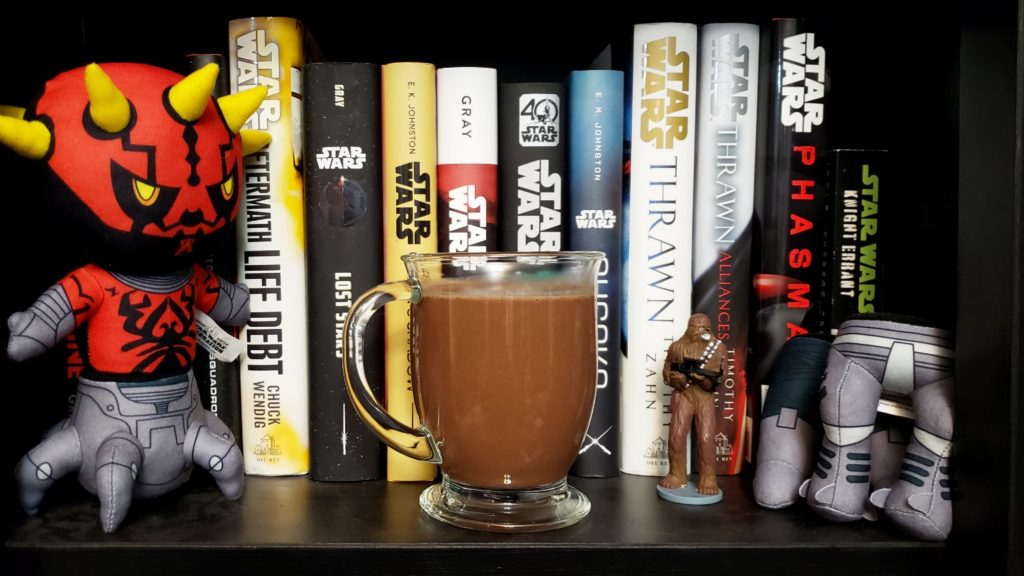
We’re celebrating Life Day (in July) this weekend with some of our Patreon backers, and what Life Day celebrations wouldn’t be complete without Hoth Chocolate?

A clear mug of hot chocolate in front of Star Wars books on a shelf. To one side is a Darth Maul plushie, and on the other side is a small Chewbacca toy.

According to Wookieepedia:

Hoth chocolate was a variant of hot chocolate containing Tauntaun milk, and a number of different spices mixed with cocoa and boiling water. Hoth chocolate was associated with the Wookiee Life Day.

We couldn’t find any Tauntauns to milk, so we went ahead and used oat milk since it’s what we had. But any type of milk will do.

For spices we went with vanilla and cardamom for a warm and cozy feeling. We also included both chocolate and cocoa powder for a rich, deep chocolate taste.

Hoth Chocolate [makes 2 large cups or 4 regular cups]

4 cups milk (or milk alternative)
1/2 cup chopped bittersweet or semisweet chocolate
1/4 cup unsweetened cocoa powder
1/4 cup granulated sugar
1/4 teaspoon pure vanilla extract
1/2 teaspoon cardamom
pinch salt

Combine milk, chocolate, cocoa powder, and sugar in a saucepan. Stir over medium heat until the chocolate has fully melted and the mixture is hot.
Stir in the vanilla and cardamom. Serve immediately.

A stylized image with a photo of mug of hot chocolate in the center. A glitter border surrounds it. Over layed is a large, fancy script saying "Happy Life Day", underneath is smaller, standard text saying "(in July)"

A rack of test tubes in 2 rows of 6. The first 2 by 2 section are pink, the next section are yellow, and the final section are green.
Shots!

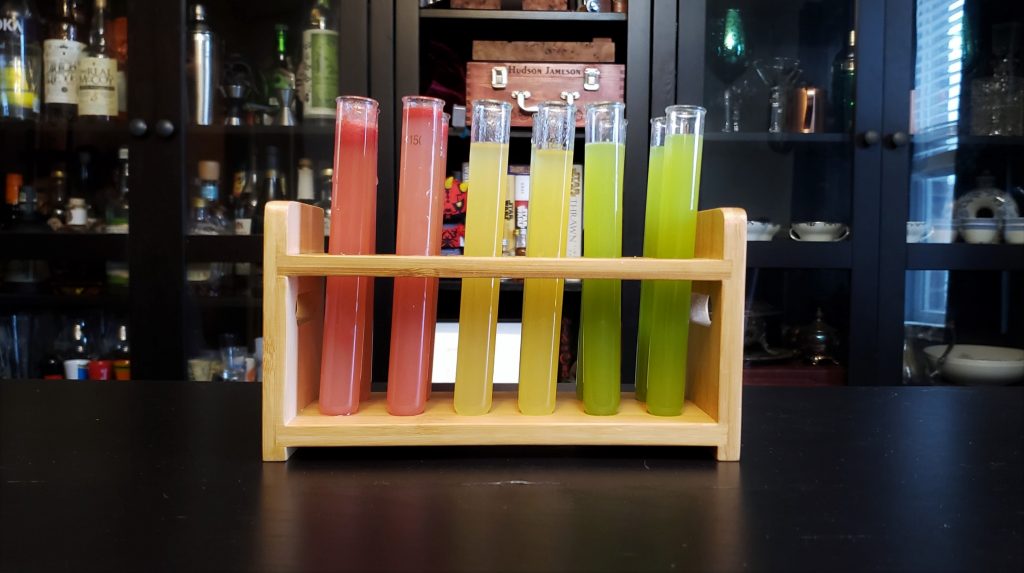
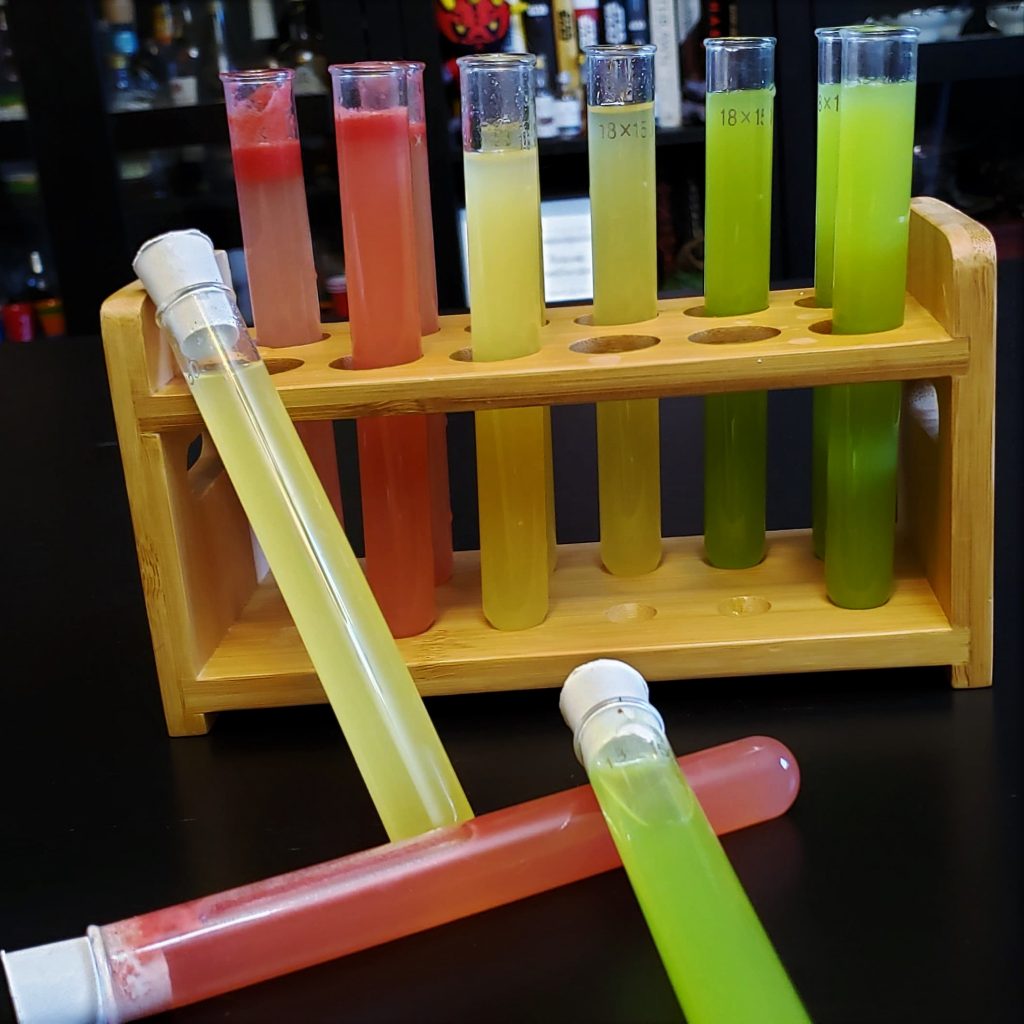
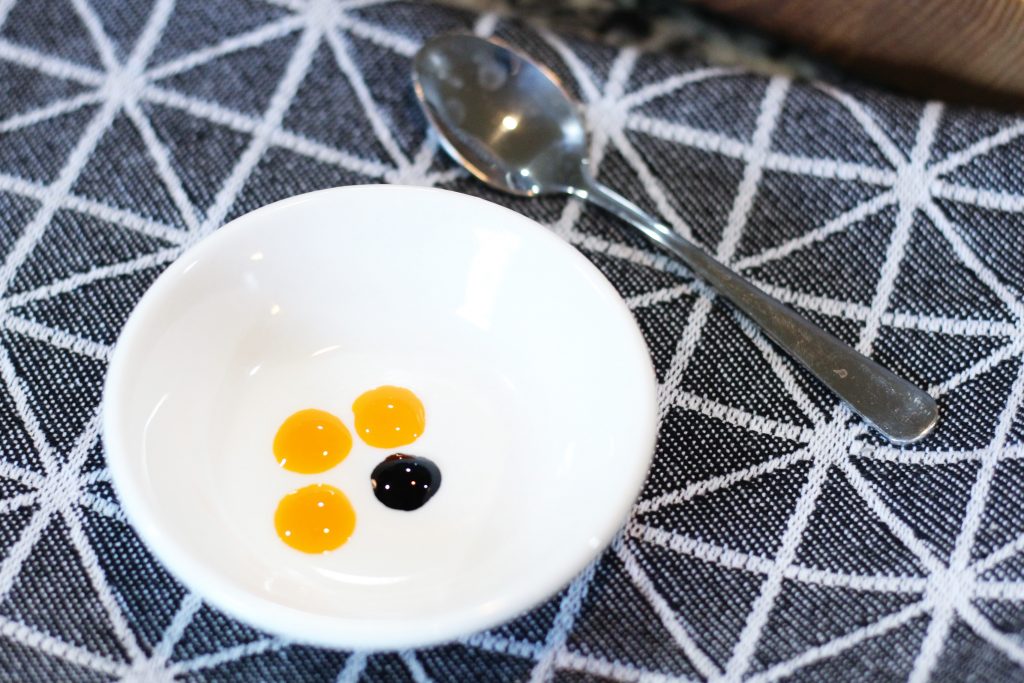
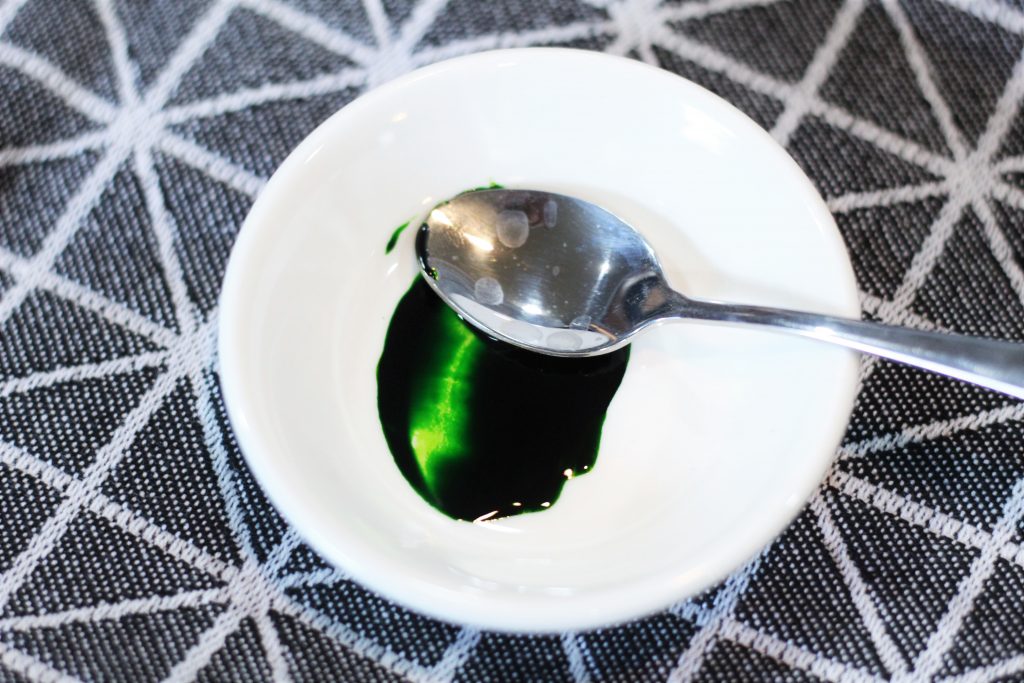
When the crew first meets Val in Episode 29 they find her in a bar. This particular establishment serves some unusual drinks, including brightly colored shots in test tubes. We’ve concocted some equally colorful shots with less sketchy ingredients.

We went with 3 lovely colored shots: pink, yellow, and green. And don’t worry! These great colors are all natural, coming from pineapple, watermelon, and kiwi.

A rack of test tubes in 2 rows of 6. The first 2 by 2 section are pink, the next section are yellow, and the final section are green.
1 yellow, 1 pink, and 1 green tube have been taken out and arrange on the table in front of the rack.
You can put yours in regular glasses if you want to. We guess.

Pink Shots (per 3oz. shot)

1.5 ounces watermelon juice*
1.5 ounces real lemon vodka

Combine ingredients in a shot glass.

Yellow Shots (per 3oz. shot)

1.5 ounces pineapple juice
1.5 ounces coconut rum

Combine ingredients in a shot glass.

Green Shots (per 3oz. shot)

1.5 ounces kiwi juice*
1.5 ounces vodka

Combine ingredients in a shot glass.

*Note:

If watermelon and kiwi juice isn’t available at your store, place peeled and chopped pieces of fruit in a food processor or blender and blend until smooth. Strain through cheesecloth or a fine mesh sieve.

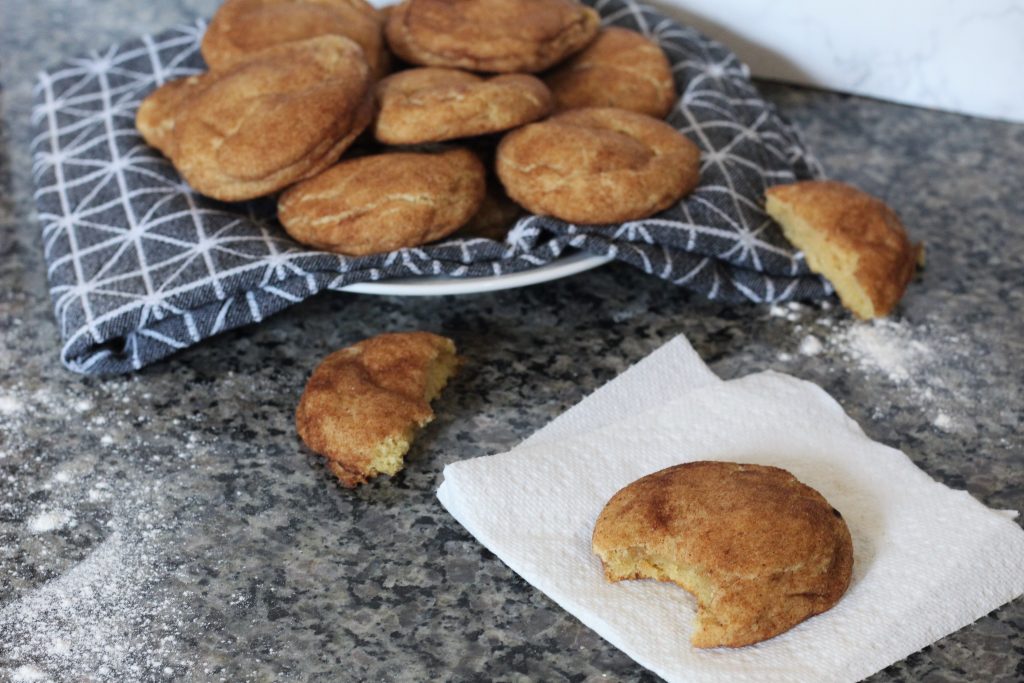
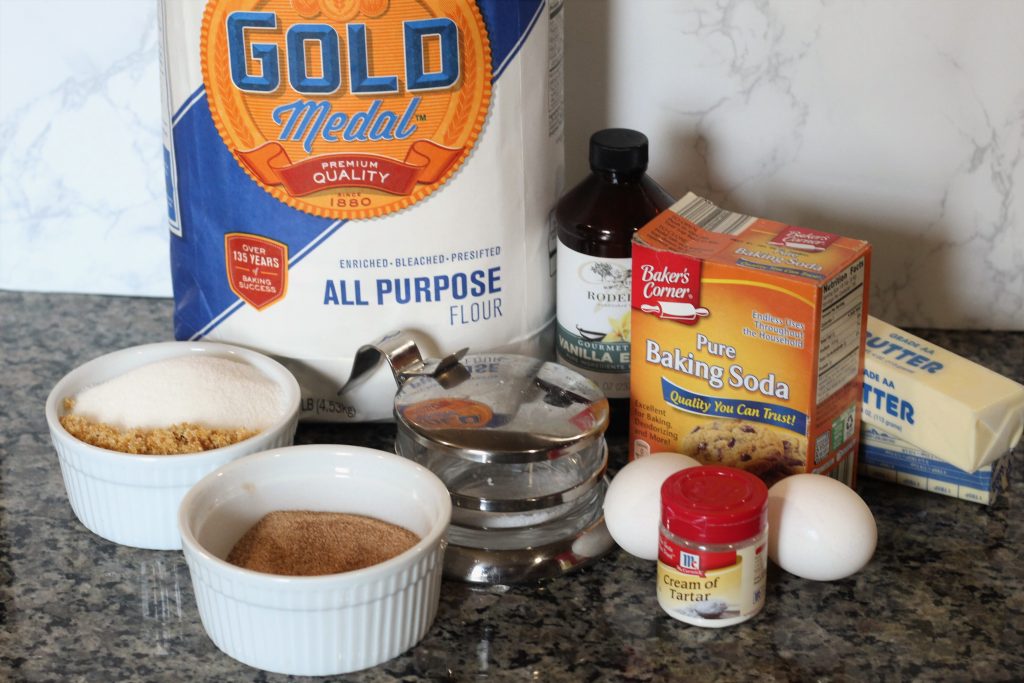
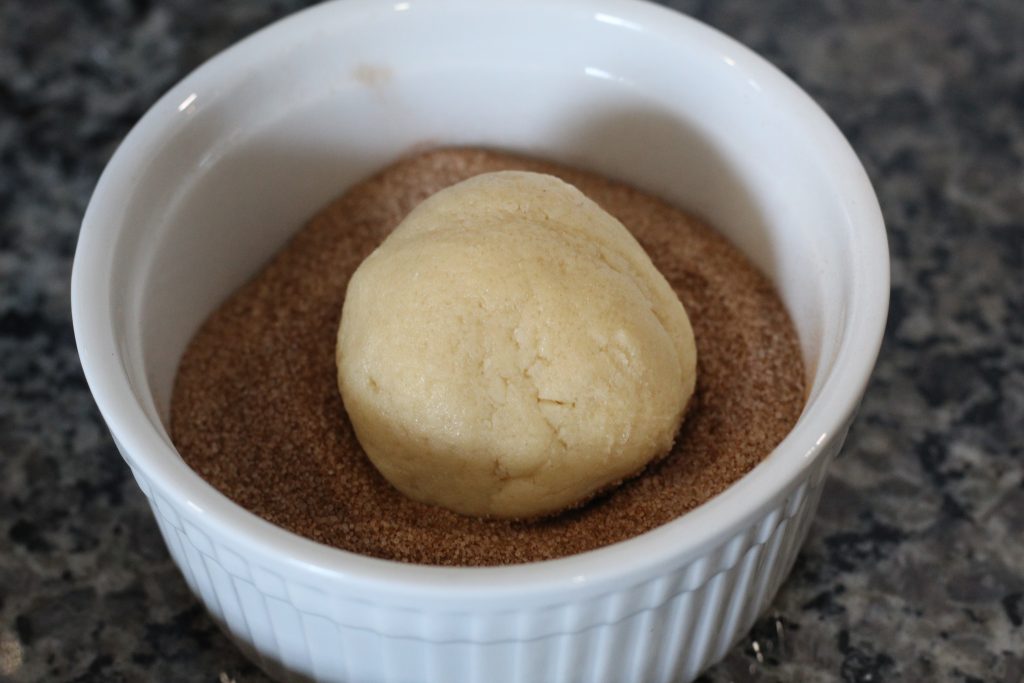
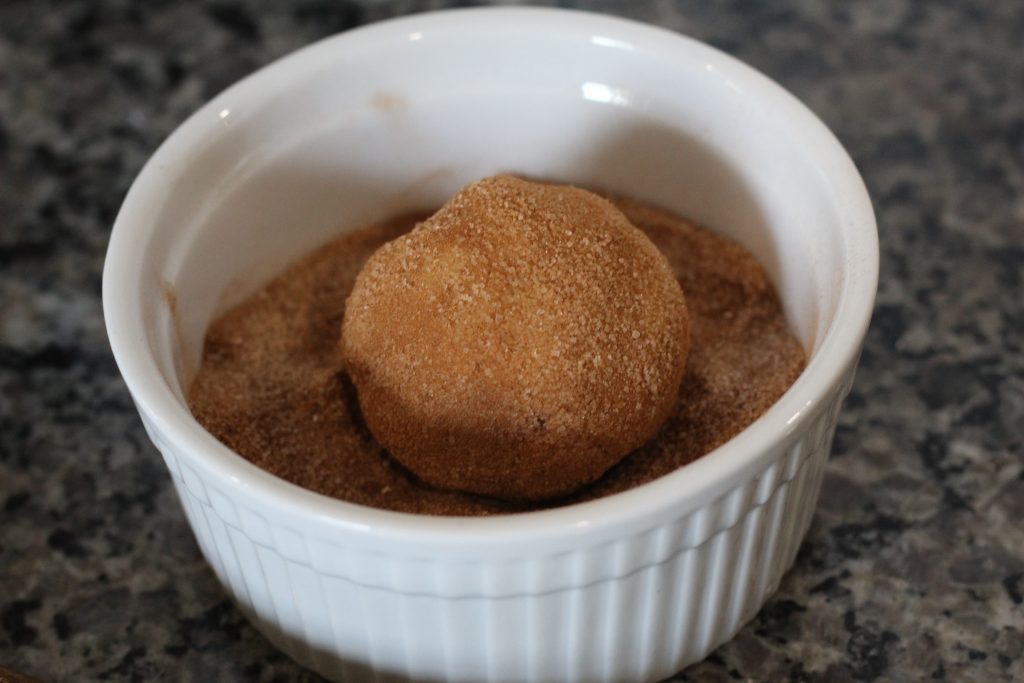
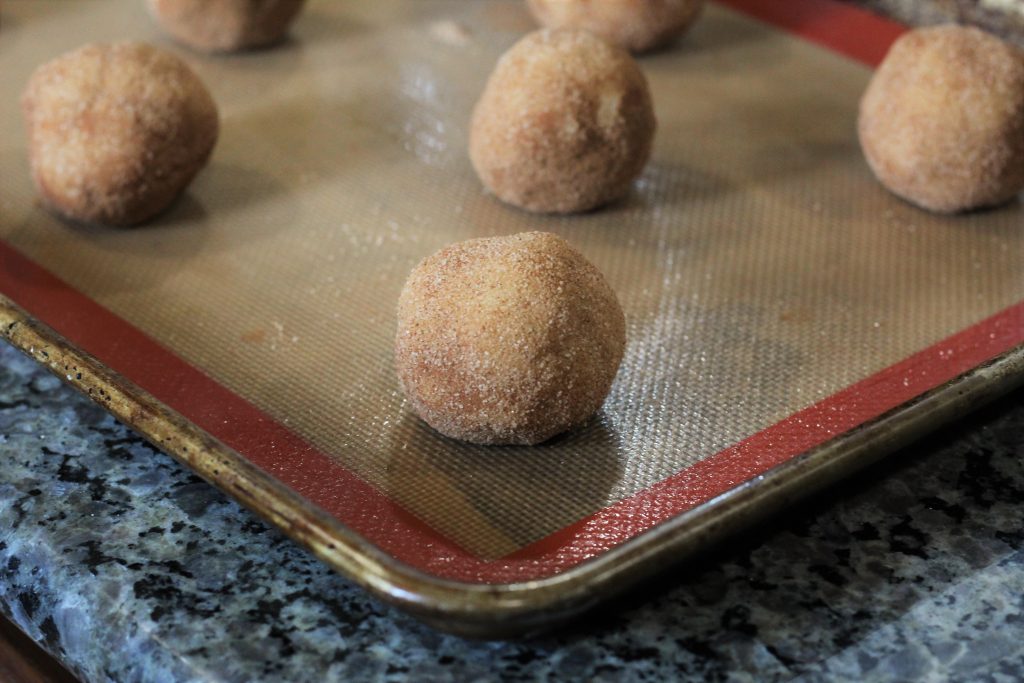
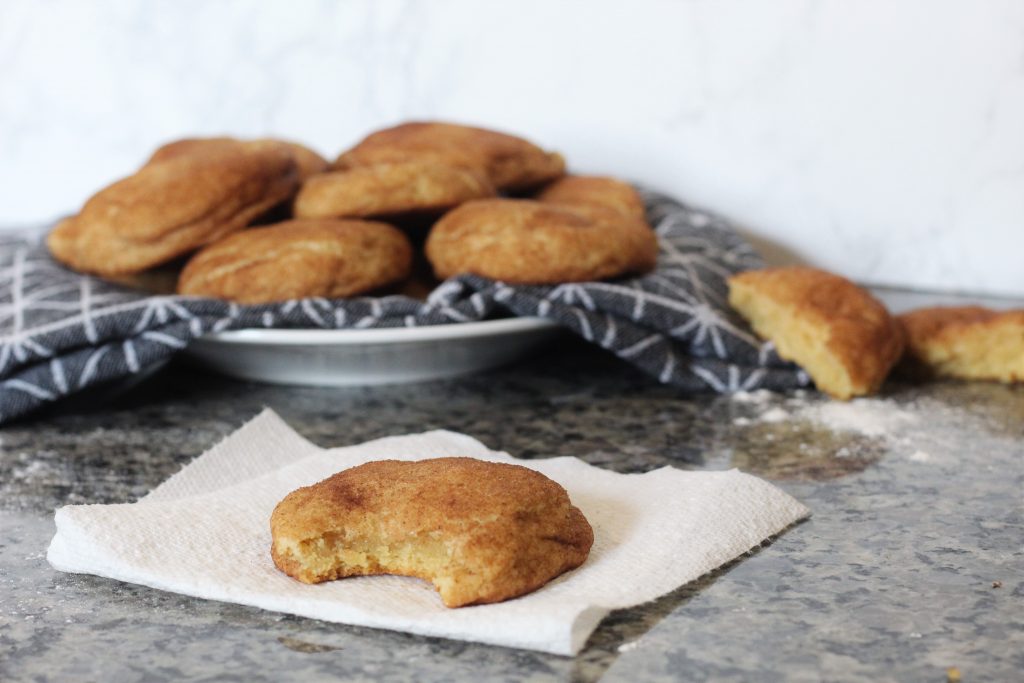
Spacerdoodles! The Afternoon Delight’s favorite cookie. They appear in a few episodes and as the name suggests are reminiscent of Earth snickerdoodles. Much like their real life counterparts, spacerdoodles are a soft buttery, vanilla cookie coated in a spiced sugar mix. Whereas snickerdoodles are cinnamon-sugar, spacerdoodles are rolled in a mix of cinnamon, nutmeg, clove, and sugar. It’s the something extra that makes them special.

A cookie with a bite taken out on a paper towel. In the background is a plate with a cloth napkin with more cookies piled on it.
Some delicious pillows of sugar and spice.

All the ingredients laid out on a counter.
Getting everything together.

First we mix sugar-spice mixture together in a small bowl and set aside.

Then cream the butter and sugars together in the bowl of a stand mixer or with a hand-held mixer. The little bit of brown sugar helps make the cookies extra moist.

Add the eggs one at a time, mixing well. Then the vanilla. The add the flour, cream of tartar, baking soda, and salt. Make sure to scrape the bottom of the mixer bowl (if you’re using a stand mixer). You want to make sure all that butter is combined.

A rolled ball of dough in a container with the sugar-spice mix.
Getting in the good sugar mix.

A rolled ball of dough in a container with the sugar-spice mix, now coated in the mix.
Roll those bad boys up.

Roll 2 tablespoon scoops of dough into balls. Then roll each ball in the sugar-spice mixture until well coated. These cookies won’t spread that much, so 2 inches in between the dough balls should be enough.

Balls of dough coated in sugar mix on a baking sheet.
Getting ready for that oven!

Bake about 10 minutes, until edges are set and slightly golden; the middle may seem a tiny bit underbaked. That’s okay! The middle will continue to cook for another minute or two from the residual heat in the cookie. It’s better for this cookie to be underbaked than overdone.

A cookie with a bite taken out on a paper towel. In the background is a plate with a cloth napkin with more cookies piled on it.
Go share some with your own crew.

Spacerdoodle Cookies [makes about 16 cookies]

  Cookie Dough
1 cup butter, softened
 1cup granulated sugar
 1/4 cup brown sugar
 2 eggs
 1 tablespoon vanilla extract
 2 3/4 cups all-purpose flour
 1 teaspoons cream of tartar
 1 teaspoon baking soda
 1/2 teaspoon kosher salt

Sugar-Spice Mixture
 1/4 cup granulated sugar
 1 tablespoon ground cinnamon
1/2 teaspoon nutmeg
1/4 teaspoon ground cloves

Preheat oven to 350 degrees F.  Line baking sheets with parchment paper or a silpat mat.  Mix sugar-spice mixture together in a small bowl and set aside.

Cream the butter and sugars together in the bowl of a stand mixer or with a hand-held mixer, about 3 minutes or until light and fluffy.

Add the eggs one at a time, mixing well. Then the vanilla, and mix until combined.

Add the flour, cream of tartar, baking soda, and salt, mixing until just combined. 

Roll 2 tablespoon scoops of dough into balls. Then roll each ball in the sugar-spice mixture until well coated. Place the balls 2 inches apart on the cookie sheets.

Bake about 10 minutes, until edges are set and slightly golden; the middle may seem underbaked. Transfer the cookies to a wire rack to cool completely.

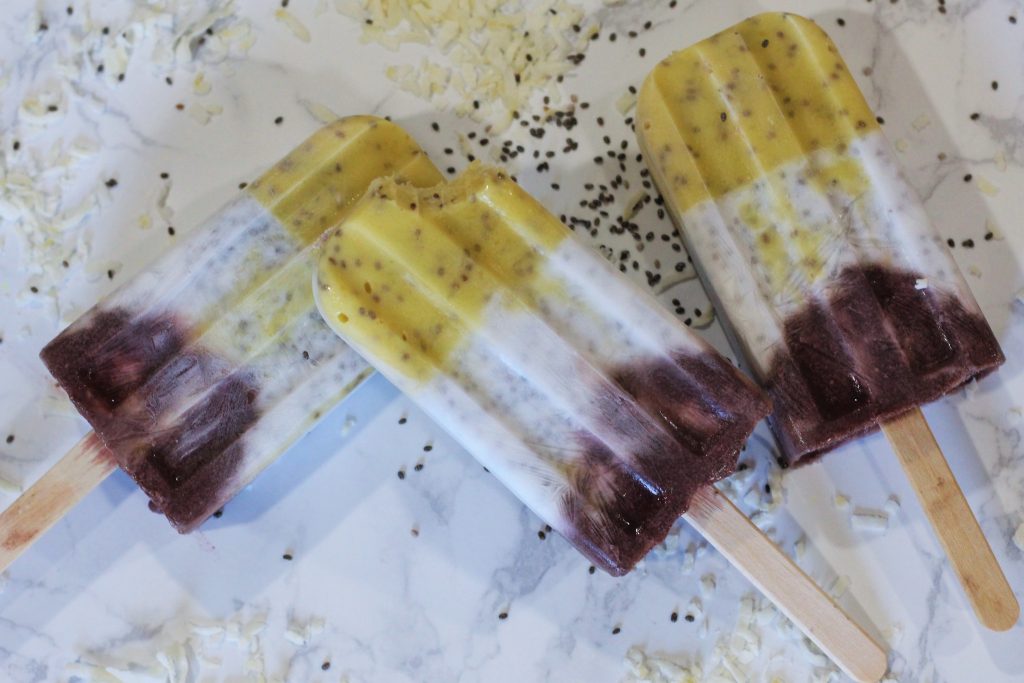
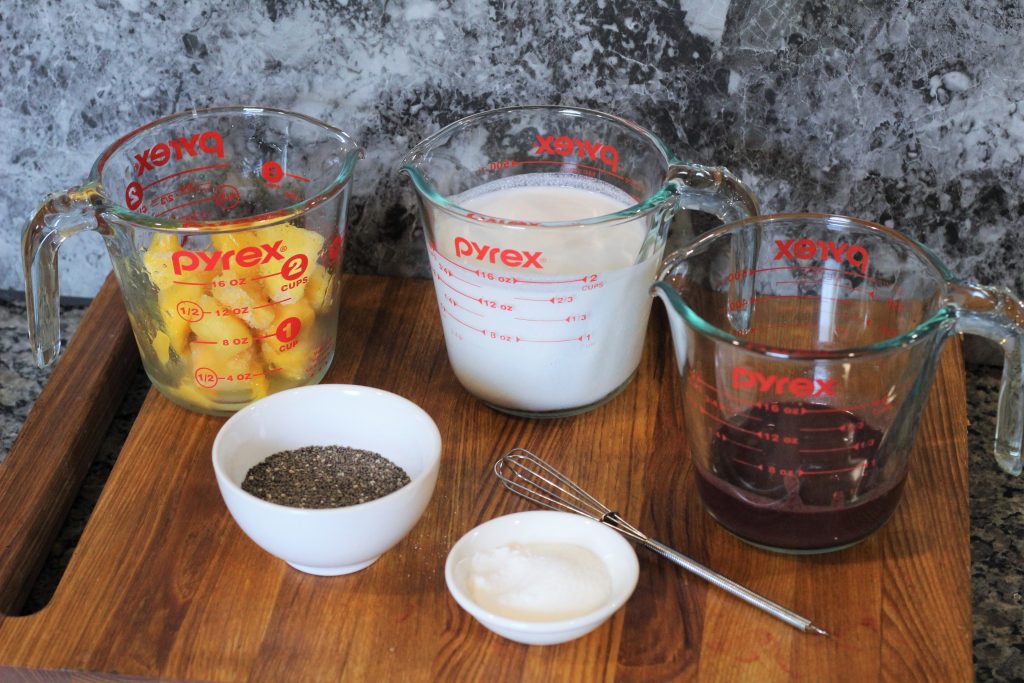
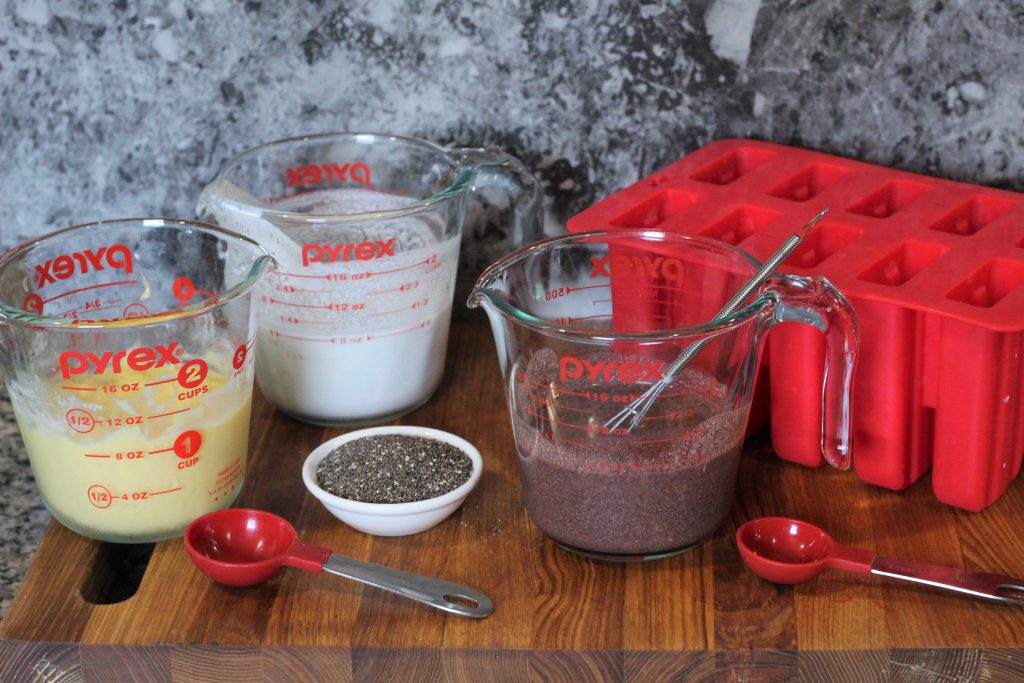
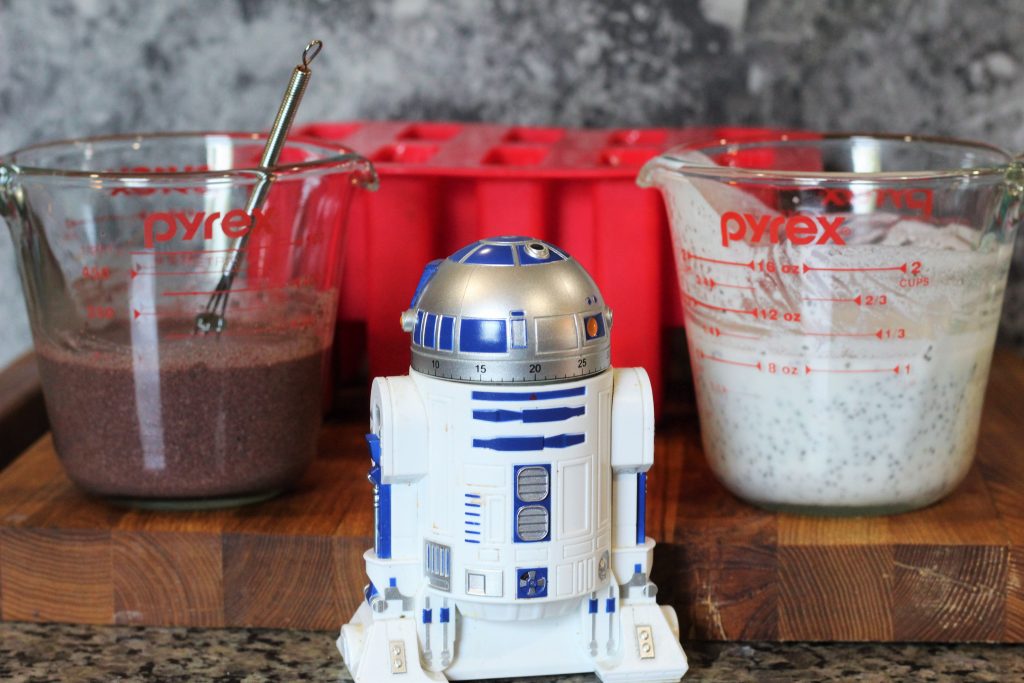
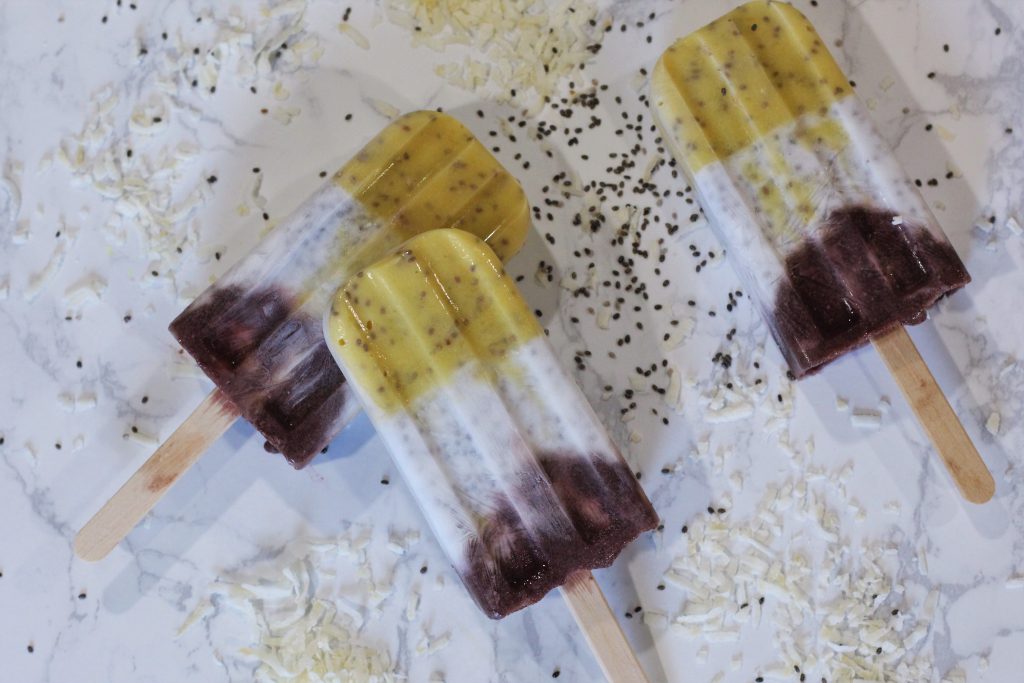
We have reached the final week of popsicles! Finishing us out are Karma’s tropical chia seed popsicles. These icy treats are relatively healthy and make a great summer snack for children or the adult criminals you think of as children. They have 2 types of fruit, are just barely sweetened, and are full of nutritious chia seeds.

3 popsicles decoratively layed out, 1 has a bite taken out of it.

This recipe uses only 5 ingredients! well, 6 if you count the pinch of salt, but that’s barely an ingredient. Coconut milk, sugar, mango, açai puree, and chia seeds. My grocery store had little packets of açai puree in the frozen fruit section, but if you can’t find it you can substitute it with an equal amount of red dragonfruit, raspberries, papaya, or whatever other tropical fruit you’d like.

Clockwise from top left: measuring cup with mango chunks, measuring cup with coconutmilk, measuring cup with acai puree, small metal whisk, tiny bowl with sugar, small bowl with chia seeds
The ingredients

Combine the sugar, a pinch of salt, and coconut milk.

Add 1/4 cup of the sweetened coconut milk to the mango and blend or process until smooth. Set aside.

Add 1/2 cup sweetened coconut milk to the açai puree and stir.

Left to right: measuring cup with blended mango coconut milk mix, measuring cup with coconut milk, tiny bowl with chia seeds, measuring cup with acai coconut milk mix, silicone popsicle mold
The mango has been blended and the coconut milk sweetened.

Add 1 tablespoon chia seeds to the sweetened coconut milk, 1 tablespoon chia seeds to the mango coconut mix, and 1 tablespoon chia seeds to the açai coconut mix. Let sit for 20 minutes. This will let the chia seeds absorb the liquid.

Foreground: R2-D2 kitchen timer.
Middleground: measuring cup with acai coconut milk, measuring cup with coconut milk
Background: silicone popsicle mold
Set your droid for 20 minutes.

Pour the mango mix evenly among the popsicle molds; mix should reach up 1/3 of the mold. Next, pour the sweetened coconut mix. Top with the açai coconut mix. I got 7 popsicles with our mold.

3 popsicles decoratively layed out
Look at those layers

Tropical Popsicles with Chia Seeds [makes 6-10 popsicles depending on the mold]

1 (13-14oz) can coconut milk
1-2 tablespoons sugar
Pinch salt
200g diced mango (about 1 cup), frozen or fresh
100g açai puree*
3 tablespoons chia seeds, divided use

Combine the sugar, a pinch of salt, and coconut milk.

Add 1/4 cup of the sweetened coconut milk to the mango and blend or process until smooth. Set aside.

Add 1/2 cup sweetened coconut milk to the açai puree and stir.

Add 1 tablespoon chia seeds to the sweetened coconut milk, 1 tablespoon chia seeds to the mango coconut mix, and 1 tablespoon chia seeds to the açai coconut mix. Let sit for 20 minutes.

Pour the mango mix evenly among the popsicle molds; mix should reach up 1/3 of the mold. Next, pour the sweetened coconut mix. Top with the açai coconut mix. Place sticks in the mold and place in the freezer for 4-6 hours.

*Note: açai puree can be substituted with an equal amount of red dragonfruit, raspberries, papaya, or other tropical fruit puree.

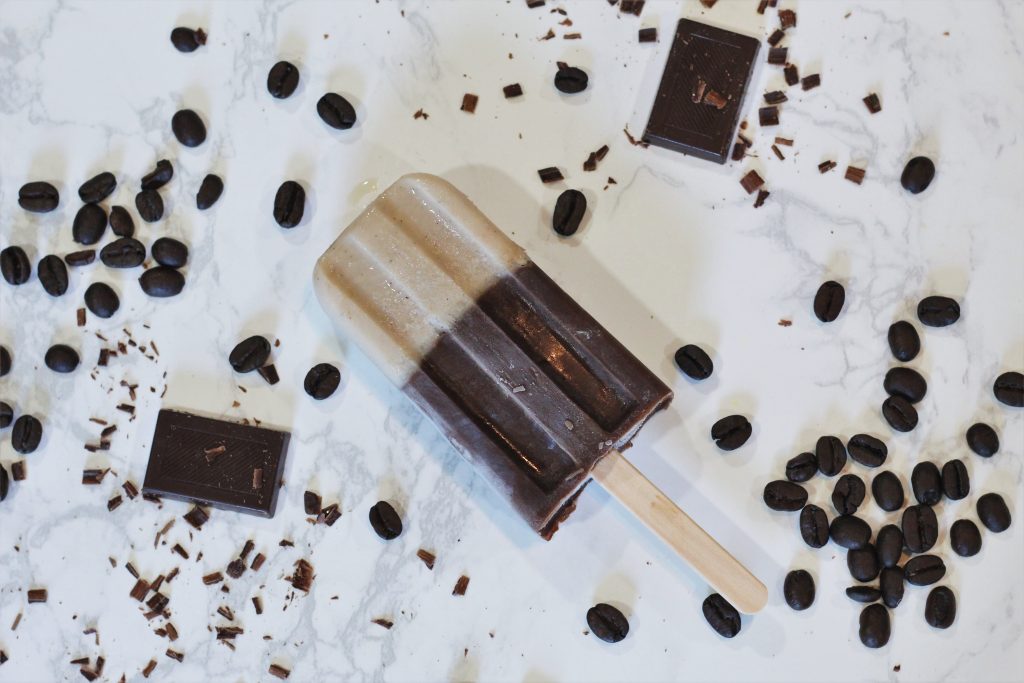
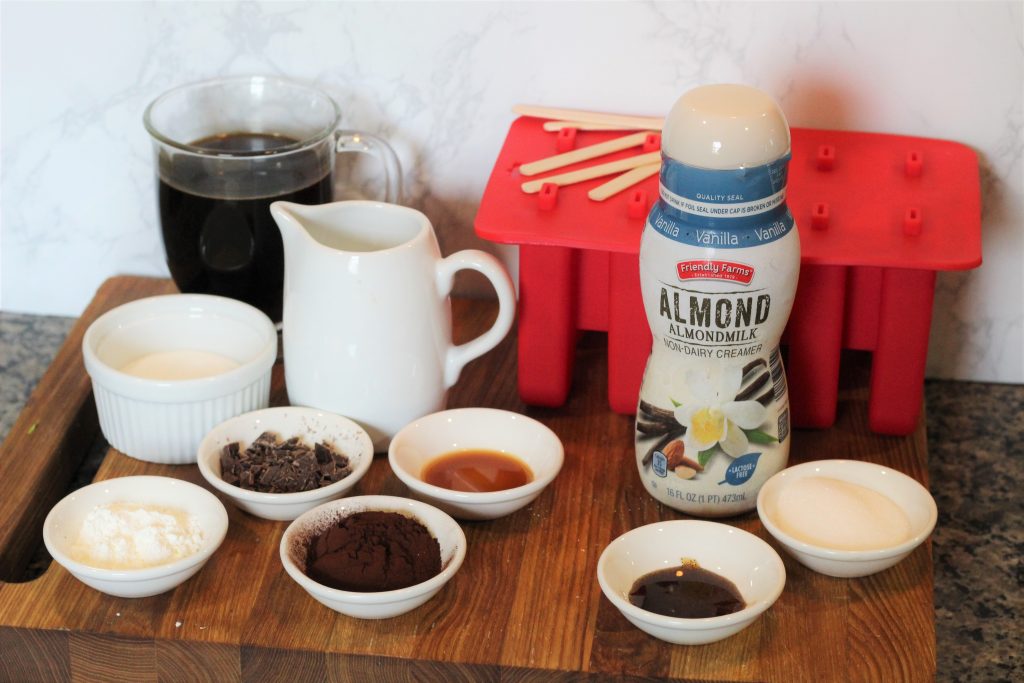
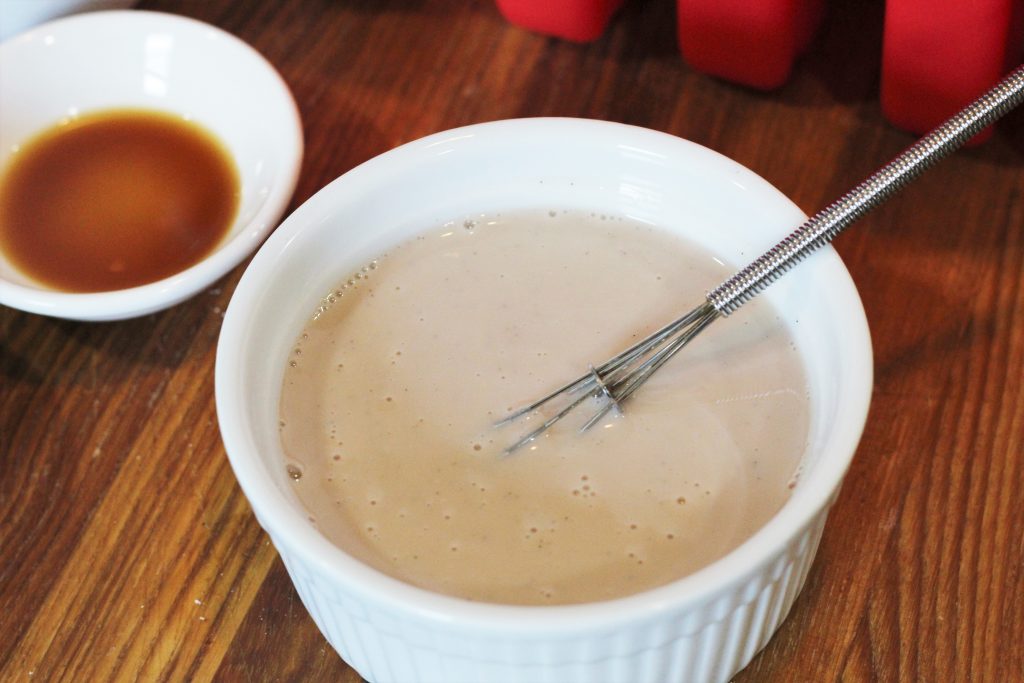
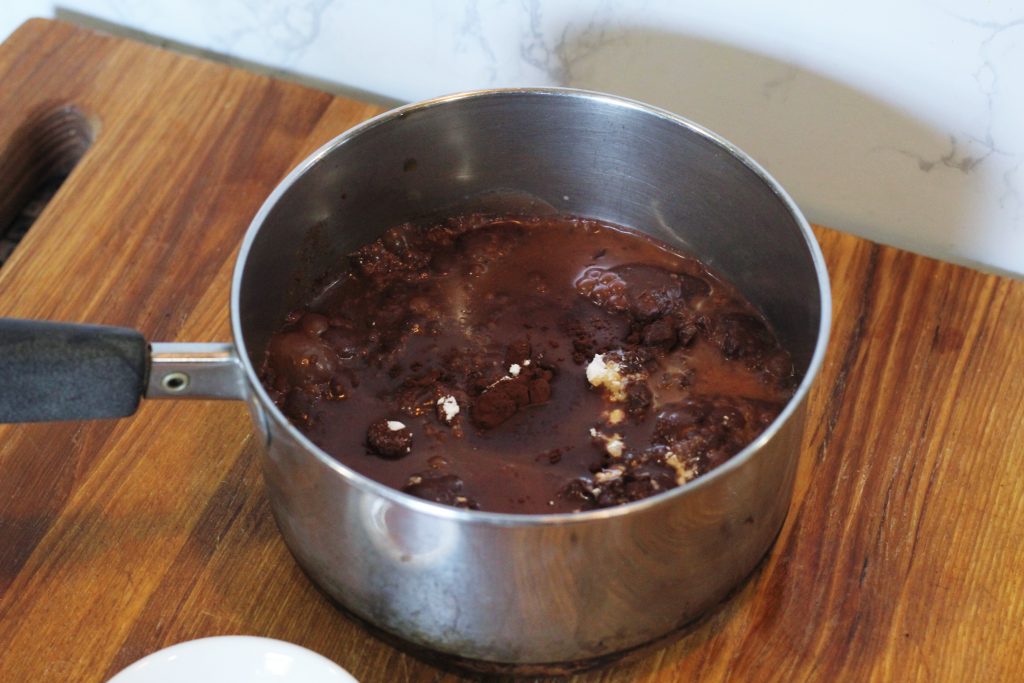
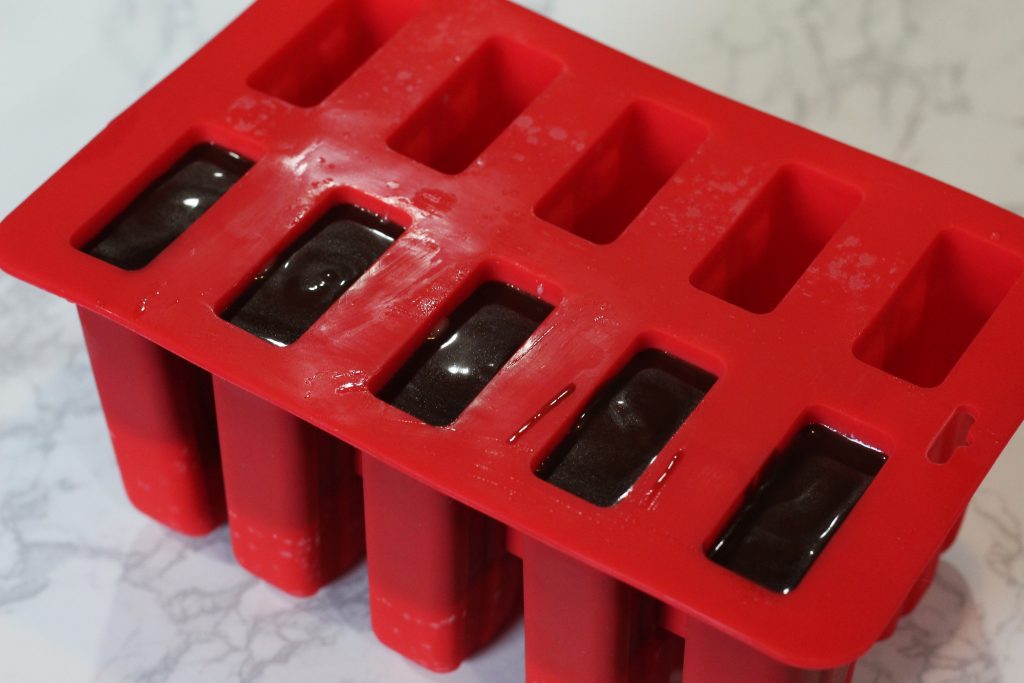
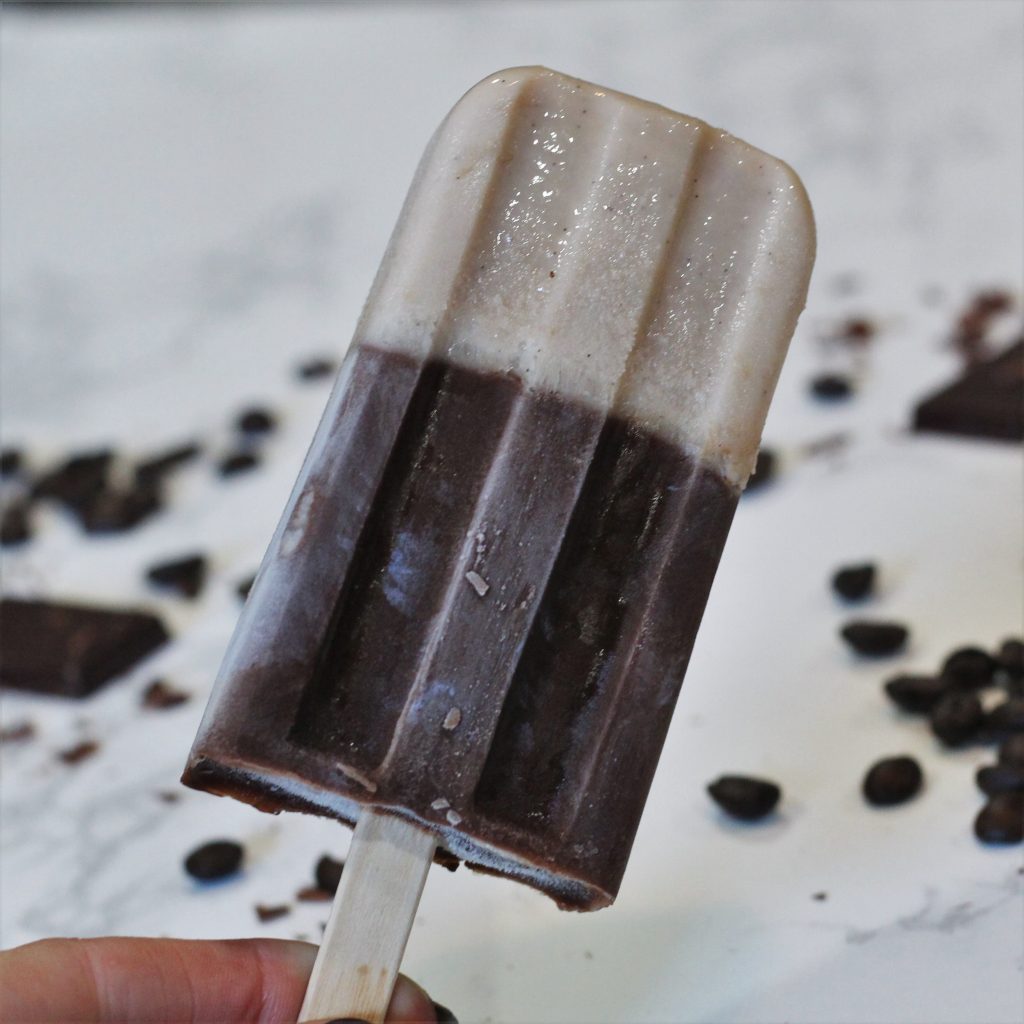
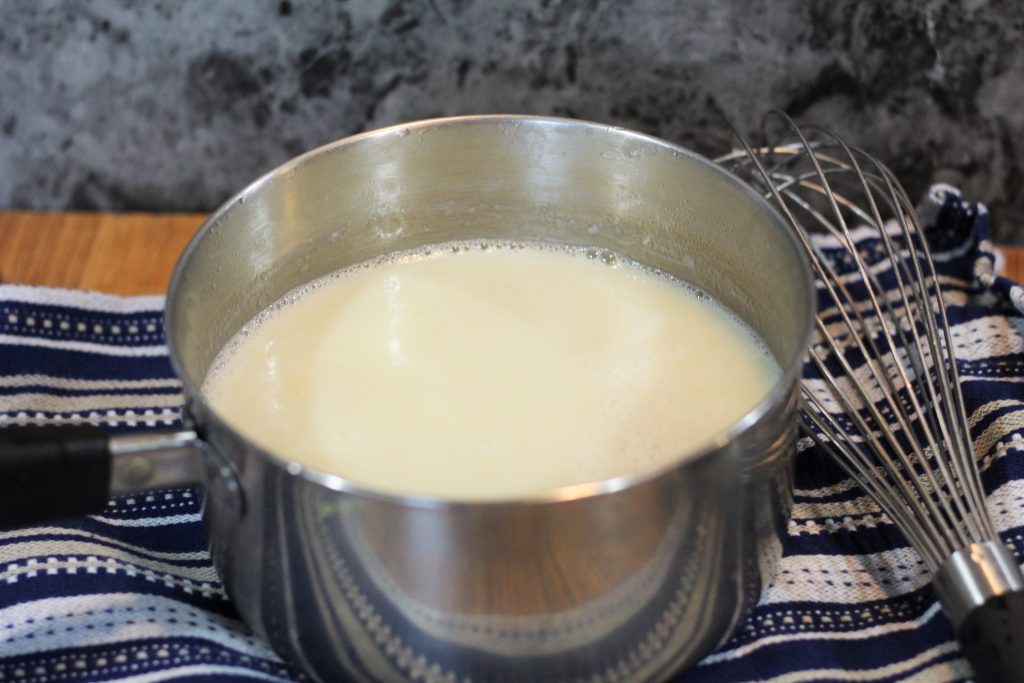
For part two of our popsicle series we have Xianna’s Creamy Caf Popsicles! These popsicles have never been directly referenced on the show, but they are heavily influenced by Xianna’s well known love of caf (with and without added whiskey). This caffeine-filled treat has a creamy vanilla layer and a rich chocolate and cold brew layer.

All the ingredients

For the creamy layer we have half-and-half or creamer (we’re using an almond milk creamer), sugar, vanilla bean paste, and a small pinch of salt.

For the mocha layer we have sugar, cornstarch, cocoa powder, chocolate, cold brew coffee, milk or dairy alternative, vanilla extract, and a pinch of salt. We used homemade cold brew and unsweetened almond milk, but store-bought cold brew works great and any dairy or dairy alternative should be fine.

Creamy layer mix

Mocha layer mix

Everything for the creamy layer gets mixed together and then distributed evenly amongst the popsicles molds. Place the mold in the freezer for them to set.

While that layer freezes we’ll make the mocha layer. Heat the sugar, cornstarch, cocoa, chocolate, coffee and milk in a saucepan over medium heat, stirring constantly until until the mixture thickens. Remove it from the heat and whisk in the vanilla extract and salt.

Both layers in the mold

Once the mocha mixture has cooled down fill in the molds. Place the popsicle sticks and put the mold back in the freezer until fully set.

Xianna’s Creamy Caf Popsicles [makes 8-12 popsicles, depending on mold size]

1 cup creamer or half-and-half
3 tablespoons sugar
1 teaspoon vanilla bean paste
Pinch salt

1/2 cup sugar
2 tablespoons cornstarch
3 tablespoons cocoa powder
3 tablespoons chopped chocolate
1 1/2 cups cold brew coffee
1 cup milk or dairy alternative
1 teaspoon vanilla extract
Pinch salt

In a large measuring cup or bowl, whisk together the half and half, sugar, vanilla bean paste, and salt. Fill up the popsicle molds with about 1 to 2 ounces of cream mixture. Place the pops in the freezer to let this layer firm up for 30 to 60 minutes.

Heat the sugar, cornstarch, cocoa, chocolate, coffee and milk in a saucepan over medium heat, stirring constantly until until the mixture thickens. Remove it from the heat and whisk in the vanilla extract and salt. Let the mixture cool to room temperature.

Once cooled, remove the molds from the freezer and finish filling each mold with the cold brew mixture. Freeze the pops for 4 to 6 hours.

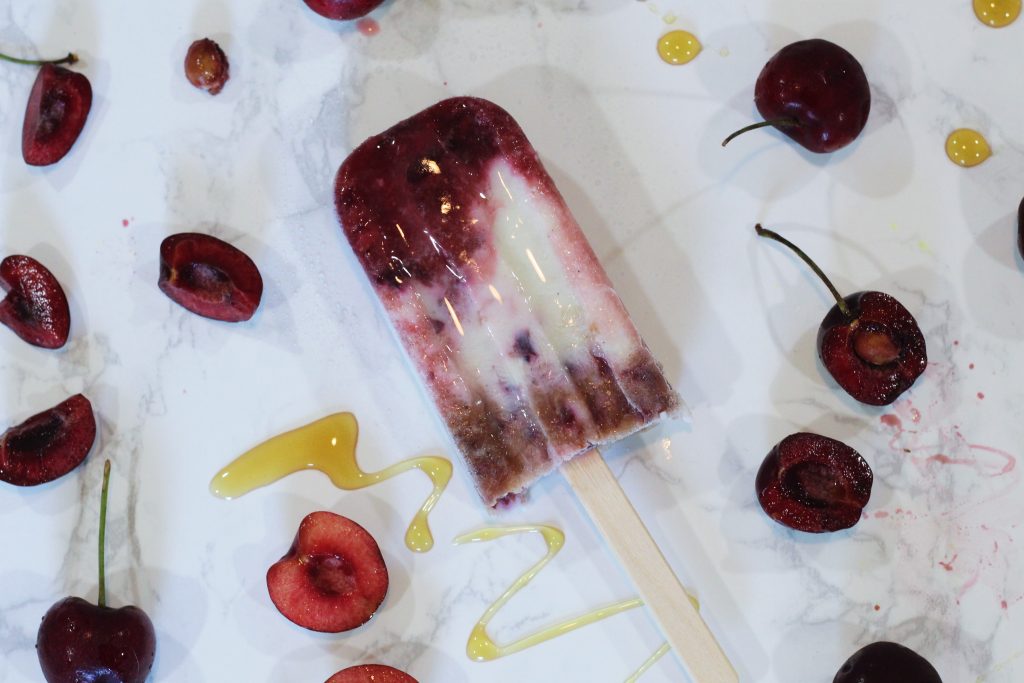
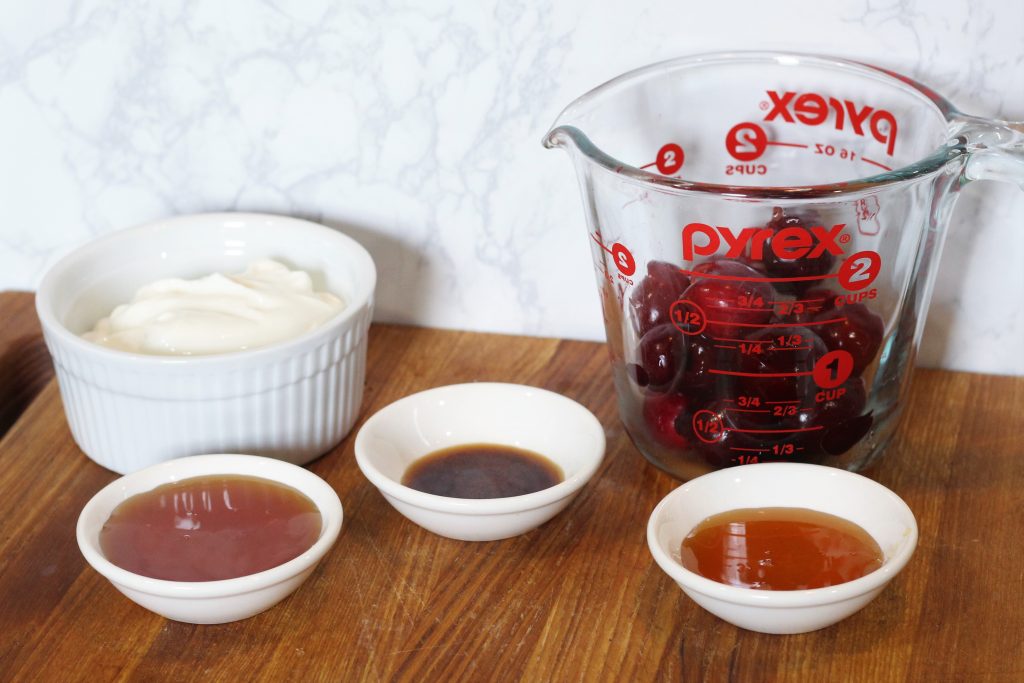
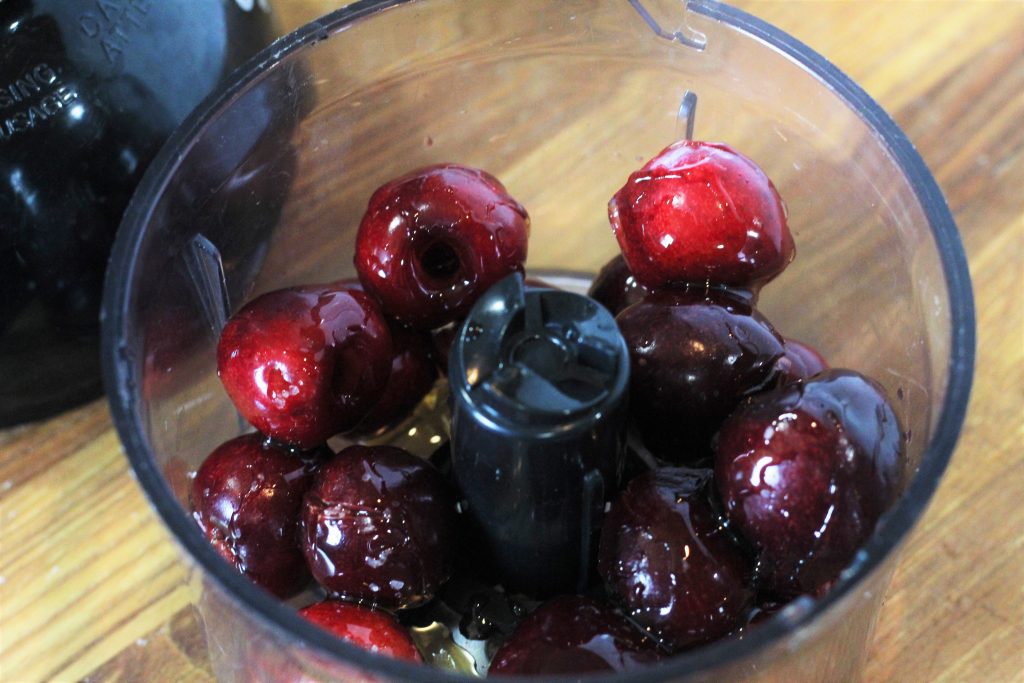
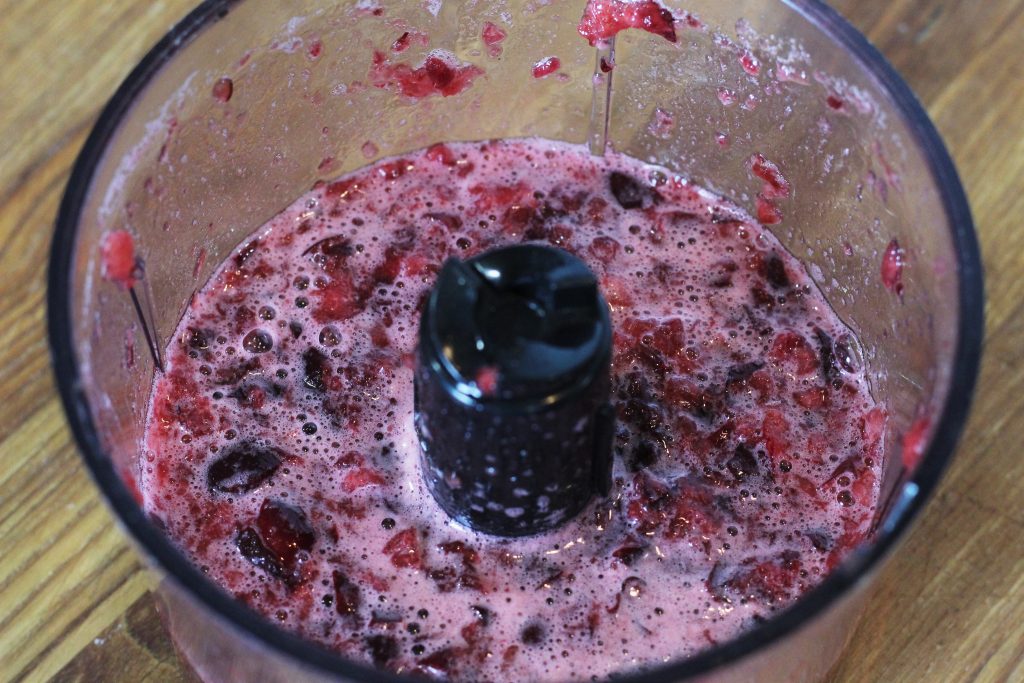
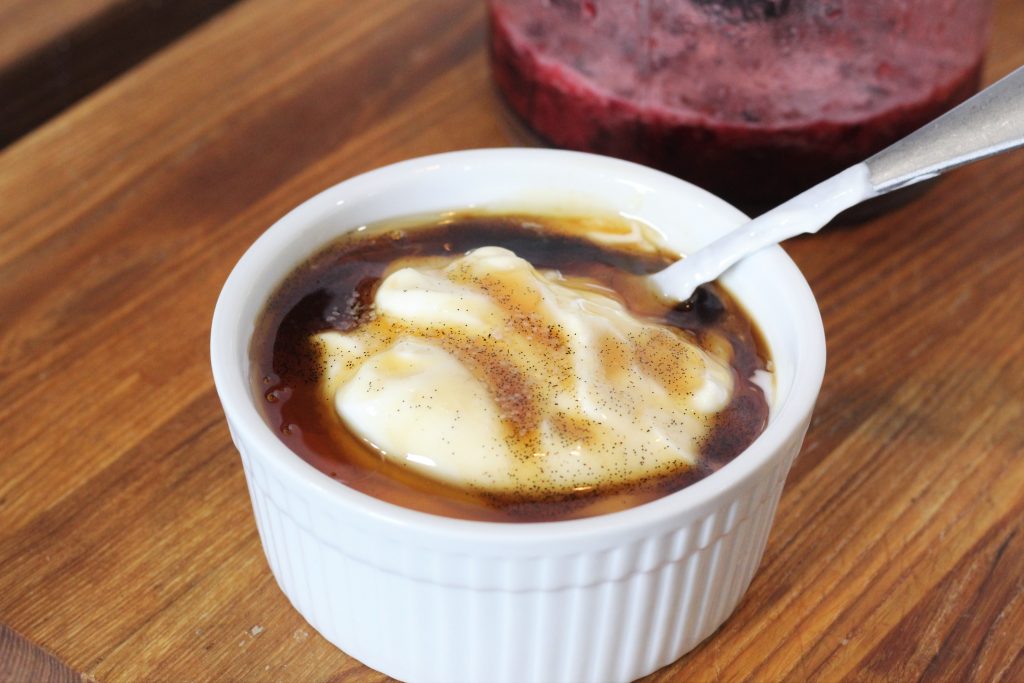
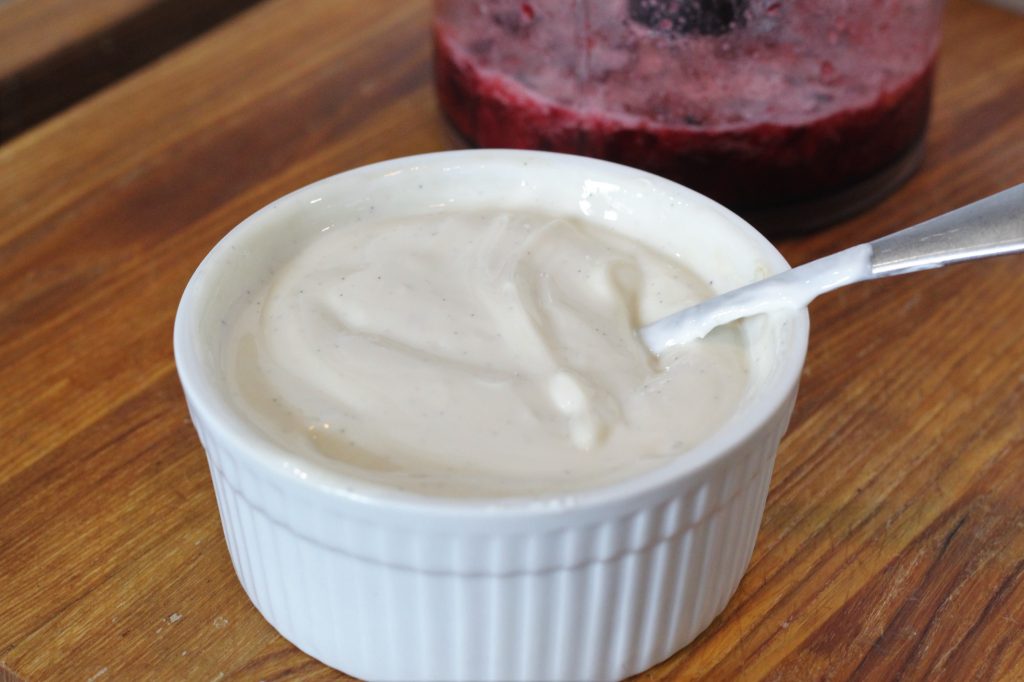
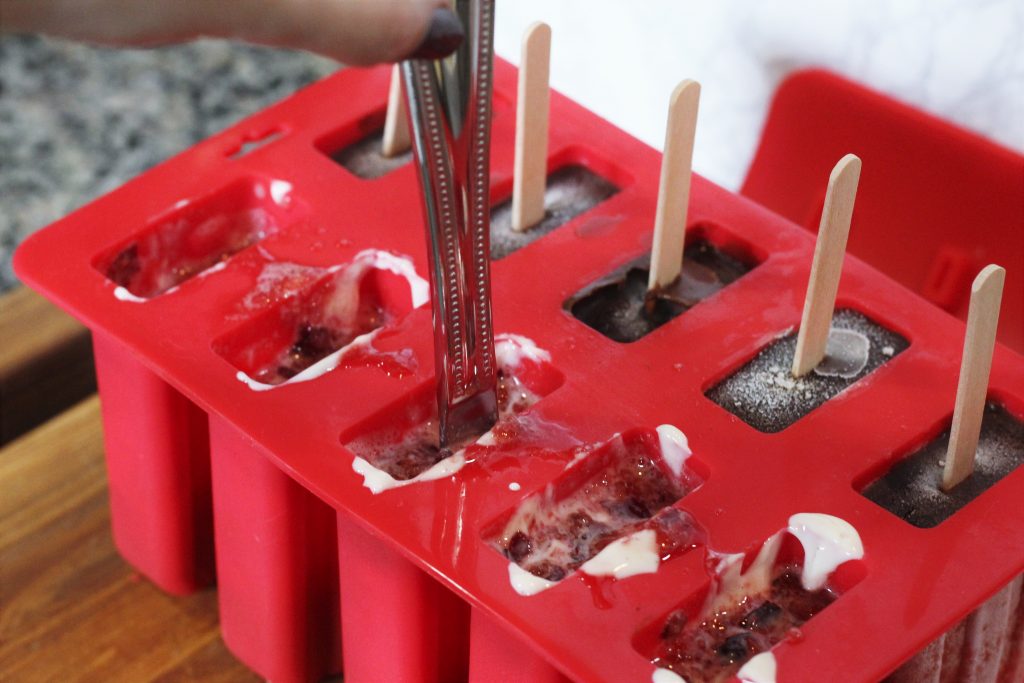
We all know Tink loves his popsicles. They’ve appeared over many episodes and a whole room on the Afternoon Delight was filled with them at one point. So today we’re making Tink’s flavor of choice cherry, but with a creamy yogurt swirl.

Be on the lookout over the next month for Karma’s and Xianna’s popsicle recipes.

This recipe is only 5 ingredients, and outside of the freezing only takes about 5 minutes to make (if you’re using frozen or pre-pitted cherries).

First we puree the cherries with 2 tablespoon of the honey and a pinch of salt. The final texture can be as smooth or as chunky as you want.

Then, mix the yogurt, another pinch of salt, the remaining 4 tablespoons honey, and vanilla extract or paste, if using. We’re using nonfat Greek yogurt and a little bit of both vanilla extract and vanilla bean paste.

Next we pour half of the cherry mix between the molds. Layer the yogurt mix on top, and then the rest of the cherry mix.

To swirl the mixes together take a butter knife, a thin spoon, a chopstick, a popsicle stick, or anything thin and flat and stick it into the popsicle mold. Move it up and down in a sort of zig-zag pattern. Do it only a few times for chunky layers, or really go at it for a finely marbled popsicle.

And then freeze! After 4 or so hours, depending on your freezer and mold size/shape, your popsicles will be ready.

Cherry Froyo Popsicles [makes 8-12 popsicles, depending on mold size]

3 cups fresh or frozen cherries; pits and stems removed
6 tablespoons honey
3 cups Greek yogurt (any %fat)
2 pinches salt
2 teaspoons vanilla extract or vanilla bean paste; optional

Puree the cherries with 2 tablespoons honey and a pinch of salt.

In a separate container combine the yogurt, remaining 4 tablespoons honey, a small pinch of salt, and vanilla, if using.

Divide cherry mix between popsicle molds. Top with the yogurt mix. Use a spoon, butter knife, or stick to gently swirl the two mixes together.

Place in the freezer and allow to fully freeze, about 4 to 6 hours.

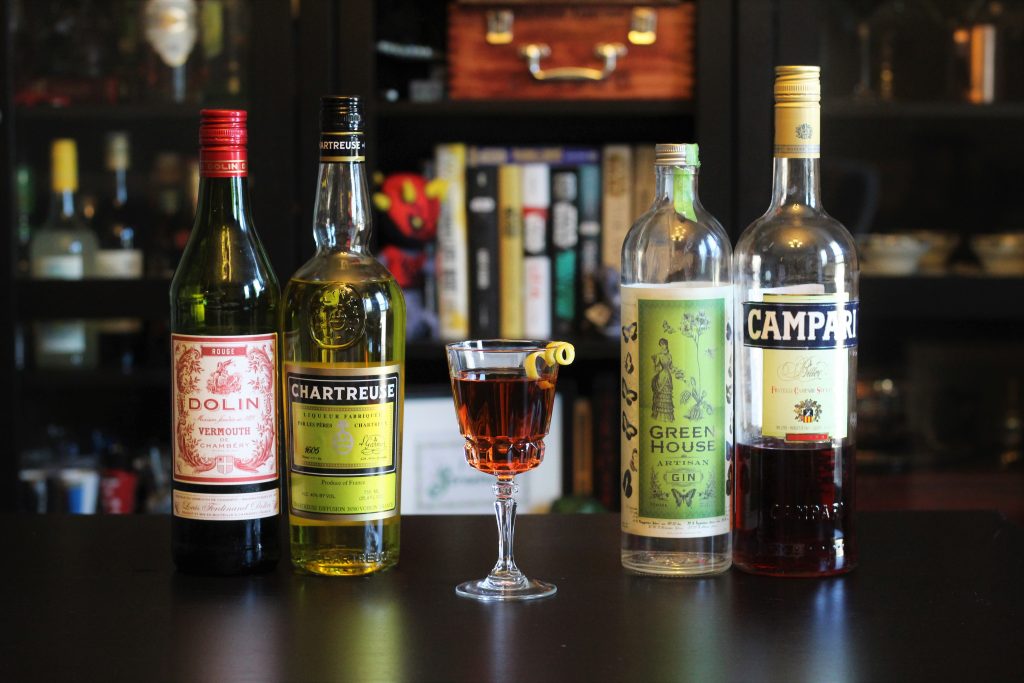
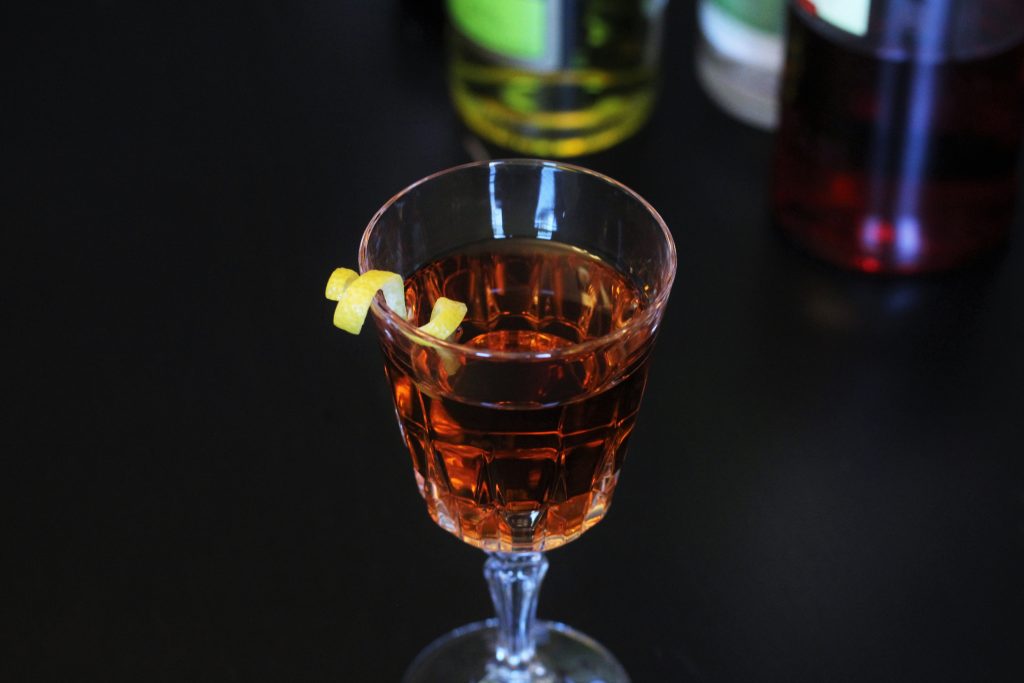
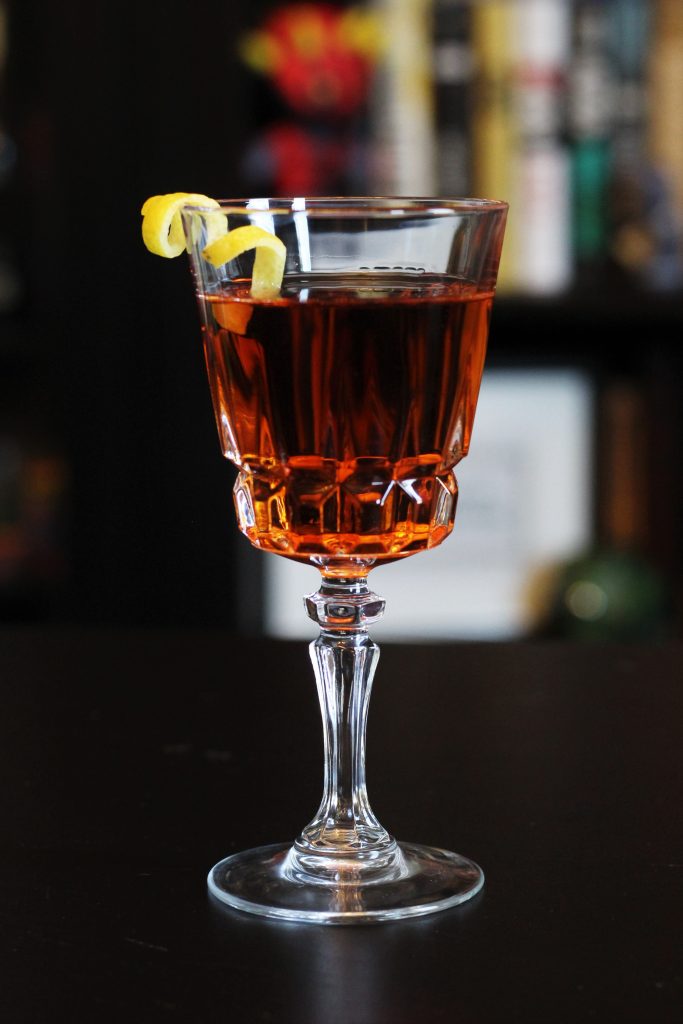
First ordered in Episode 27 the Supernova packs a punch. It’s a deliciously strong combination of gin, green chartreuse, Campari, and vermouth, and has a beautiful rust-orange color.

The Supernova

Look at that color!

Sweet vermouth is also known as rosso (“red” in Italian) or rouge (“red” in French) vermouth due to its red color. Like its name suggests it brings some sweetness to the drink, preventing it from tasting like pure alcohol.

Green Chartreuse is a beautiful, naturally green liqueur made with over a hundred different botanicals. It’s hard to replicate given its unique flavor, but given its price (often $50-60 a bottle) if you wish to substitute it try a 50/50 mix of elderflower liqueur and absinthe or Jägermeister. It brings some lovely floral and herby notes to this drink and blends wonderfully with the gin.

Campari has a very bitter citrus flavor that is quite similar to grapefruit. It has a beautiful red color and adds a ton of depth to this drink.

Glamour shots

Supernova [serves 1]

1 ounce gin
1 ounce green Chartreuse
1 ounce sweet vermouth (aka ” Rosso” or “Rouge” vermouth)
½ teaspoon Campari
Garnish: Lemon peel

Combine in a shaker with ice and shake well. Strain into a martini glass. Garnish with lemon peel.

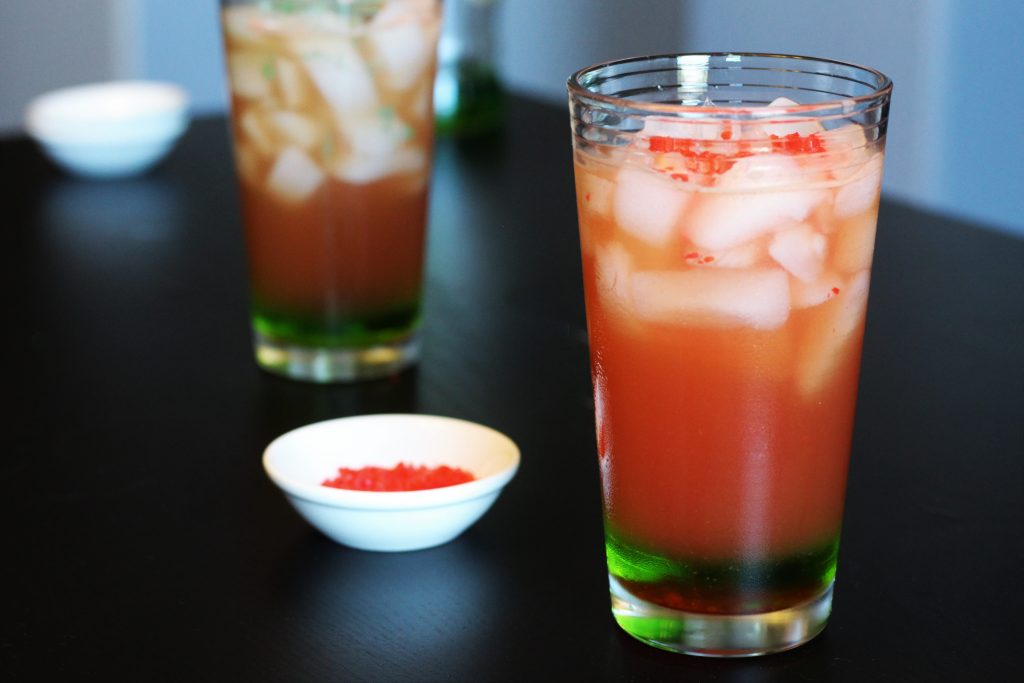
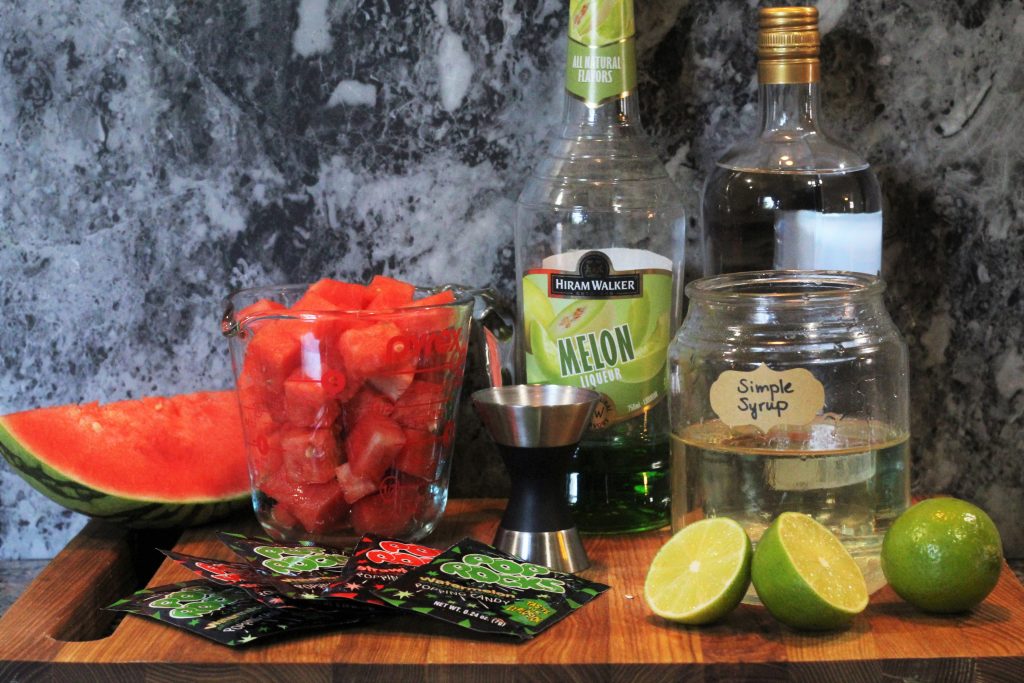
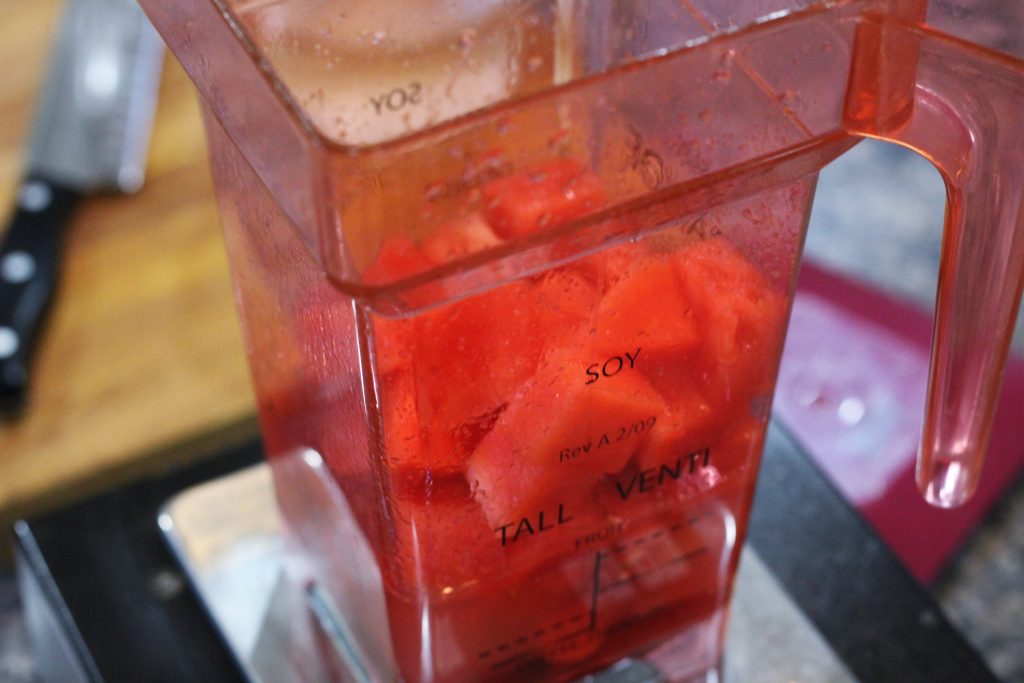
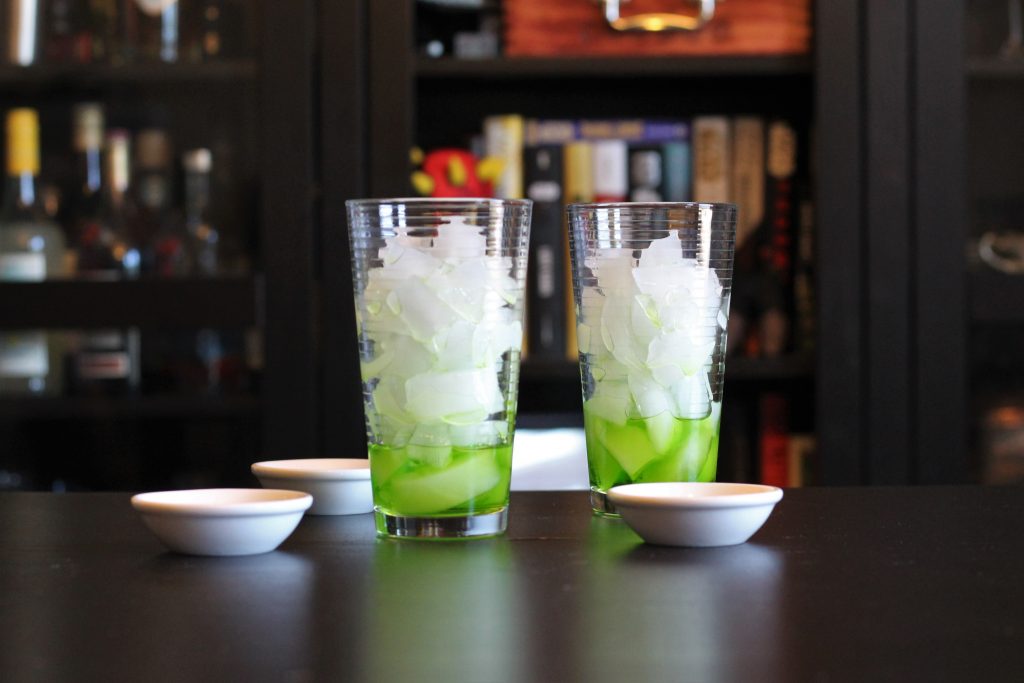
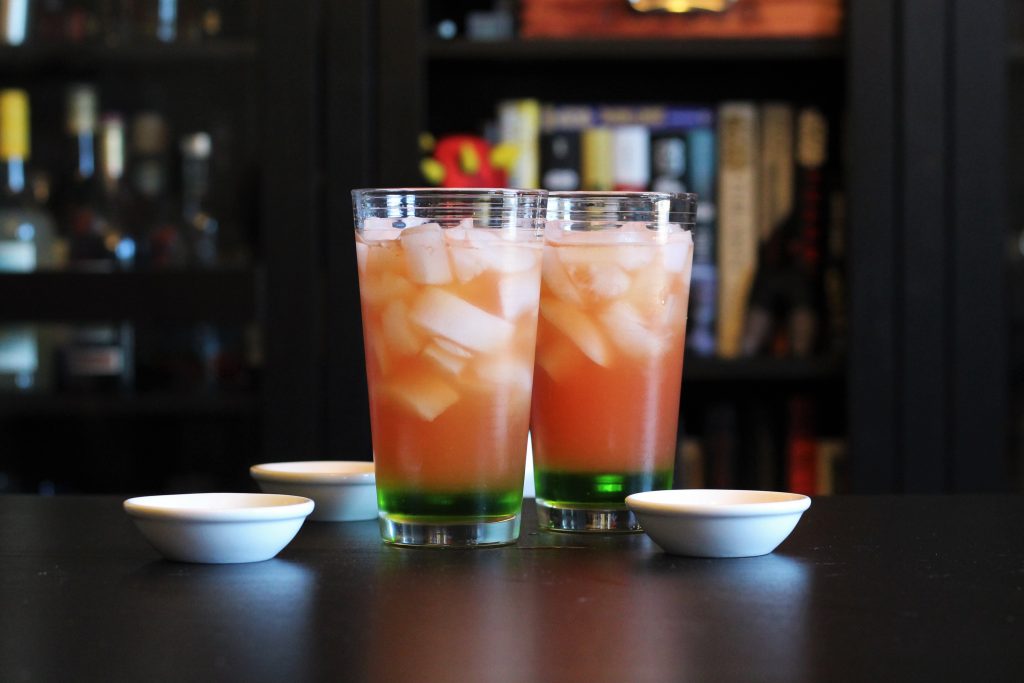
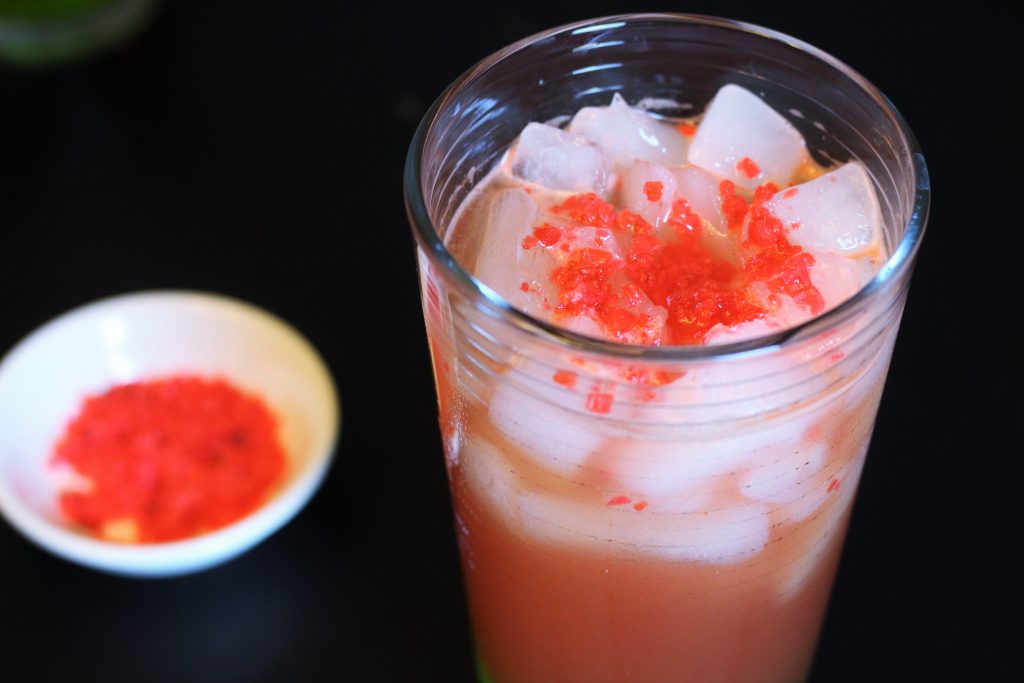
Bantha Blasters are first ordered during Episode 24. They’re pink and green, and pop and fizz. Our real life version uses watermelon for the pink, melon liqueur for the green, and Pop Rocks for some great popping and fizzing.

Finished drink and a small bowl of Pop Rocks
A good ol’fashioned Bantha Blaster

This recipe uses seedless watermelon, vodka, simple syrup, lime juice, Midori melon liqueur, and, finally, Pop Rocks.

All the ingredients laid out
Bantha Blaster in the making.

Now, we had some real trouble finding Pop Rocks in our local grocery stores and ended up buying a few packages online. Sadly, the online packs did not have the flavor we wanted: Green Apple. The Green Apple is preferred for its green color, but other flavors will work if you also have trouble finding them.

First, cut up the watermelon into cubes and put them in a blender along with the vodka, simple syrup, and lime juice. Our watermelon was a little under-ripe so we used 2 ounces of simple syrup. Use less if your melon is nice and ripe.

A clear pink blender canister filled with watermelon and other ingredients.
And yes, this is blender was once used at a certain coffee chain.

Blend everything up until smooth. There will be watermelon “foam” at the top and more of a juice at the bottom.

Two tall glasses filled with ice cubes, each with a small amount of melon liqueur at the bottom.
The first layer.

Fill 2 highball glasses with ice and pour 1 ounce of midori into each glass. Using a fine mesh strainer or something similar, strain the watermelon mix between the 2 glasses. This will remove the foamy pulp so that you’re left with a smooth juice.

Two tall glasses filled with ice cubes, each with a small amount of melon liqueur at the bottom, and the watermelon mix on top.
Getting ready for those popping rocks.

Very carefully pour 1 package of pop rocks onto the top of each drink. Very carefully! If your Pop Rocks are particularly “fresh” or you live in a fairly dry environment the Pop Rocks might, well… pop quite vigorously when they hit the liquid. When we first made this drink a while back the Pop Rocks exploded everywhere and made a bit of a mess. For this photoshoot the house was humid and since the candy had to sit out while everything was made they didn’t react quite as violently.

A top down shot of the finished drink, topped with red Pop Rocks.
Shown here with Watermelon Pop Rocks.

Bantha Blasters [serves 2]

2 cups fresh seedless watermelon, cut into cubes about 1/2-inch in diameter
4 ounces vodka
1-2 ounces simple syrup, depending on how sweet your watermelon is*
2 ounces lime juice
2 ounces midori
1 small package Green Apple Pop Rocks**


Place watermelon, vodka, simple syrup, and lime juice in blender. Process until smooth. Fill 2 highball glasses with ice and pour 1 ounce of midori into each glass. Strain the watermelon mix between the 2 glasses. Very carefully pour 1 package of pop rocks onto the top of each drink.

*Simple Syrup recipe found here
**Or whatever flavor you can find.

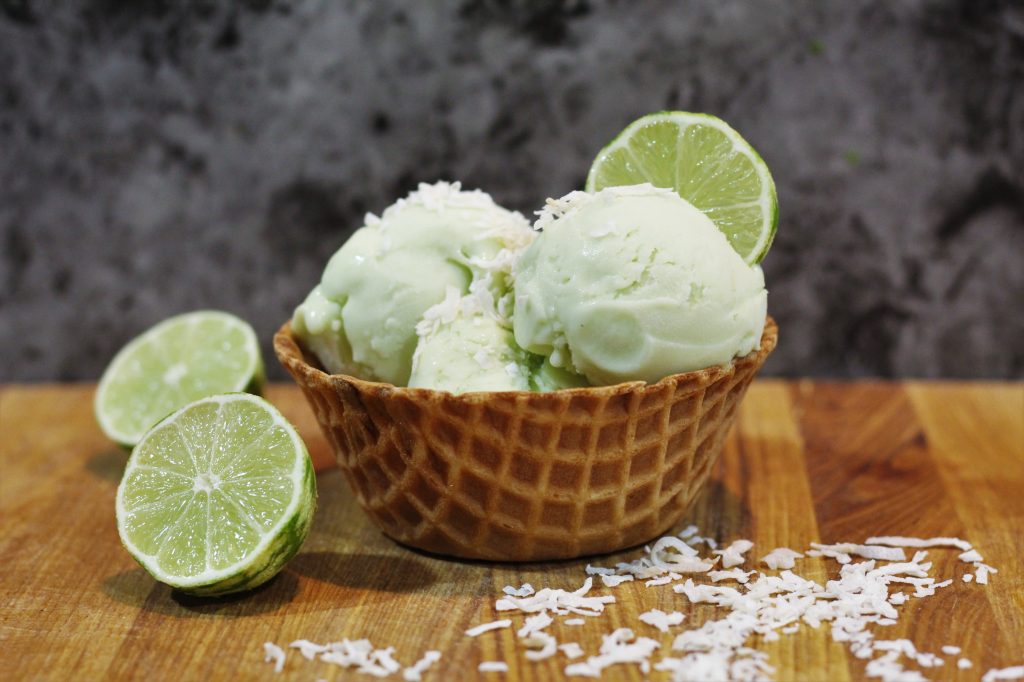
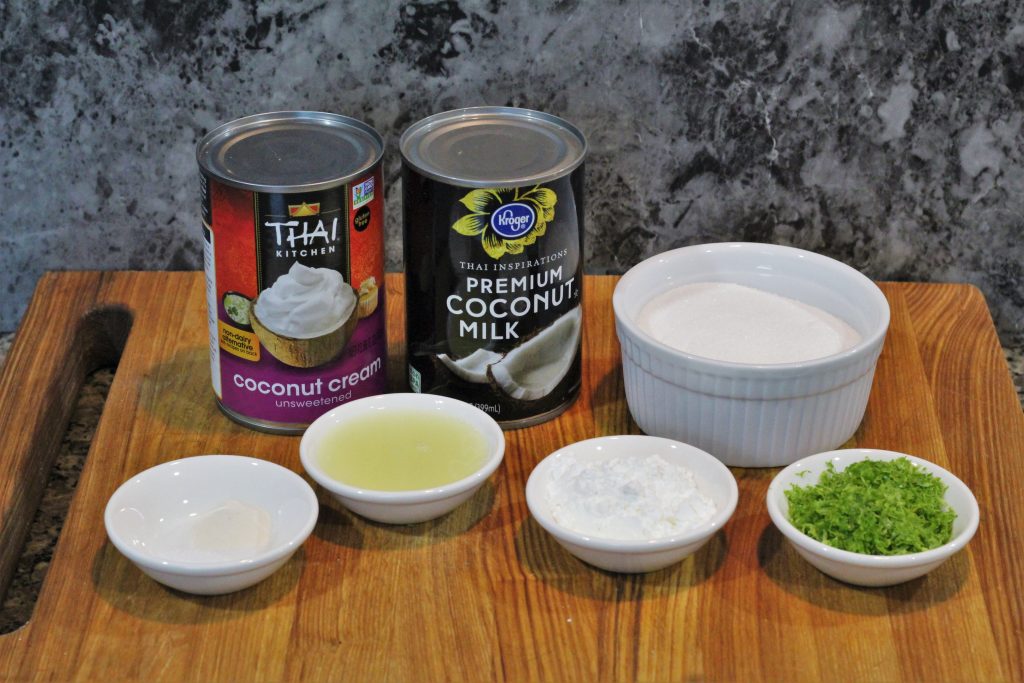
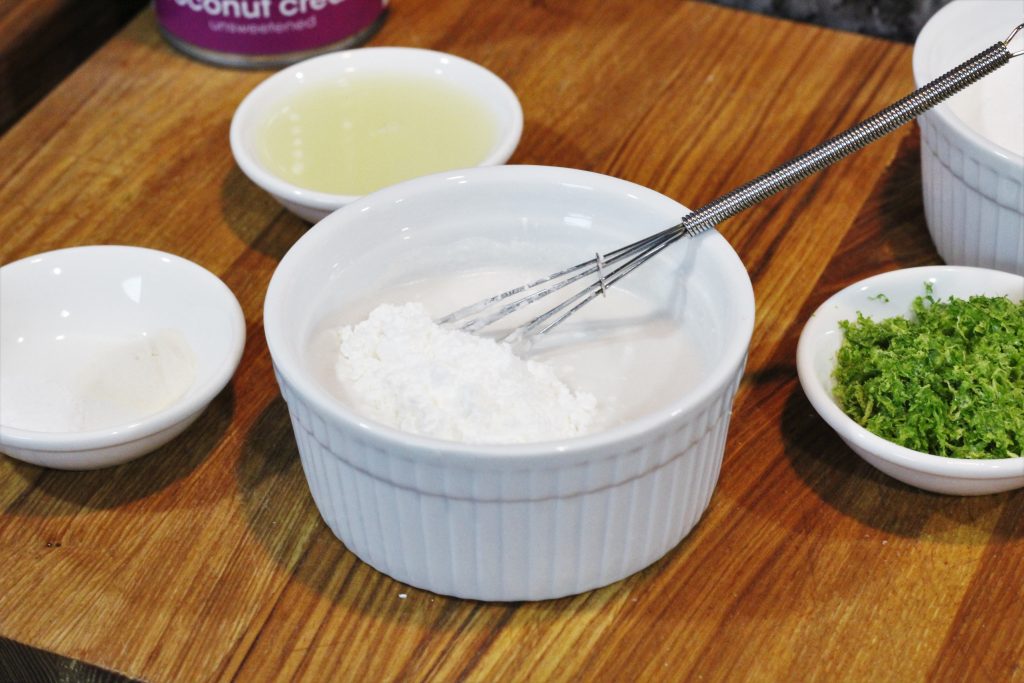
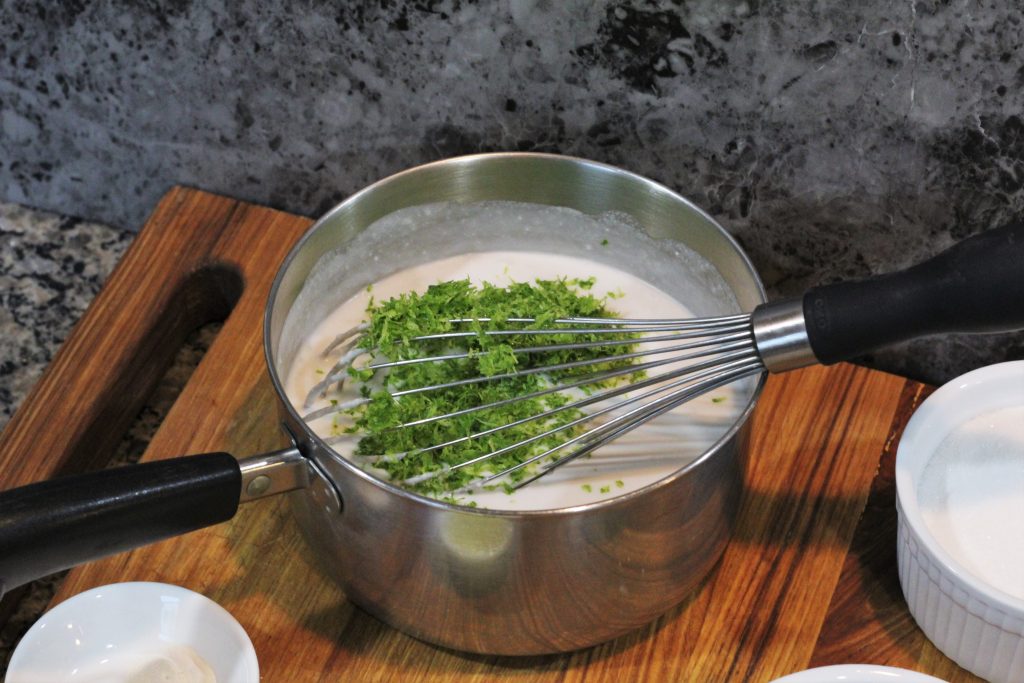
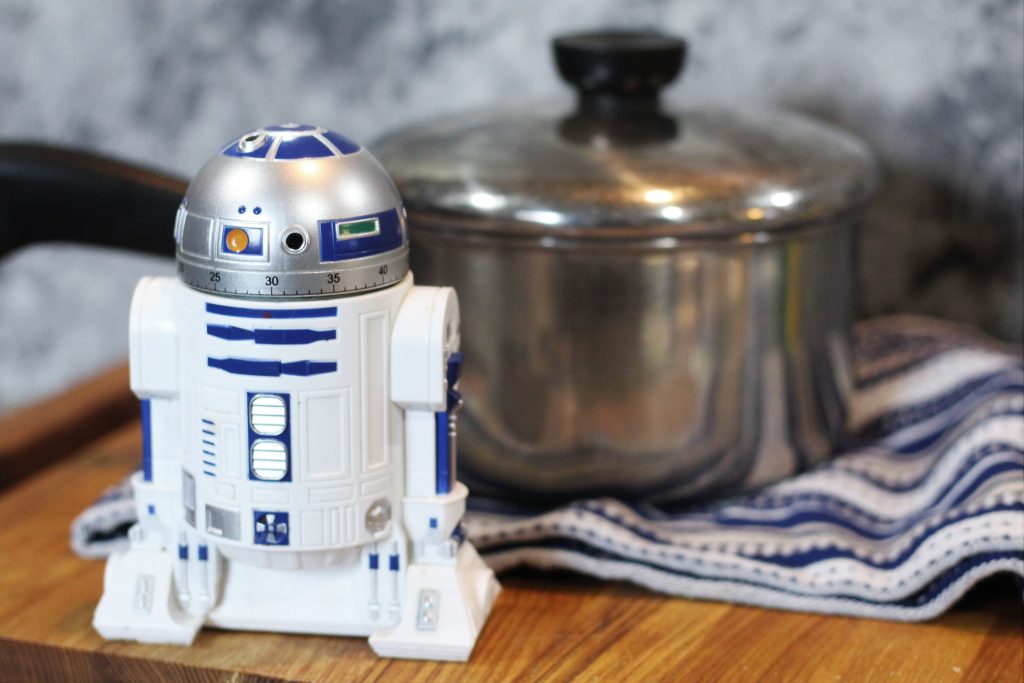
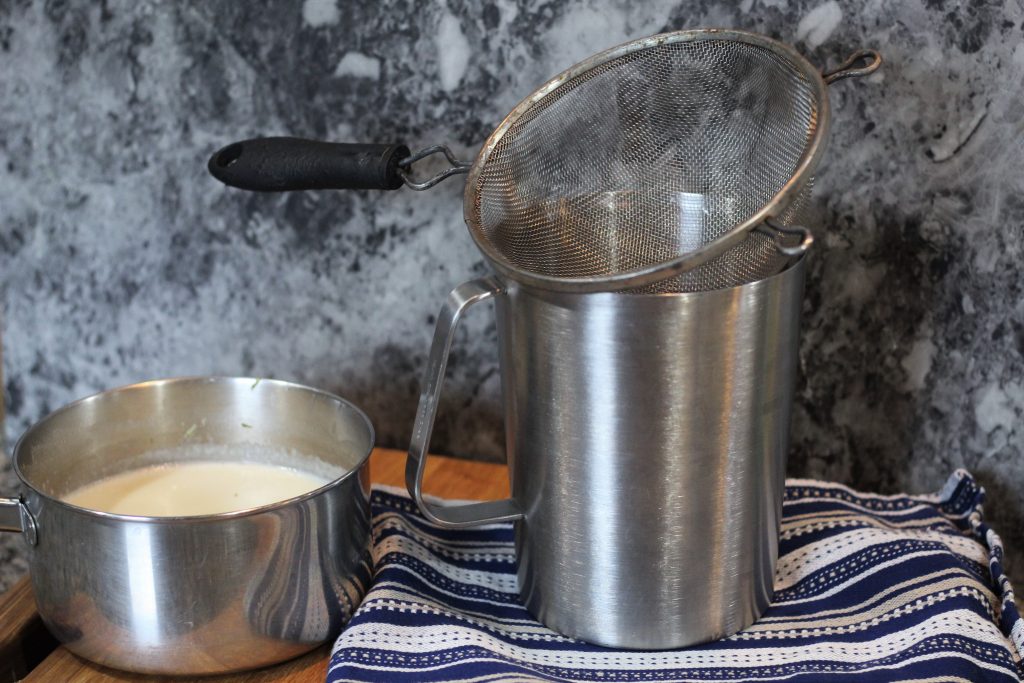
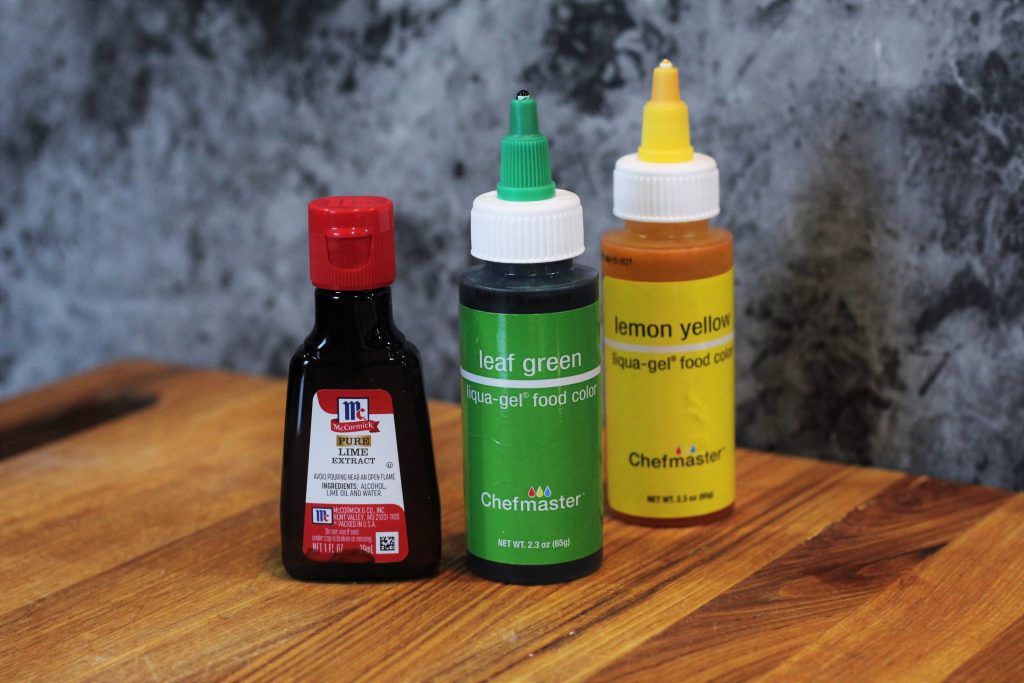
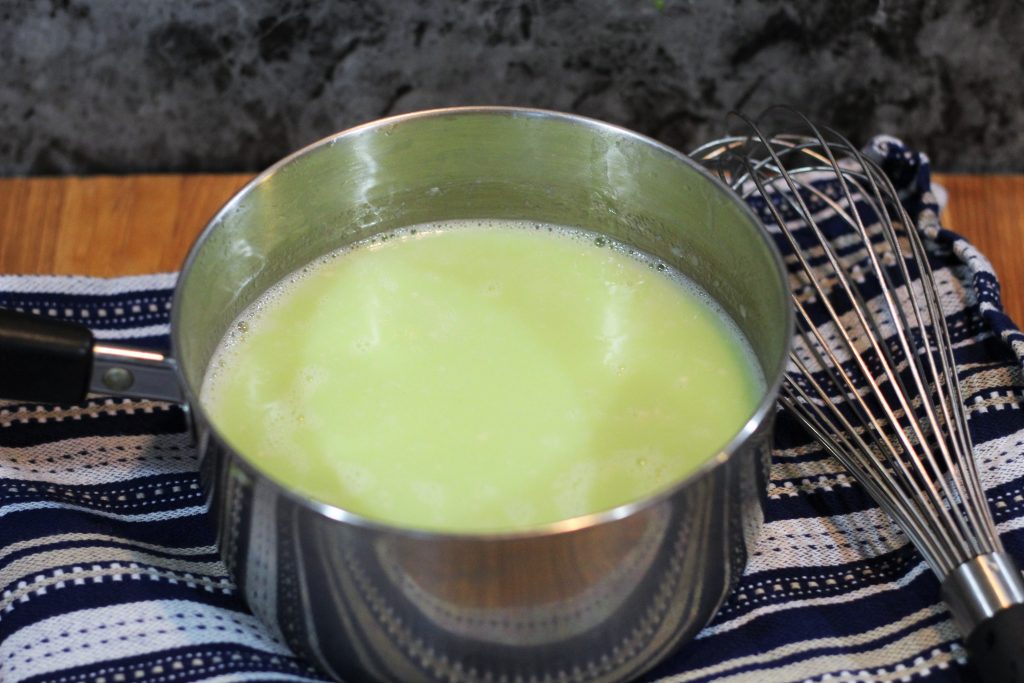
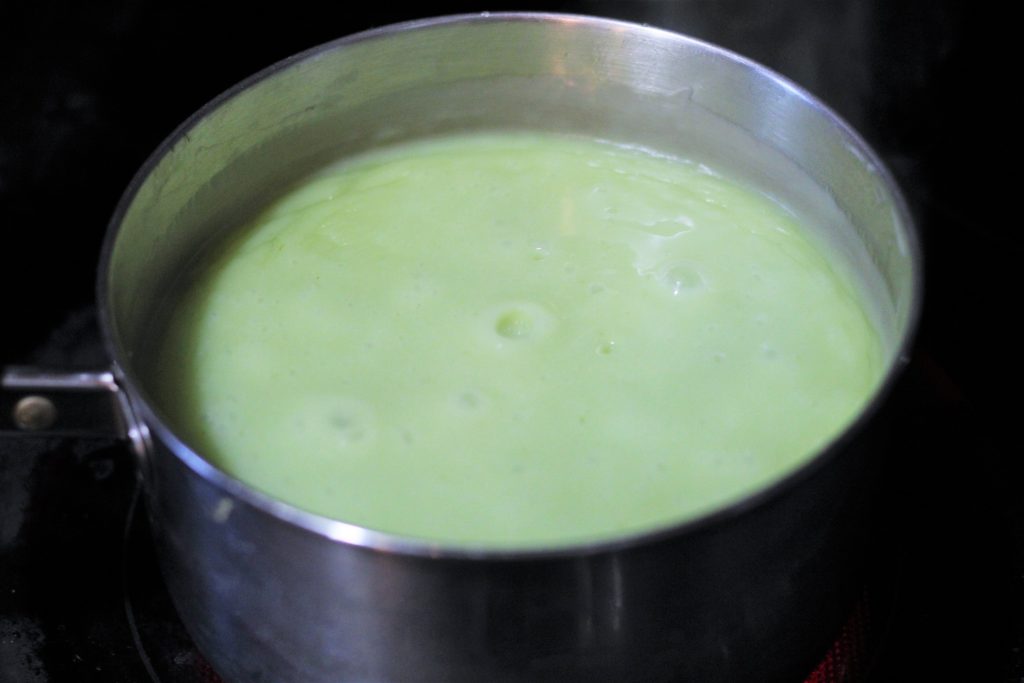
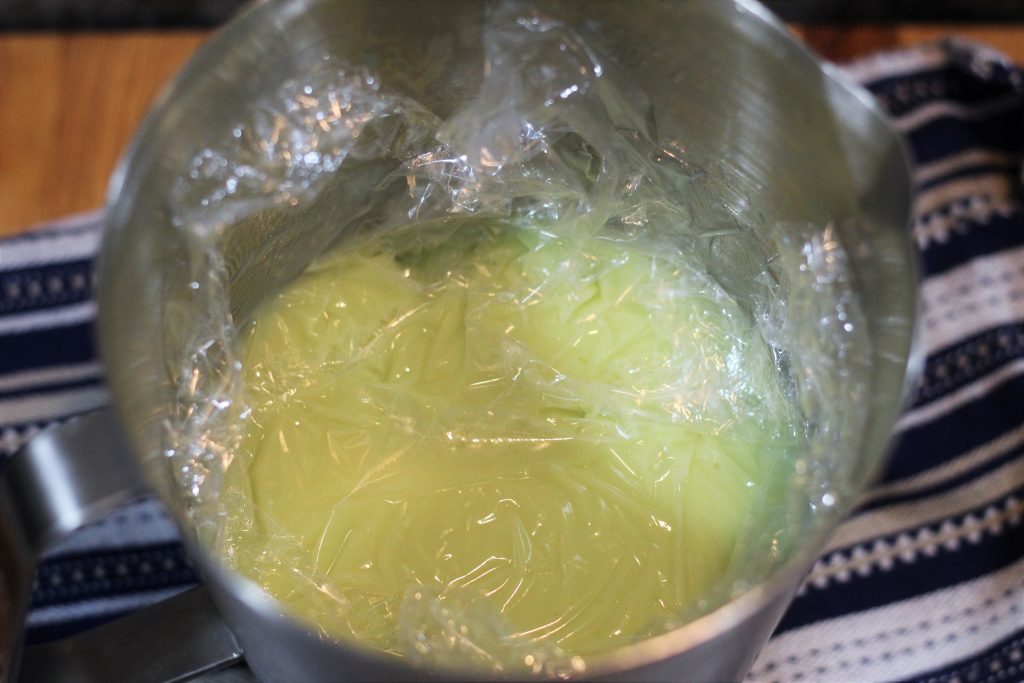
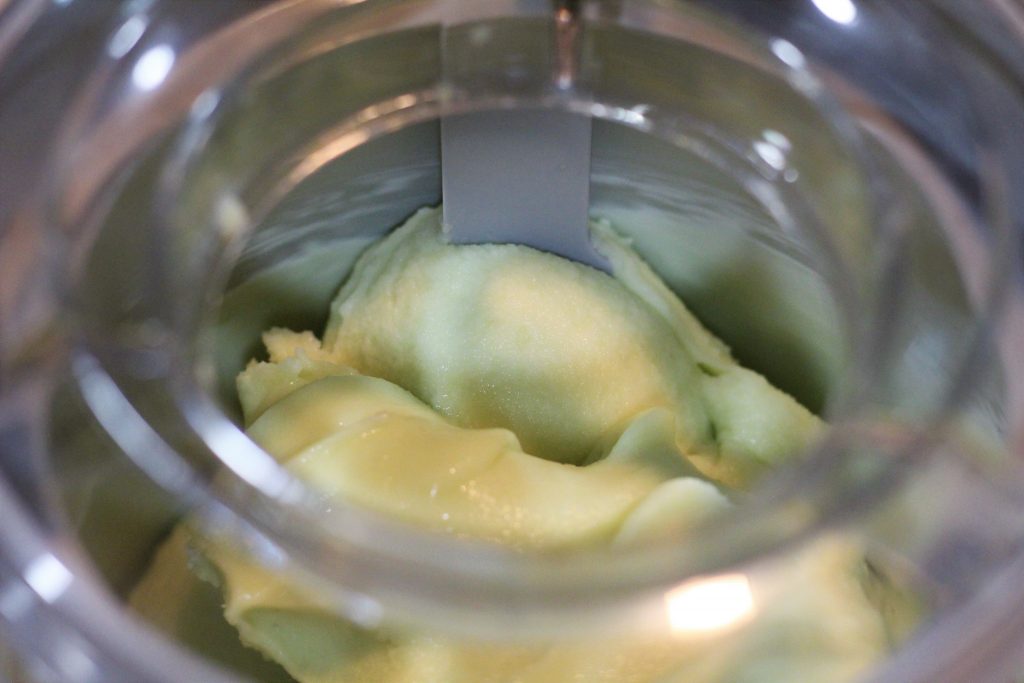
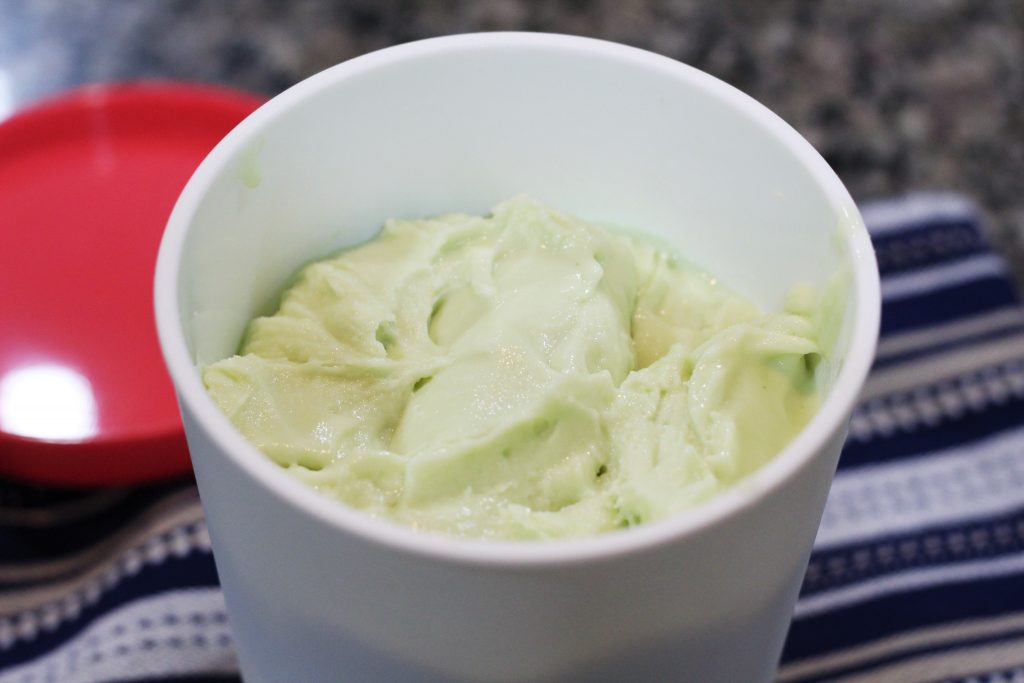
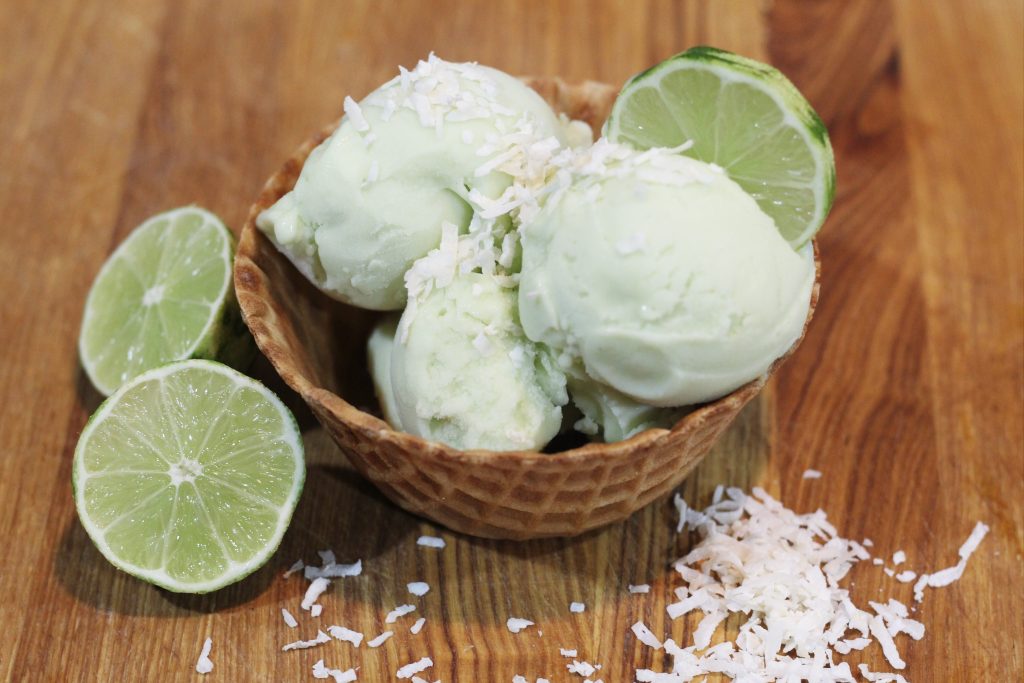
In episode 23 the crew treats themselves to some ice cream. They get pistachio, lime, and salted caramel. Pistachio and salted caramel are easy enough to find in the grocery store, but lime can sometimes be tricky to get (outside of sherbet and sorbet). So today we’re making lime ice cream and using coconut milk as the base. This adds a wonderful hint of coconut flavor, and keeps the recipe vegan.

Waffle cone bowl with scoops of lime ice cream topped with coconut flakes and a lime slice.
Scoop into a waffle cone and top with coconut flakes!

The ingredients for the recipe laid out on a cutting board.

This ice cream uses coconut milk and coconut cream in place of traditional dairy. Coconut cream and milk have higher fat contents than many other non-dairy alternatives and will give your ice cream a smooth, creamy taste.

Cornstarch and xantham gum are used as thickeners and binders. They will keep the coconut fat from separating out of the mixture and make the base thicker which will create a richer mouthfeel.

Xantham gum is a soluble fiber and bags of it can usually be found in the baking aisle. Most grocery stores I’ve been to carry the Bob’s Red Mill brand. If you can’t find it, or don’t want to buy a whole bag for one recipe you can leave it out.

Coconut milk and cornstarch being mixed in a small bowl.
Tiny whisk not required.

In a small bowl or cup pour ½ cup coconut milk. Whisk in the cornstarch until completely combined. Mixing the cornstarch into a small amount of liquid will make it easy to combine and prevent clumps.

This will get set to the side to be used later.

A saucepan with coconut milk and cream and lime zest being whisked together.

In a saucepan combine the coconut cream, remaining coconut milk, and lime zest. 

Over medium heat bring to a boil, stirring frequently.

An R2-D2 kitchen timer set to 30 minutes with a covered saucepan in the background.
R2 units are quite helpful in the kitchen.

Remove from the heat, cover, and tell your R2 unit to set a timer for 30 minutes.

This will infuse the coconut milk with all the flavor in the zest.

A fine wire strainer atop a metal pitcher.
Any sort of fine wire strainer should work.

Strain the zest out of the coconut mix. At this point the zest has given up its flavor and removing it will give a smoother texture to the ice cream.

Return to a clean saucepan with the xanthan gum, salt, and sugar, and any optional extract or food coloring.

a bottle of lime extract, "leaf green" food coloring, and "lemon yellow" food coloring.

Adding a little bit of lime extract will create a very strong, punchy lime flavor. If you want a more mellow, smooth flavor leave it out.

Naturally this ice cream will have off-white, barely there green color. If you want a more colorful lime green color you can add some food coloring.

A little ceramic bowl with 3 drops yellow food coloring and 1 drop green.  A tiny spoon is in the background.
Tiny spoon not required.

If you can’t find “lime” food coloring, you can make your own by using 3 parts yellow, 1 part green.

I mixedg mine in a little sauce bowl, 1- for the photo and 2- because I want just a hint of color and 4 drops would be too much for that.

But if you want a strong green color go ahead and add 3 drops yellow and 1 drop green directly to the mix.

A small ceramic bowl with mixed food coloring and tiny spoon.
Look at the beautiful color!

This is the finished “lime green” food coloring mix. I used about a fourth of the mix.

Ice cream base before food coloring. Off-white, barest hint of green.

Before

Ice cream base after food coloring. A very pale lime green.

After

Ice cream base boiling in a saucepan.

Stir the ice cream mix over low heat until sugar has fully melted and mixture is warm.

Gradually stream the cornstarch mixture into the saucepan while whisking non-stop. Once everything has been incorporated, whisk continually until the mixture comes to a soft boil.

The ice cream base in a metal pitcher with plastic wrap pushed against the surface of the ice cream base.

Strain the mixture into a large measuring cup or pitcher to remove any lumps. Stir in the lime juice. The lime juice is getting added at the end here to keep it bright and tart.

Press plastic wrap against the surface of the mixture so a skin does not form.

The metal pitcher on a shelf in a fridge.
Maybe there’s too much yogurt.

Place in the refrigerator next to all your yogurt cups and fully chill. You want the ice cream mix to be as cold as possible so when it goes into the ice cream maker it’ll freeze faster, which will make smaller ice crystals which means a smoother texture.

A Cuisinart ice cream machine on a counter with the metal pitcher beside it.

Churn in an ice cream maker, following the machine’s instructions. You could make this recipe and use a “no churn” or “no machine” method, but the result won’t be as airy and smooth. An ice cream machine will freeze the mixture faster, creating smaller ice crystals, and churning will introduce air, making the ice cream lighter.

Ice cream being churned.
Look at that creaminess.

Once out of the ice cream maker, place in an airtight container, cover, and freeze for at least 3 hours to allow it to further firm up.

Ice cream in a reusable ice cream quart container.
Use a reusable ice cream container or a tupperware.

Lime Coconut Ice Cream [makes about 1 quart]

1 400-ml can coconut milk
2 tablespoons cornstarch
1 400-ml can coconut cream
3 tablespoon lime zest (from 2-4 limes)
¼ teaspoon xanthan gum
¼ teaspoon salt
⅔ cup sugar
2 tablespoons lime juice (from 1-3 limes)
Optional: 1/2 teaspoon lime extract
Optional: lime green gel food coloring (or 3 parts yellow + 1 part green)

In a small bowl or cup pour ½ cup coconut milk. Whisk in the cornstarch until completely combined.

In a saucepan combine the coconut cream, remaining coconut milk, and lime zest. Over medium heat bring to a boil, stirring frequently. Remove from the heat, cover, and let sit for 30 minutes.

Strain the zest out of the coconut mix. Return to a clean saucepan with the xanthan gum, salt, and sugar, and any optional extract or food coloring. Whisk to combine. Stir over low heat until sugar has fully melted and mixture is warm.

Gradually stream the cornstarch mixture into the saucepan while whisking non-stop. Once everything has been incorporated, whisk continually until the mixture comes to a soft boil.

Strain the mixture into a large measuring cup or pitcher to remove any lumps. Stir in the lime juice. Press plastic wrap against the surface of the mixture so a skin does not form. Place in the refrigerator until fully chilled.

Churn in an ice cream maker, following the machine’s instructions. Once out of the ice cream maker, place in an airtight container, cover, and freeze for at least 3 hours to allow it to further firm up.

Waffle cone bowl with scoops of lime ice cream topped with coconut flakes and a lime slice.

Scroll to top