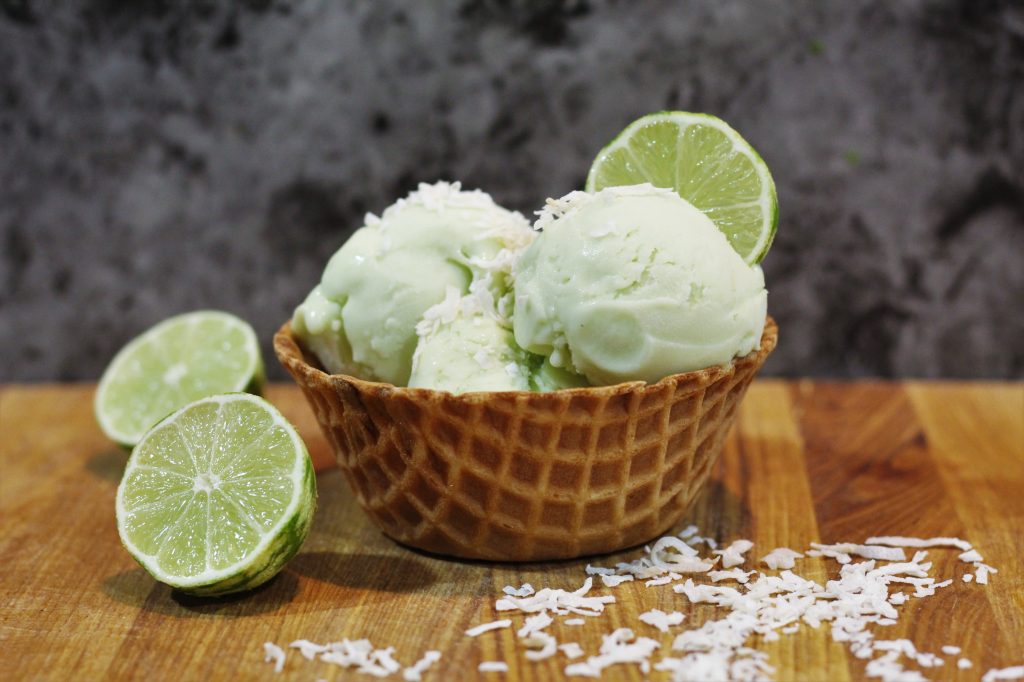
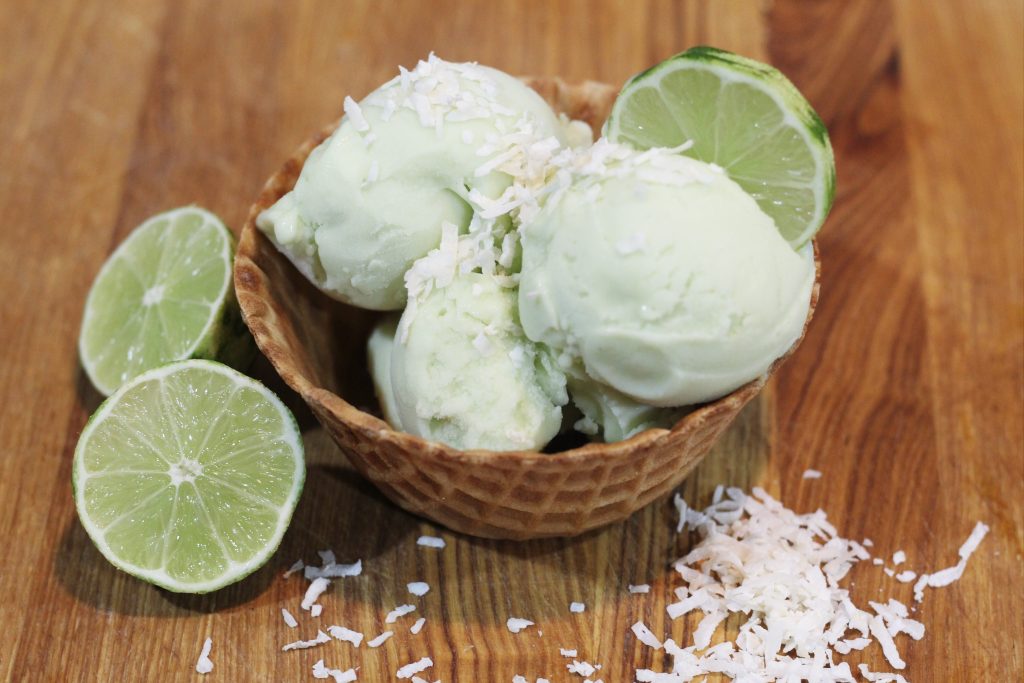
In episode 23 the crew treats themselves to some ice cream. They get pistachio, lime, and salted caramel. Pistachio and salted caramel are easy enough to find in the grocery store, but lime can sometimes be tricky to get (outside of sherbet and sorbet). So today we’re making lime ice cream and using coconut milk as the base. This adds a wonderful hint of coconut flavor, and keeps the recipe vegan.
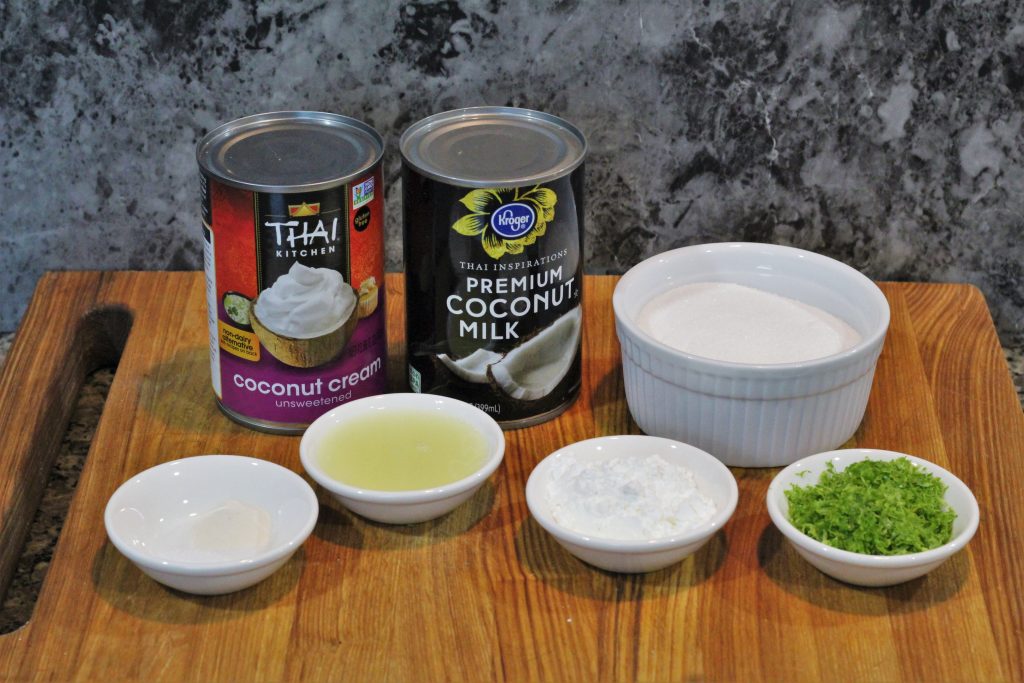
This ice cream uses coconut milk and coconut cream in place of traditional dairy. Coconut cream and milk have higher fat contents than many other non-dairy alternatives and will give your ice cream a smooth, creamy taste.
Cornstarch and xantham gum are used as thickeners and binders. They will keep the coconut fat from separating out of the mixture and make the base thicker which will create a richer mouthfeel.
Xantham gum is a soluble fiber and bags of it can usually be found in the baking aisle. Most grocery stores I’ve been to carry the Bob’s Red Mill brand. If you can’t find it, or don’t want to buy a whole bag for one recipe you can leave it out.
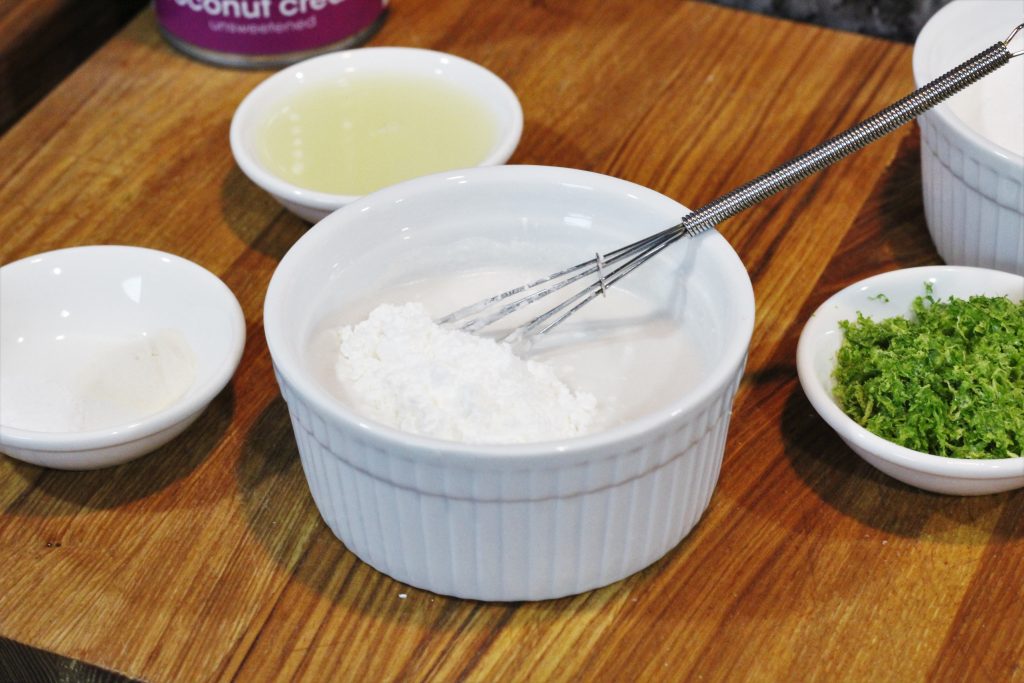
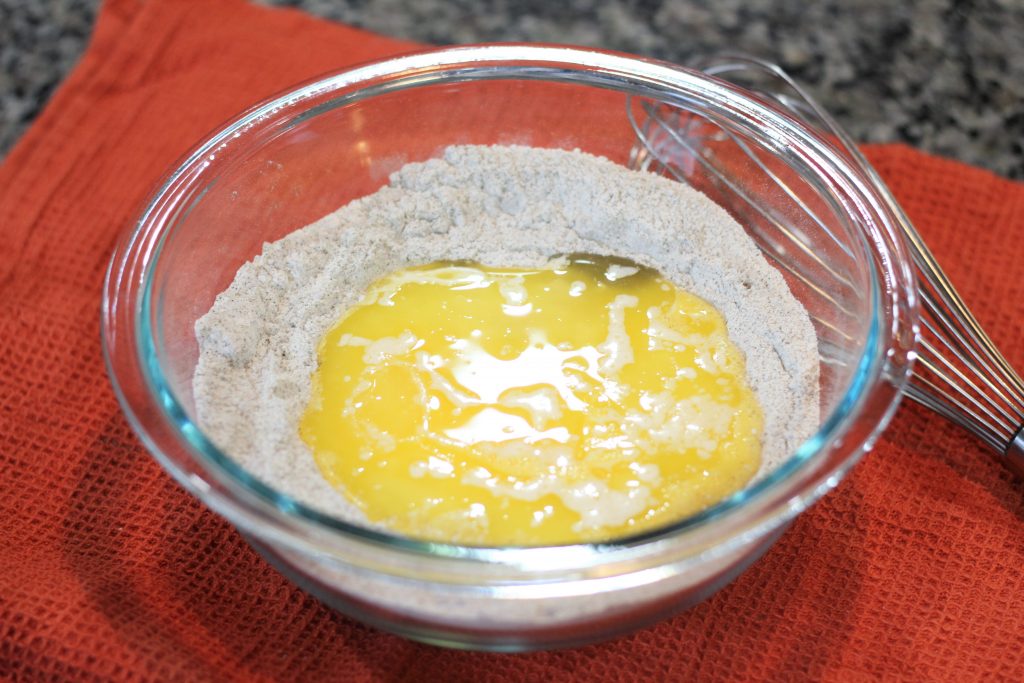
In a small bowl or cup pour ½ cup coconut milk. Whisk in the cornstarch until completely combined. Mixing the cornstarch into a small amount of liquid will make it easy to combine and prevent clumps.
This will get set to the side to be used later.
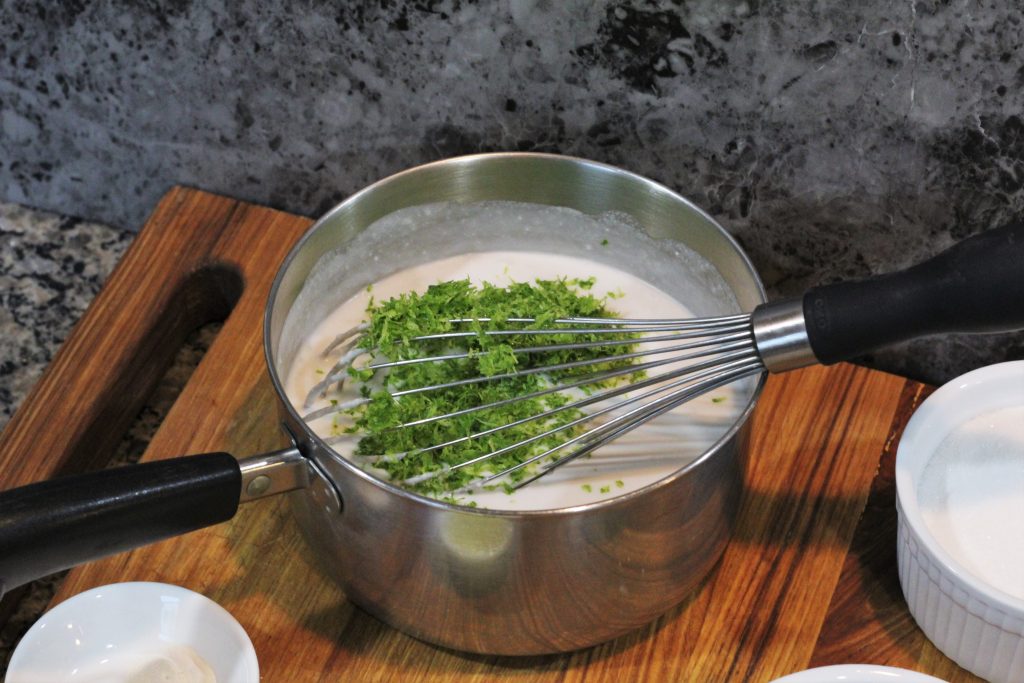
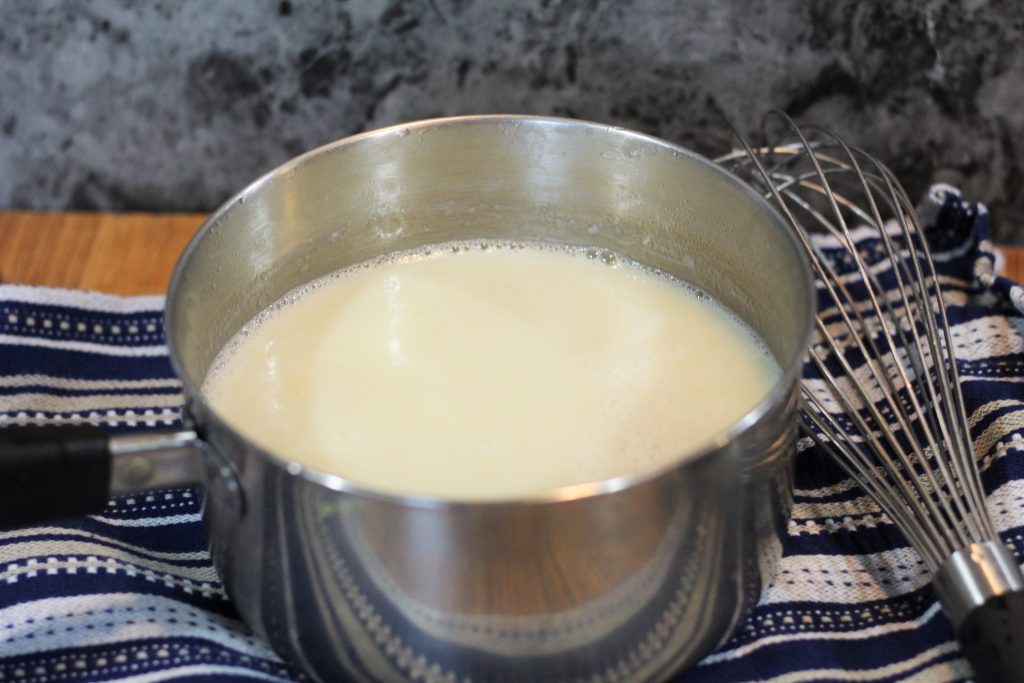
In a saucepan combine the coconut cream, remaining coconut milk, and lime zest.
Over medium heat bring to a boil, stirring frequently.
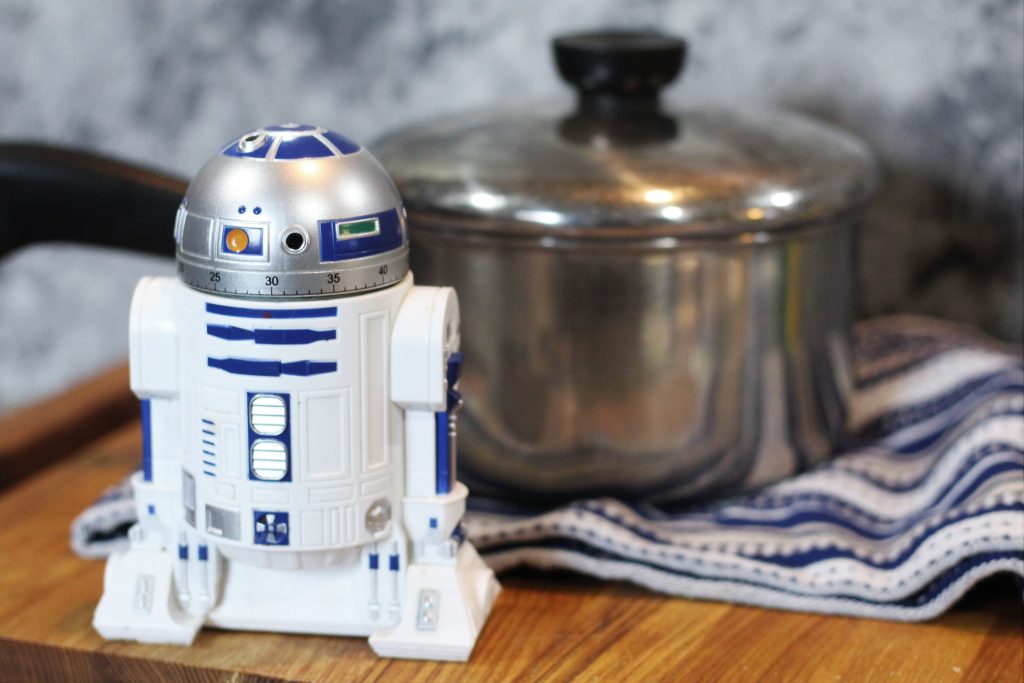
Remove from the heat, cover, and tell your R2 unit to set a timer for 30 minutes.
This will infuse the coconut milk with all the flavor in the zest.
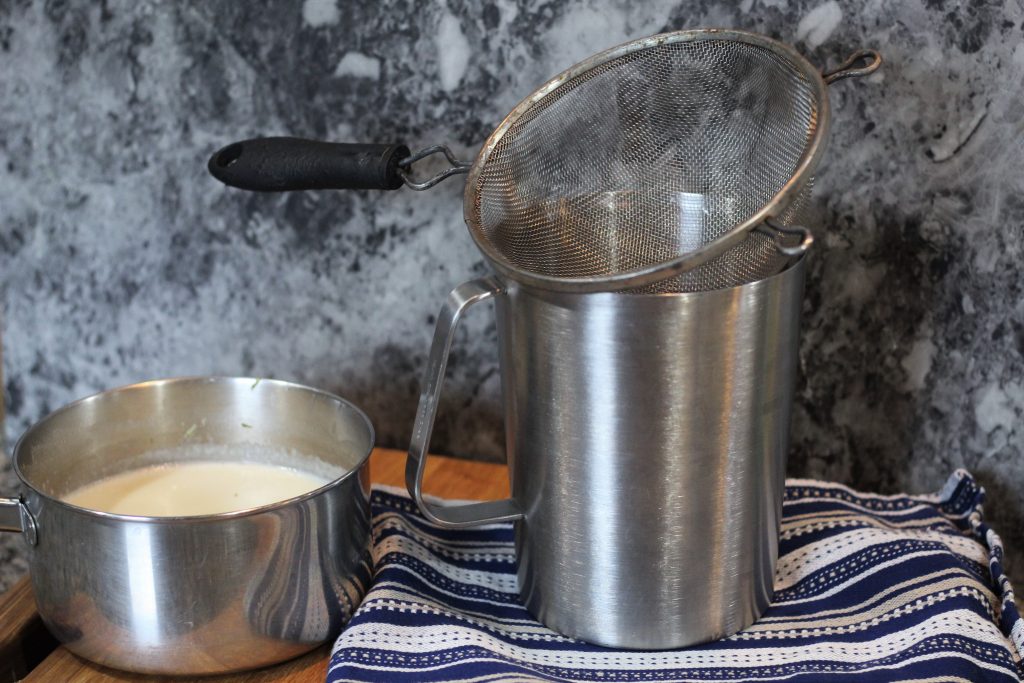
Strain the zest out of the coconut mix. At this point the zest has given up its flavor and removing it will give a smoother texture to the ice cream.
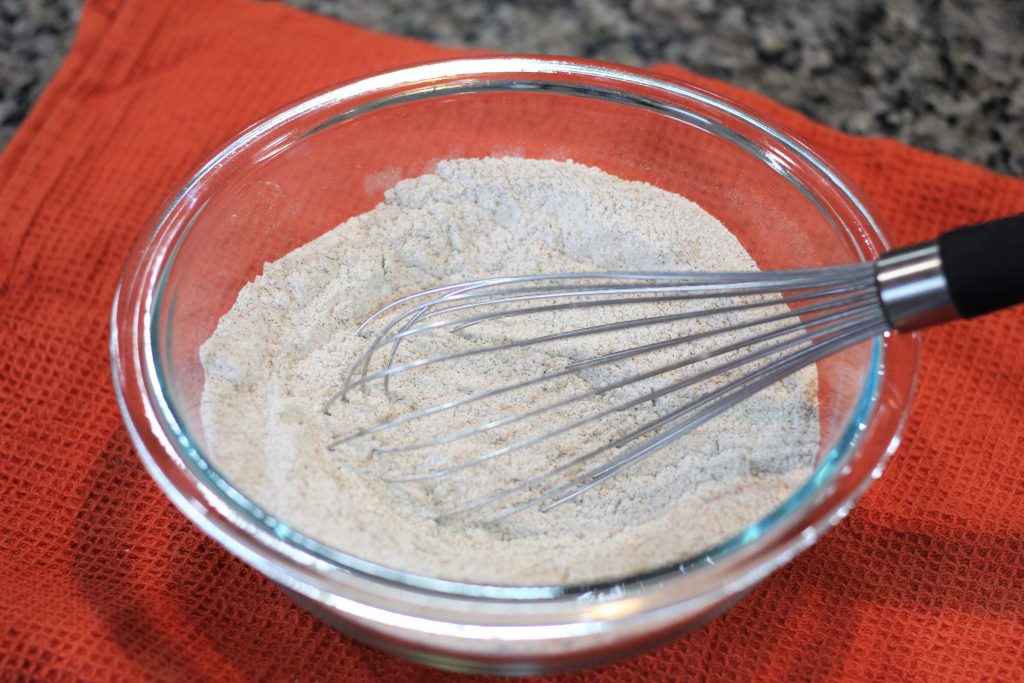
Return to a clean saucepan with the xanthan gum, salt, and sugar, and any optional extract or food coloring.
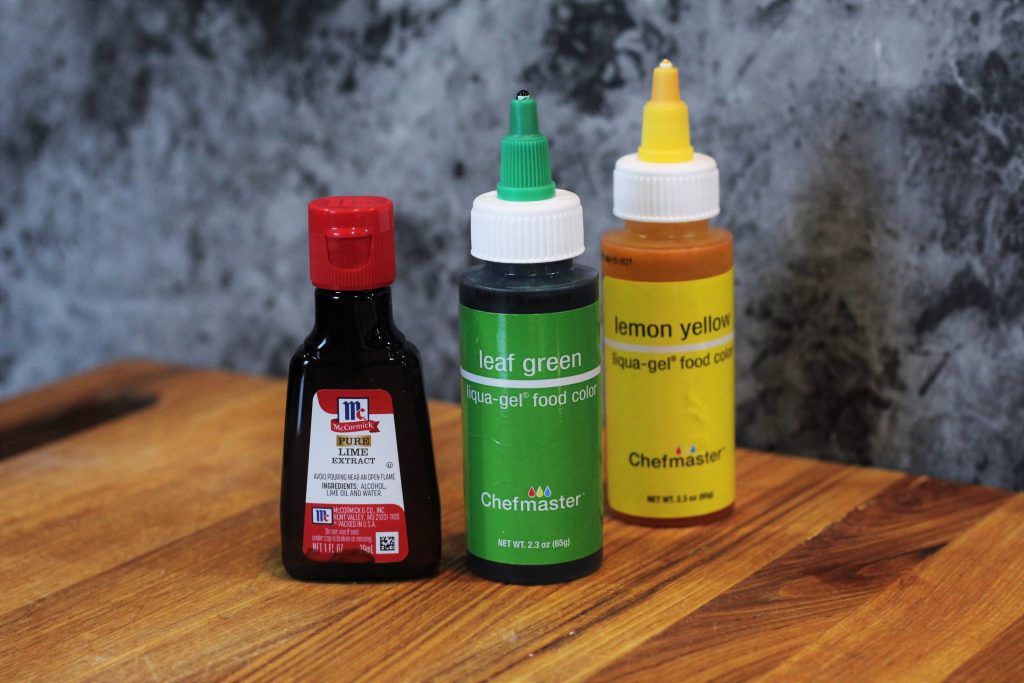
Adding a little bit of lime extract will create a very strong, punchy lime flavor. If you want a more mellow, smooth flavor leave it out.
Naturally this ice cream will have off-white, barely there green color. If you want a more colorful lime green color you can add some food coloring.
If you can’t find “lime” food coloring, you can make your own by using 3 parts yellow, 1 part green.
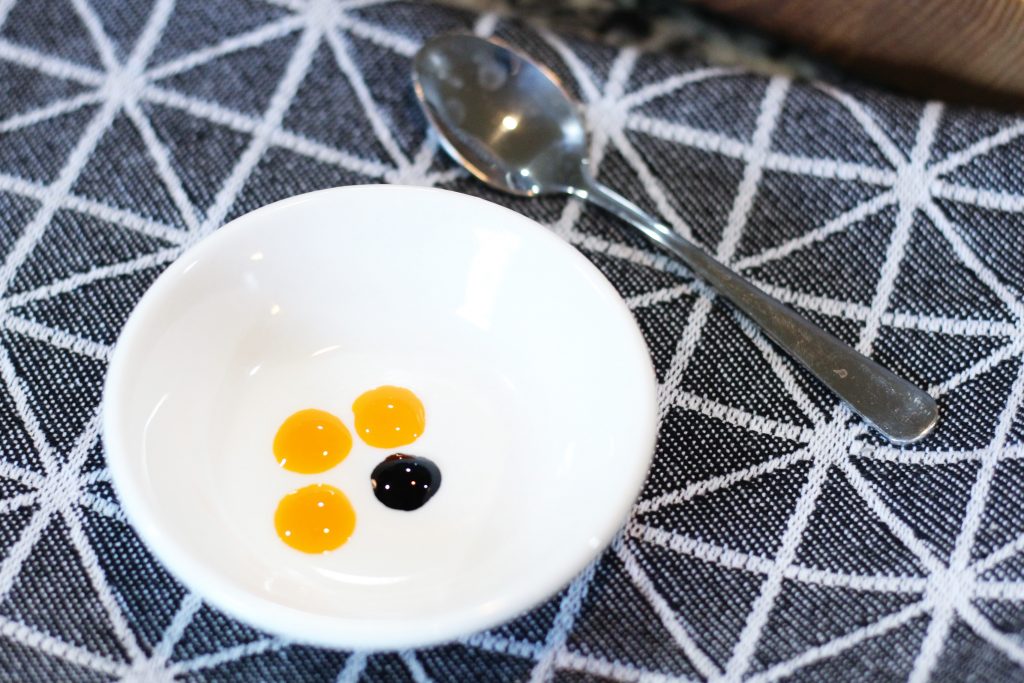
I mixedg mine in a little sauce bowl, 1- for the photo and 2- because I want just a hint of color and 4 drops would be too much for that.
But if you want a strong green color go ahead and add 3 drops yellow and 1 drop green directly to the mix.
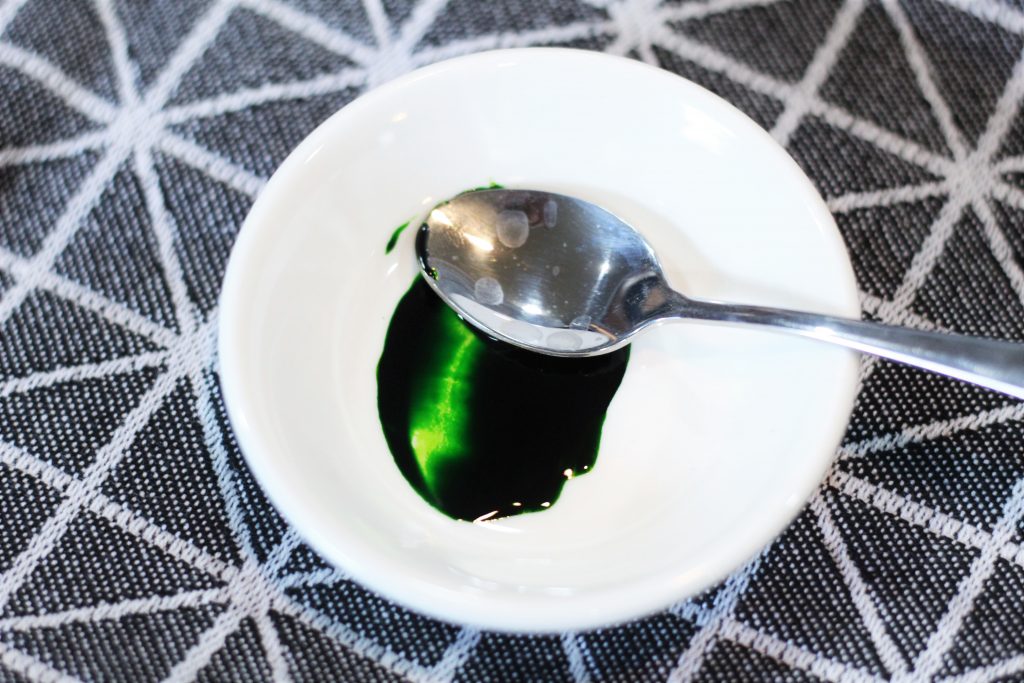
This is the finished “lime green” food coloring mix. I used about a fourth of the mix.
Before
After
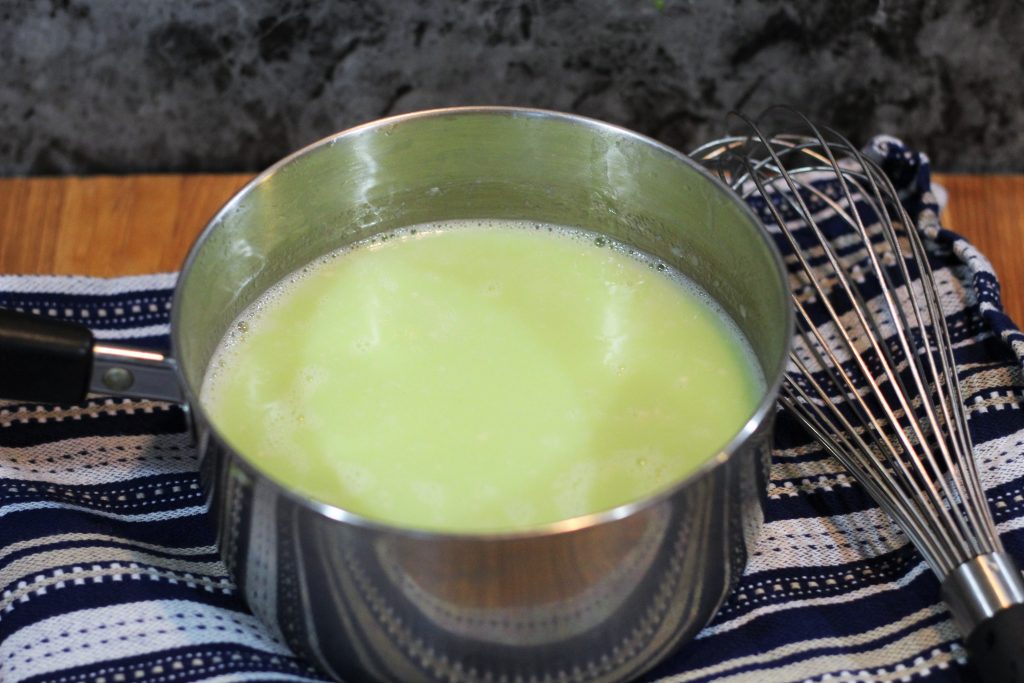
Stir the ice cream mix over low heat until sugar has fully melted and mixture is warm.
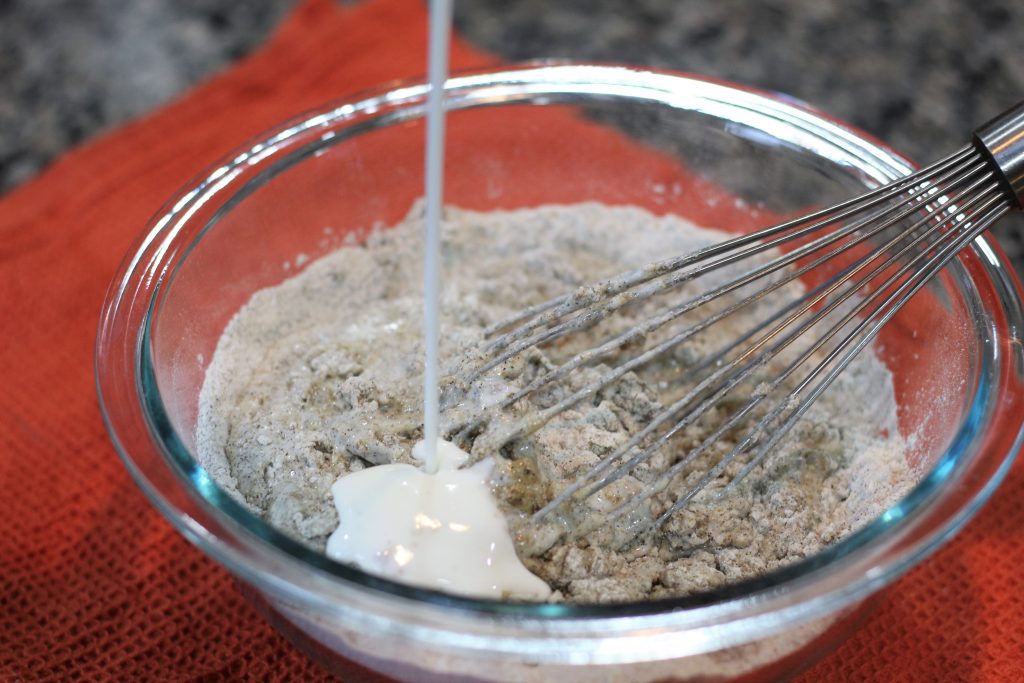
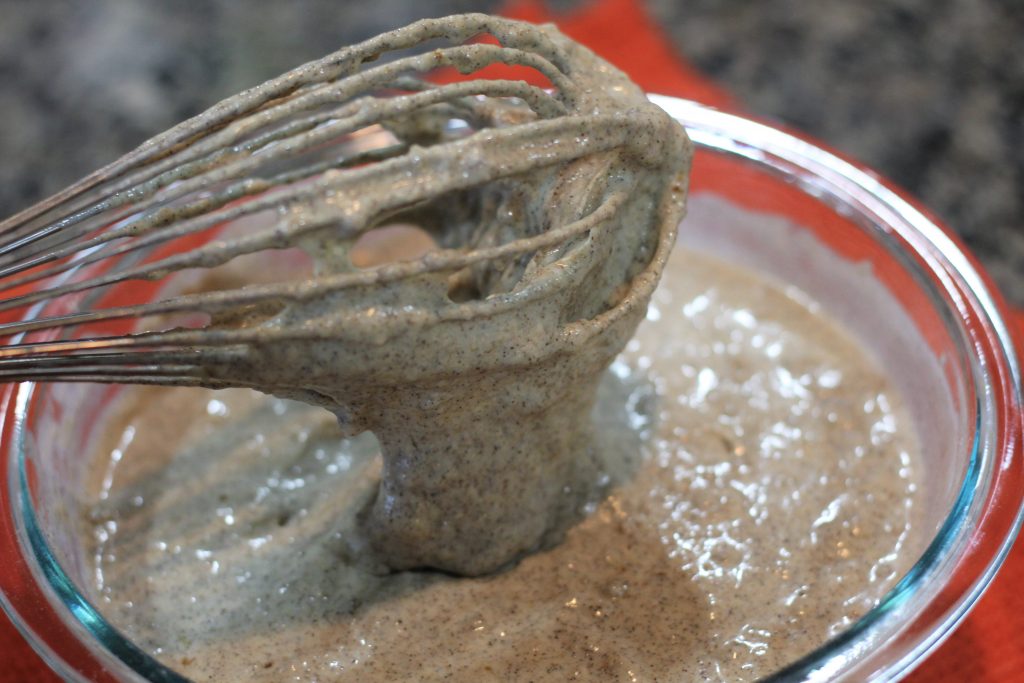
Gradually stream the cornstarch mixture into the saucepan while whisking non-stop. Once everything has been incorporated, whisk continually until the mixture comes to a soft boil.
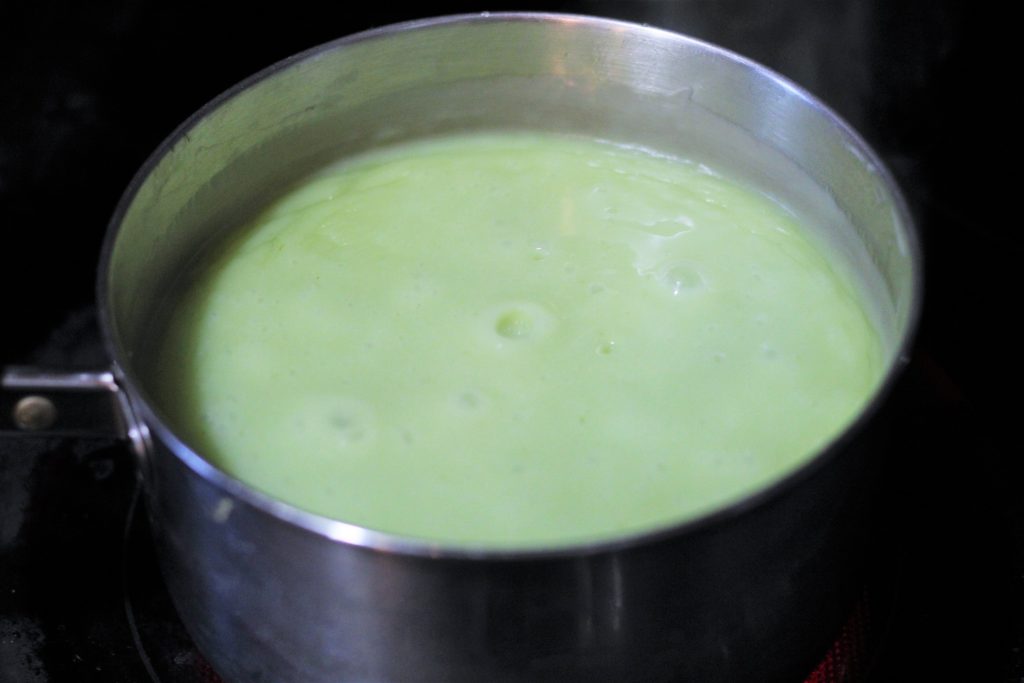
Strain the mixture into a large measuring cup or pitcher to remove any lumps. Stir in the lime juice. The lime juice is getting added at the end here to keep it bright and tart.
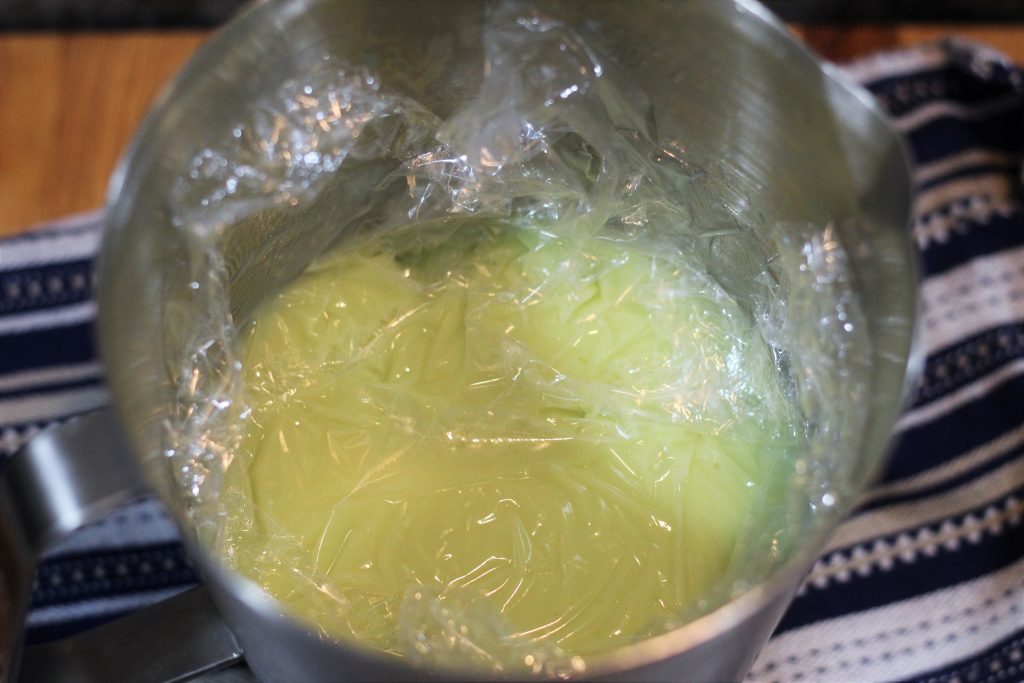
Press plastic wrap against the surface of the mixture so a skin does not form.
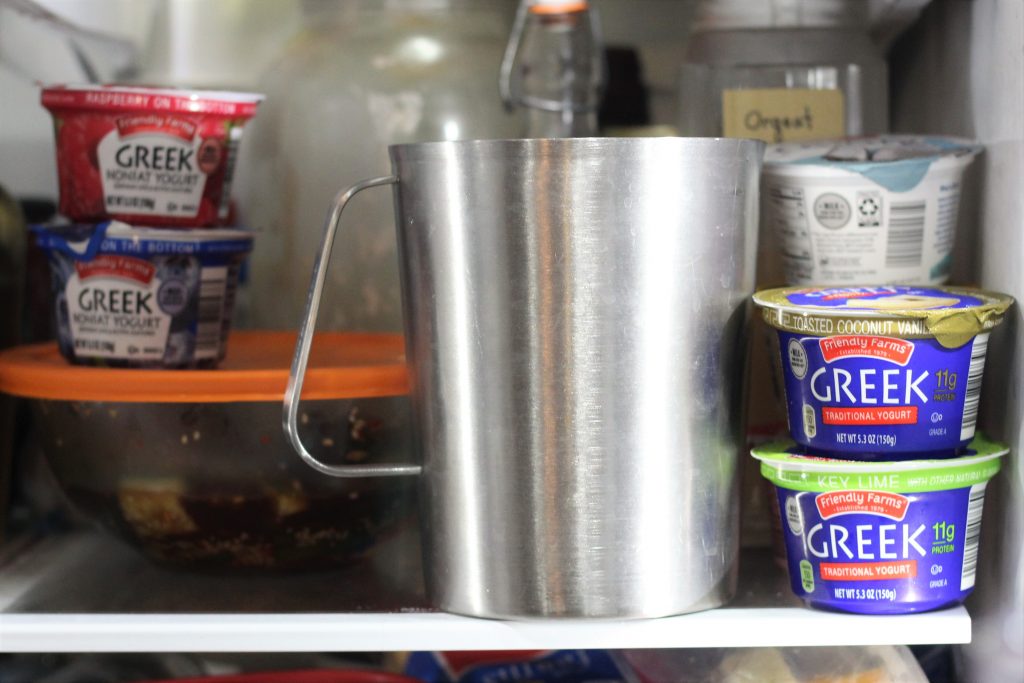
Place in the refrigerator next to all your yogurt cups and fully chill. You want the ice cream mix to be as cold as possible so when it goes into the ice cream maker it’ll freeze faster, which will make smaller ice crystals which means a smoother texture.
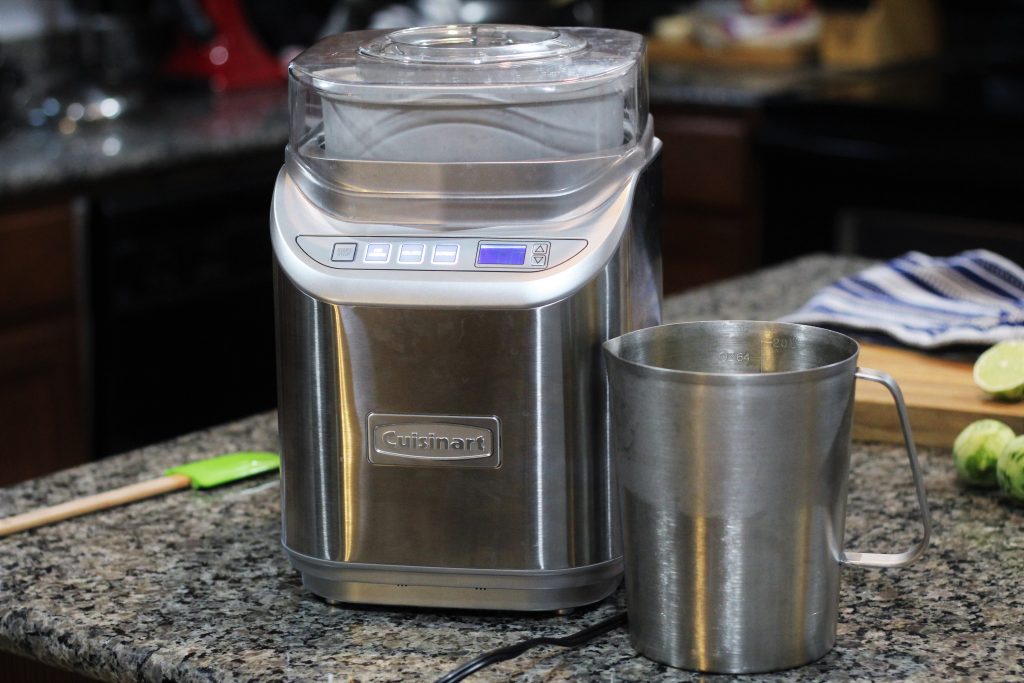
Churn in an ice cream maker, following the machine’s instructions. You could make this recipe and use a “no churn” or “no machine” method, but the result won’t be as airy and smooth. An ice cream machine will freeze the mixture faster, creating smaller ice crystals, and churning will introduce air, making the ice cream lighter.
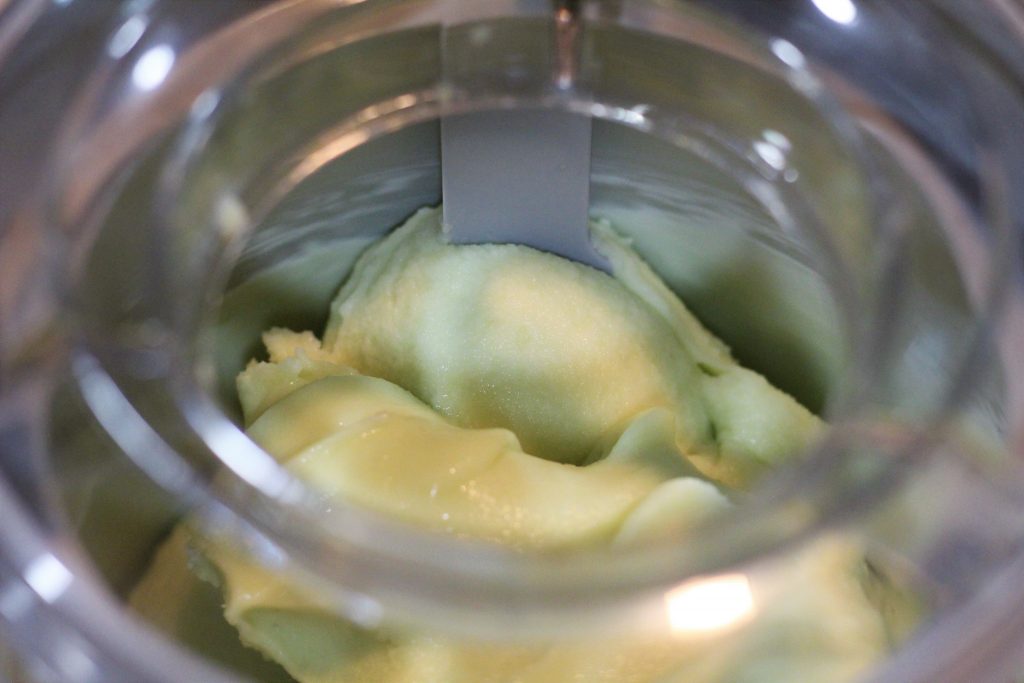
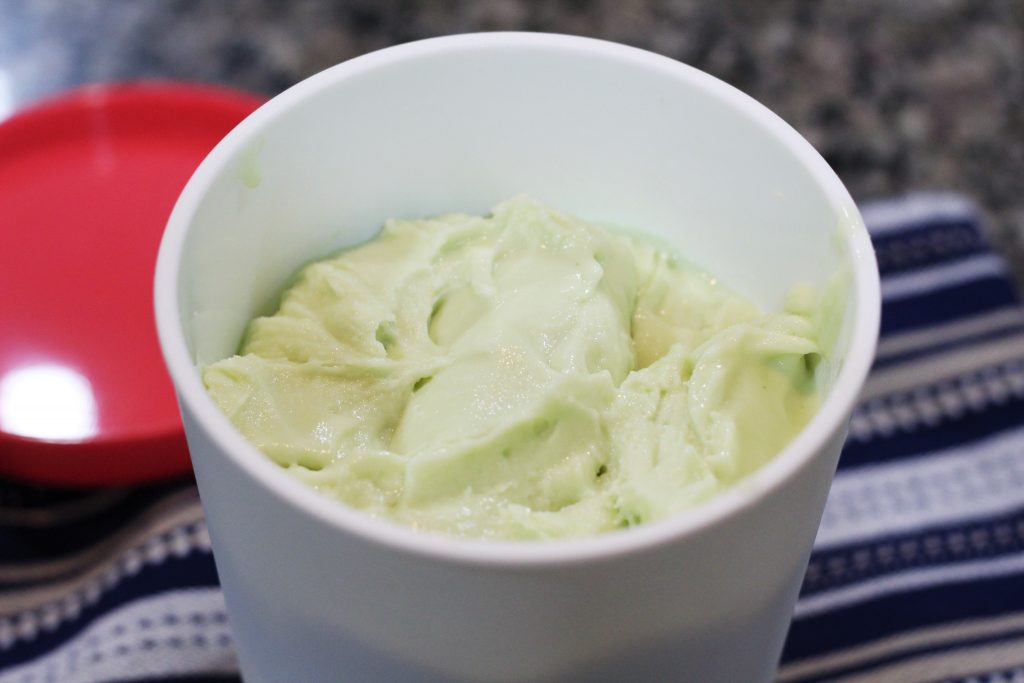
Once out of the ice cream maker, place in an airtight container, cover, and freeze for at least 3 hours to allow it to further firm up.
Lime Coconut Ice Cream [makes about 1 quart]
1 400-ml can coconut milk
2 tablespoons cornstarch
1 400-ml can coconut cream
3 tablespoon lime zest (from 2-4 limes)
¼ teaspoon xanthan gum
¼ teaspoon salt
⅔ cup sugar
2 tablespoons lime juice (from 1-3 limes)
Optional: 1/2 teaspoon lime extract
Optional: lime green gel food coloring (or 3 parts yellow + 1 part green)
In a small bowl or cup pour ½ cup coconut milk. Whisk in the cornstarch until completely combined.
In a saucepan combine the coconut cream, remaining coconut milk, and lime zest. Over medium heat bring to a boil, stirring frequently. Remove from the heat, cover, and let sit for 30 minutes.
Strain the zest out of the coconut mix. Return to a clean saucepan with the xanthan gum, salt, and sugar, and any optional extract or food coloring. Whisk to combine. Stir over low heat until sugar has fully melted and mixture is warm.
Gradually stream the cornstarch mixture into the saucepan while whisking non-stop. Once everything has been incorporated, whisk continually until the mixture comes to a soft boil.
Strain the mixture into a large measuring cup or pitcher to remove any lumps. Stir in the lime juice. Press plastic wrap against the surface of the mixture so a skin does not form. Place in the refrigerator until fully chilled.
Churn in an ice cream maker, following the machine’s instructions. Once out of the ice cream maker, place in an airtight container, cover, and freeze for at least 3 hours to allow it to further firm up.
Recent Comments