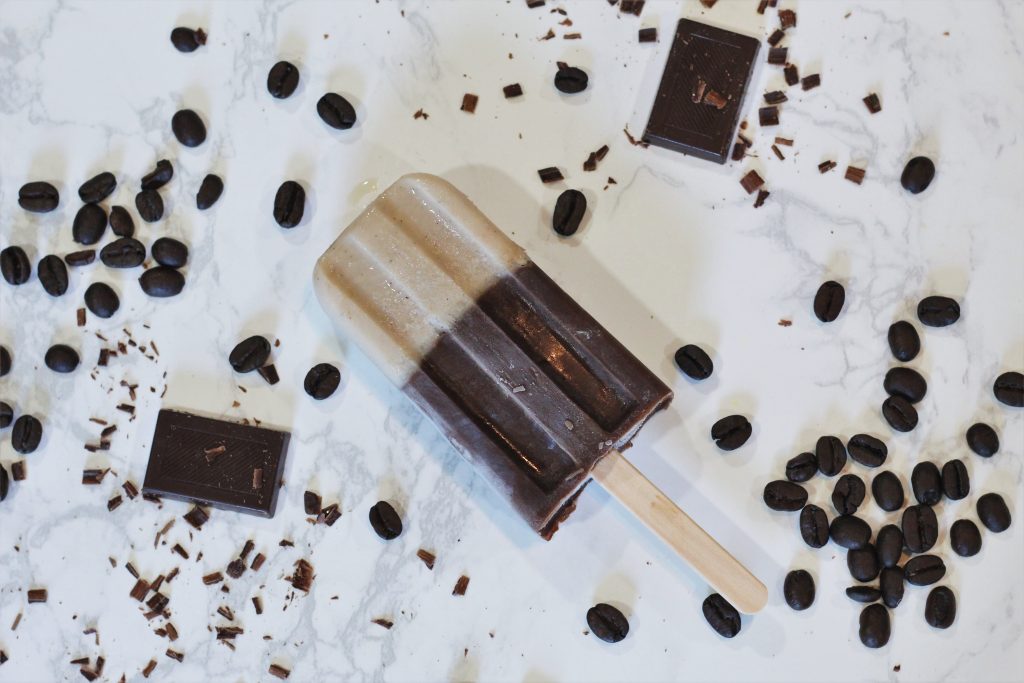
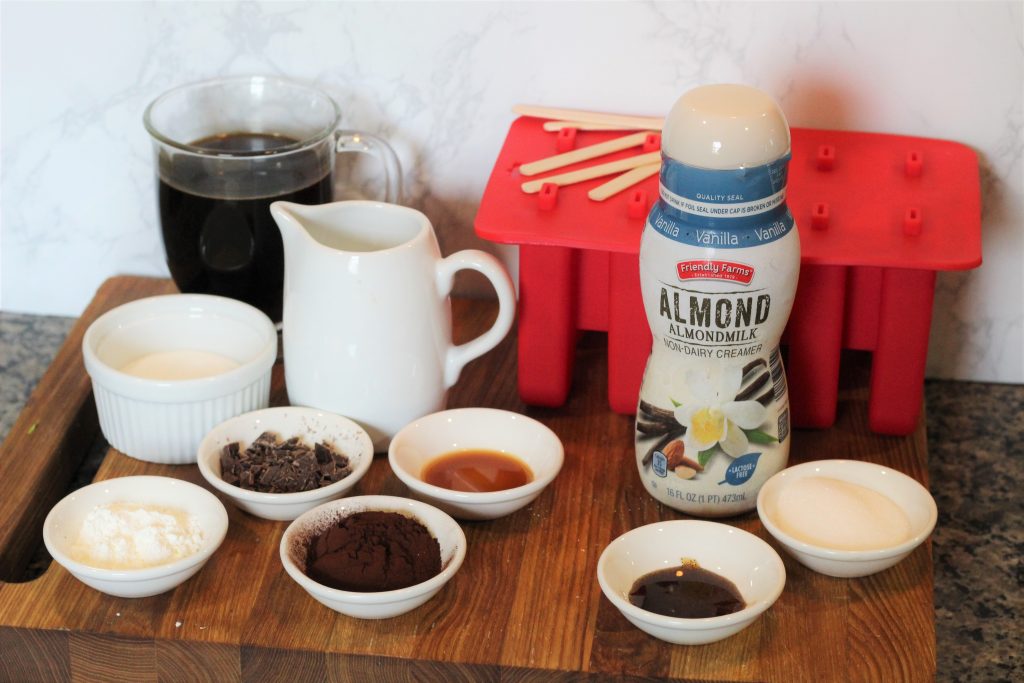
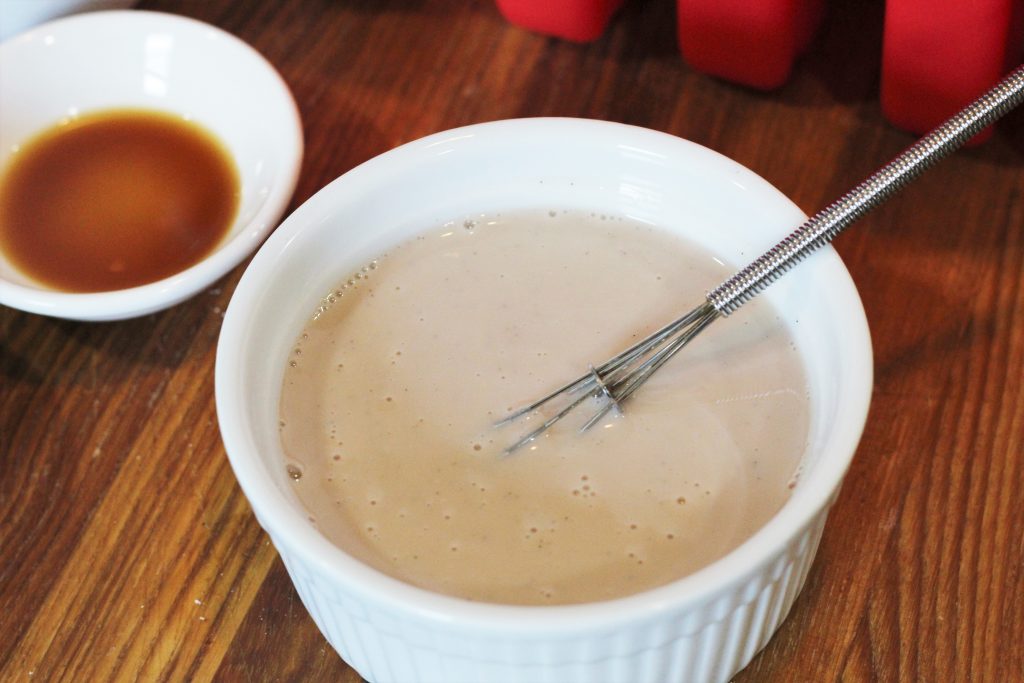
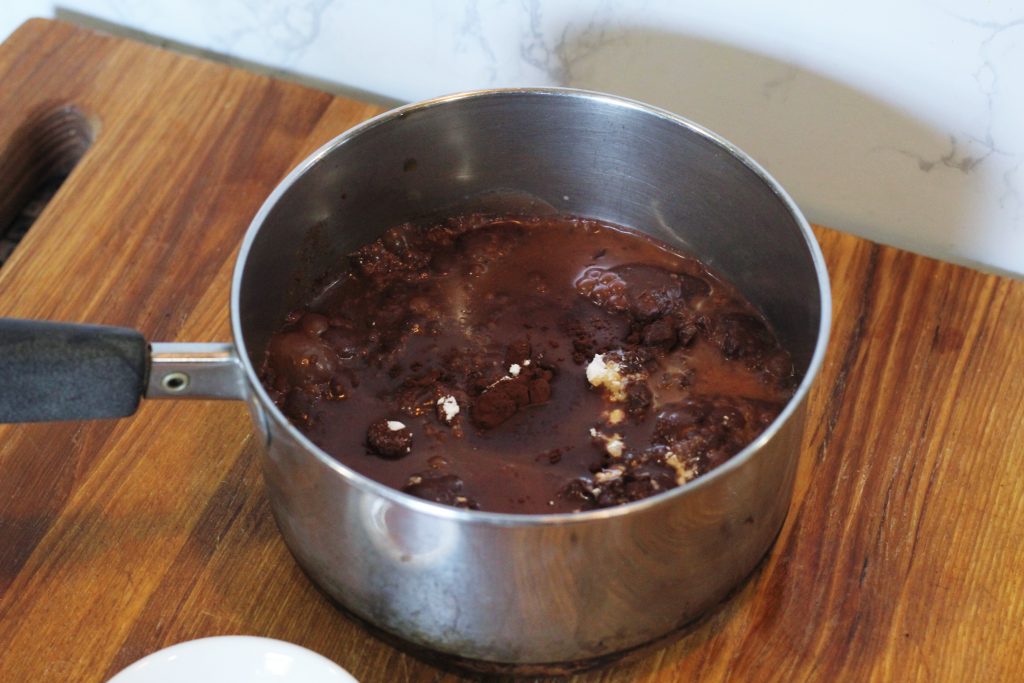
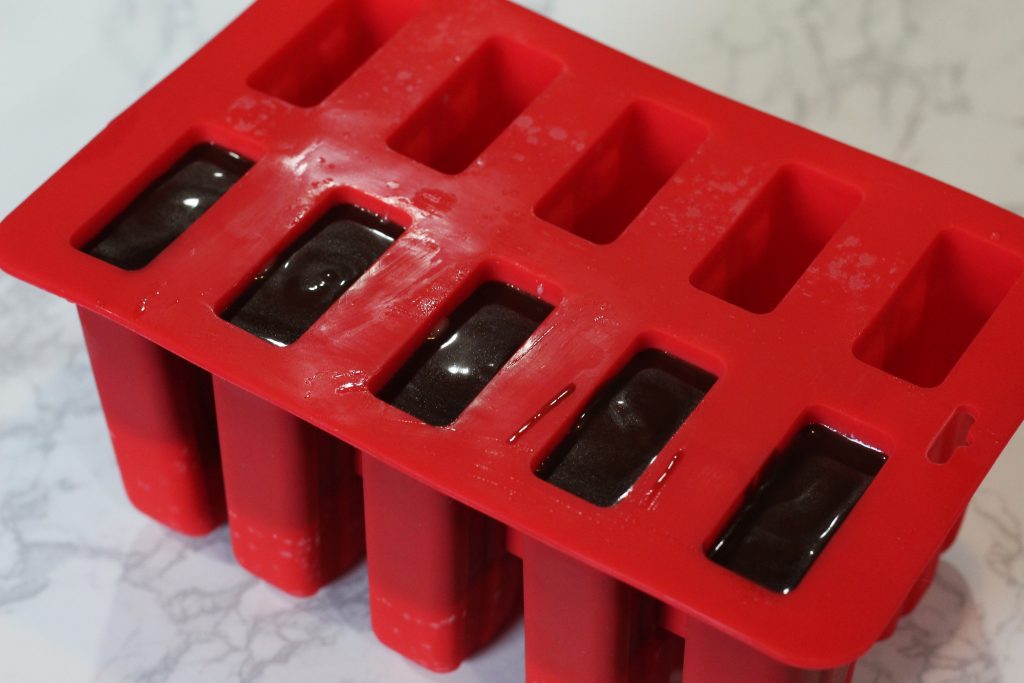
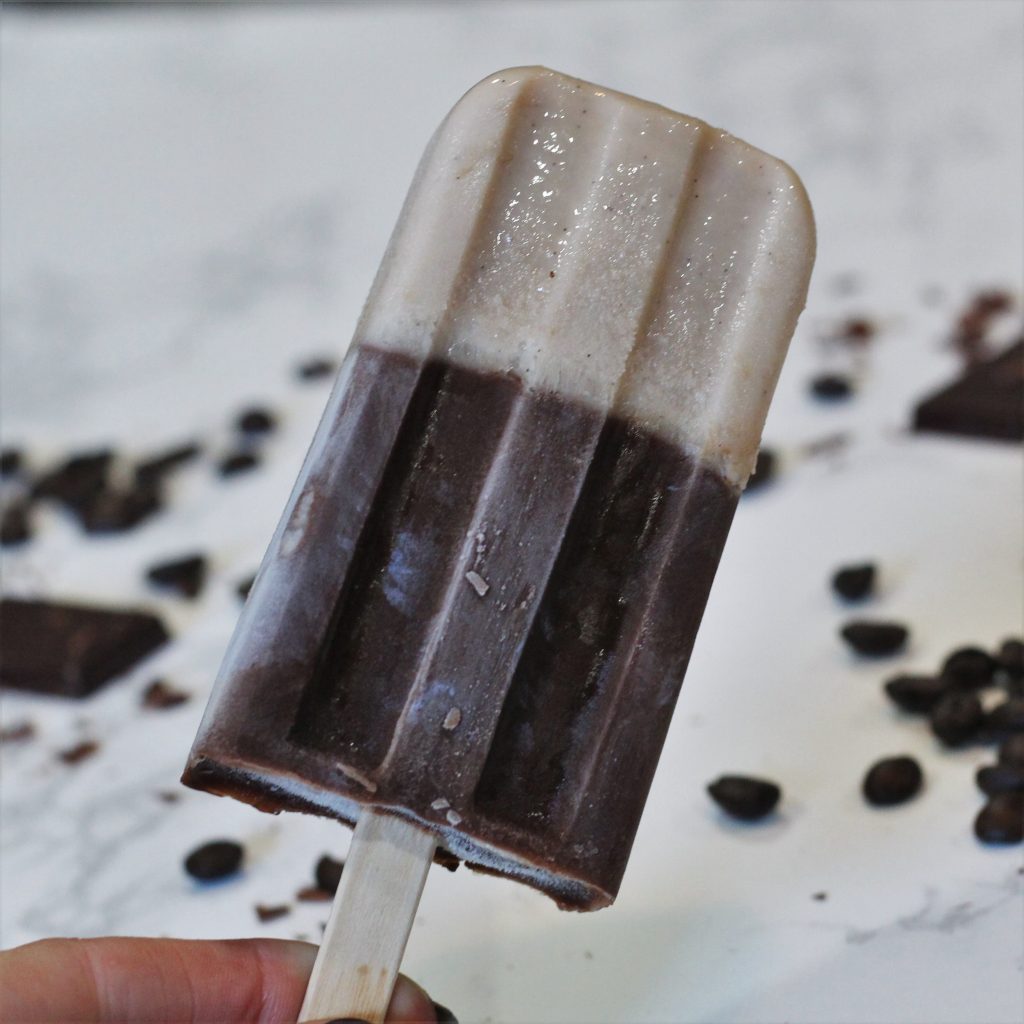
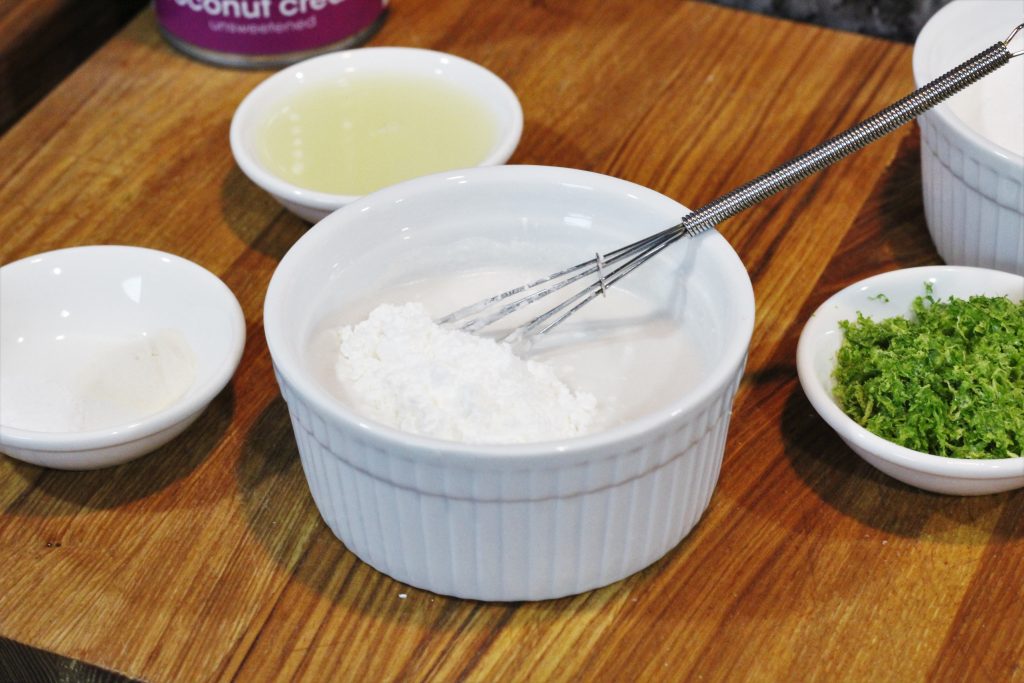
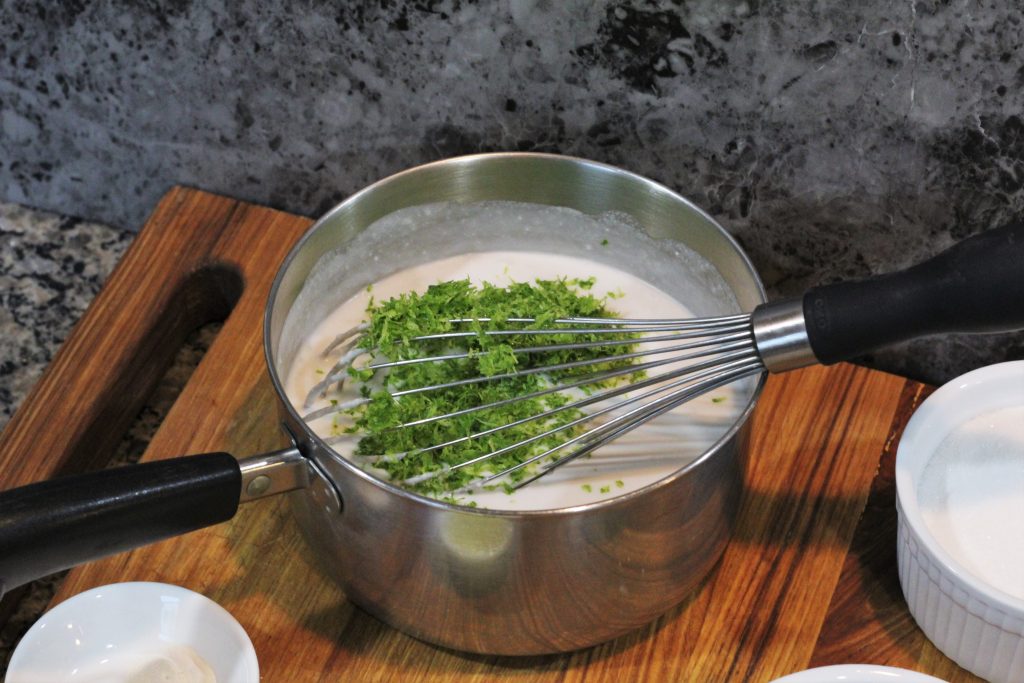
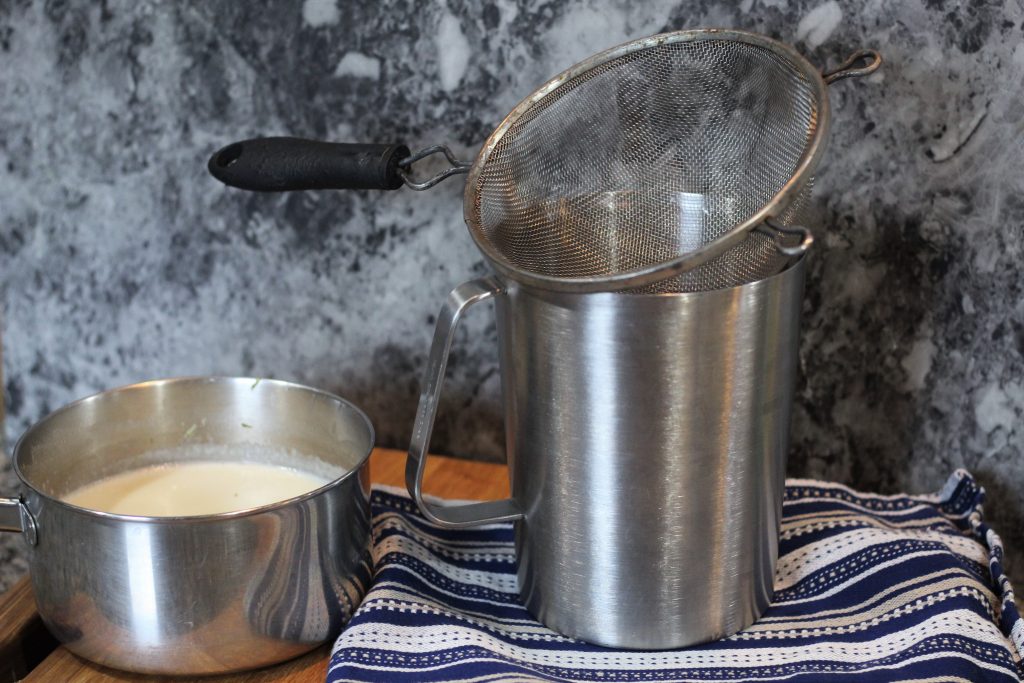
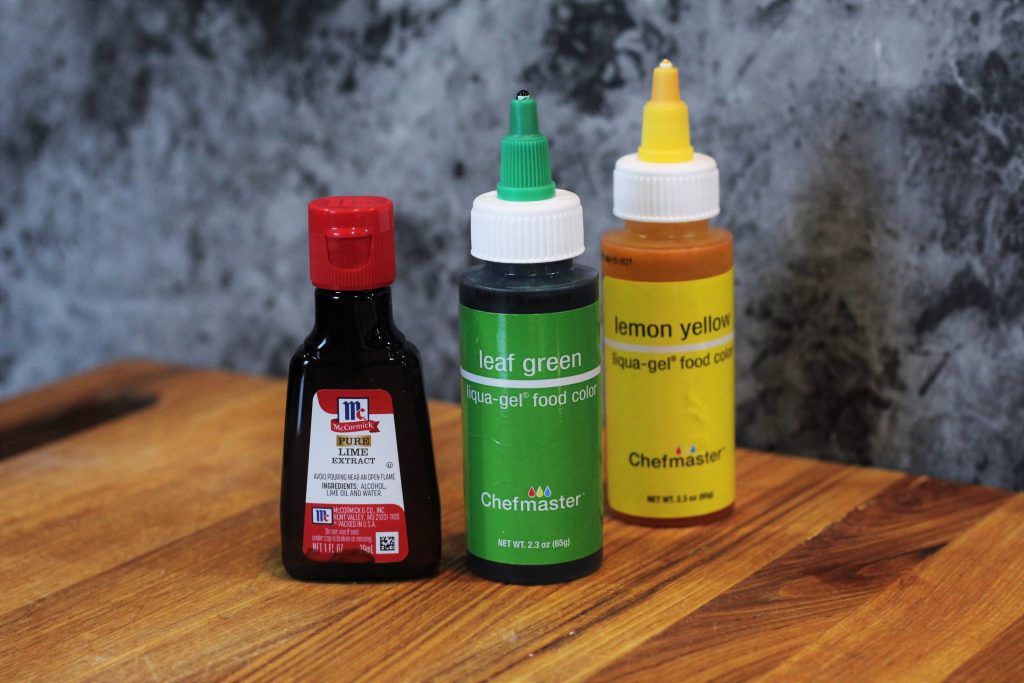
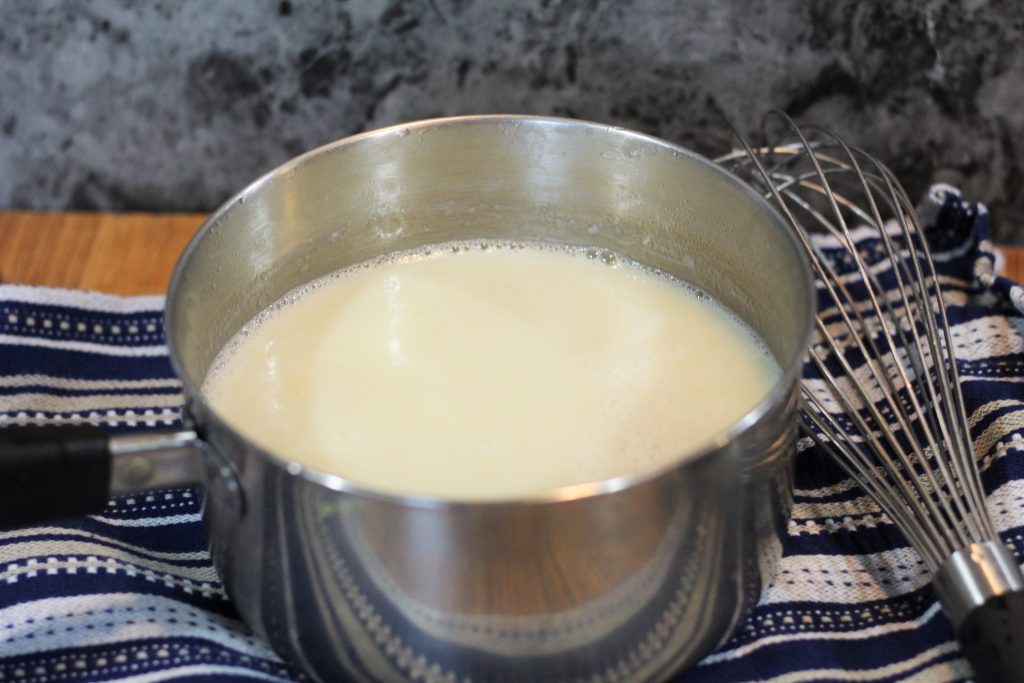
For part two of our popsicle series we have Xianna’s Creamy Caf Popsicles! These popsicles have never been directly referenced on the show, but they are heavily influenced by Xianna’s well known love of caf (with and without added whiskey). This caffeine-filled treat has a creamy vanilla layer and a rich chocolate and cold brew layer.

All the ingredients

For the creamy layer we have half-and-half or creamer (we’re using an almond milk creamer), sugar, vanilla bean paste, and a small pinch of salt.

For the mocha layer we have sugar, cornstarch, cocoa powder, chocolate, cold brew coffee, milk or dairy alternative, vanilla extract, and a pinch of salt. We used homemade cold brew and unsweetened almond milk, but store-bought cold brew works great and any dairy or dairy alternative should be fine.

Creamy layer mix

Mocha layer mix

Everything for the creamy layer gets mixed together and then distributed evenly amongst the popsicles molds. Place the mold in the freezer for them to set.

While that layer freezes we’ll make the mocha layer. Heat the sugar, cornstarch, cocoa, chocolate, coffee and milk in a saucepan over medium heat, stirring constantly until until the mixture thickens. Remove it from the heat and whisk in the vanilla extract and salt.

Both layers in the mold

Once the mocha mixture has cooled down fill in the molds. Place the popsicle sticks and put the mold back in the freezer until fully set.

Xianna’s Creamy Caf Popsicles [makes 8-12 popsicles, depending on mold size]

1 cup creamer or half-and-half
3 tablespoons sugar
1 teaspoon vanilla bean paste
Pinch salt

1/2 cup sugar
2 tablespoons cornstarch
3 tablespoons cocoa powder
3 tablespoons chopped chocolate
1 1/2 cups cold brew coffee
1 cup milk or dairy alternative
1 teaspoon vanilla extract
Pinch salt

In a large measuring cup or bowl, whisk together the half and half, sugar, vanilla bean paste, and salt. Fill up the popsicle molds with about 1 to 2 ounces of cream mixture. Place the pops in the freezer to let this layer firm up for 30 to 60 minutes.

Heat the sugar, cornstarch, cocoa, chocolate, coffee and milk in a saucepan over medium heat, stirring constantly until until the mixture thickens. Remove it from the heat and whisk in the vanilla extract and salt. Let the mixture cool to room temperature.

Once cooled, remove the molds from the freezer and finish filling each mold with the cold brew mixture. Freeze the pops for 4 to 6 hours.

In episode 23 the crew treats themselves to some ice cream. They get pistachio, lime, and salted caramel. Pistachio and salted caramel are easy enough to find in the grocery store, but lime can sometimes be tricky to get (outside of sherbet and sorbet). So today we’re making lime ice cream and using coconut milk as the base. This adds a wonderful hint of coconut flavor, and keeps the recipe vegan.

Waffle cone bowl with scoops of lime ice cream topped with coconut flakes and a lime slice.
Scoop into a waffle cone and top with coconut flakes!

The ingredients for the recipe laid out on a cutting board.

This ice cream uses coconut milk and coconut cream in place of traditional dairy. Coconut cream and milk have higher fat contents than many other non-dairy alternatives and will give your ice cream a smooth, creamy taste.

Cornstarch and xantham gum are used as thickeners and binders. They will keep the coconut fat from separating out of the mixture and make the base thicker which will create a richer mouthfeel.

Xantham gum is a soluble fiber and bags of it can usually be found in the baking aisle. Most grocery stores I’ve been to carry the Bob’s Red Mill brand. If you can’t find it, or don’t want to buy a whole bag for one recipe you can leave it out.

Coconut milk and cornstarch being mixed in a small bowl.
Tiny whisk not required.

In a small bowl or cup pour ½ cup coconut milk. Whisk in the cornstarch until completely combined. Mixing the cornstarch into a small amount of liquid will make it easy to combine and prevent clumps.

This will get set to the side to be used later.

A saucepan with coconut milk and cream and lime zest being whisked together.

In a saucepan combine the coconut cream, remaining coconut milk, and lime zest. 

Over medium heat bring to a boil, stirring frequently.

An R2-D2 kitchen timer set to 30 minutes with a covered saucepan in the background.
R2 units are quite helpful in the kitchen.

Remove from the heat, cover, and tell your R2 unit to set a timer for 30 minutes.

This will infuse the coconut milk with all the flavor in the zest.

A fine wire strainer atop a metal pitcher.
Any sort of fine wire strainer should work.

Strain the zest out of the coconut mix. At this point the zest has given up its flavor and removing it will give a smoother texture to the ice cream.

Return to a clean saucepan with the xanthan gum, salt, and sugar, and any optional extract or food coloring.

a bottle of lime extract, "leaf green" food coloring, and "lemon yellow" food coloring.

Adding a little bit of lime extract will create a very strong, punchy lime flavor. If you want a more mellow, smooth flavor leave it out.

Naturally this ice cream will have off-white, barely there green color. If you want a more colorful lime green color you can add some food coloring.

A little ceramic bowl with 3 drops yellow food coloring and 1 drop green.  A tiny spoon is in the background.
Tiny spoon not required.

If you can’t find “lime” food coloring, you can make your own by using 3 parts yellow, 1 part green.

I mixedg mine in a little sauce bowl, 1- for the photo and 2- because I want just a hint of color and 4 drops would be too much for that.

But if you want a strong green color go ahead and add 3 drops yellow and 1 drop green directly to the mix.

A small ceramic bowl with mixed food coloring and tiny spoon.
Look at the beautiful color!

This is the finished “lime green” food coloring mix. I used about a fourth of the mix.

Ice cream base before food coloring. Off-white, barest hint of green.

Before

Ice cream base after food coloring. A very pale lime green.

After

Ice cream base boiling in a saucepan.

Stir the ice cream mix over low heat until sugar has fully melted and mixture is warm.

Gradually stream the cornstarch mixture into the saucepan while whisking non-stop. Once everything has been incorporated, whisk continually until the mixture comes to a soft boil.

The ice cream base in a metal pitcher with plastic wrap pushed against the surface of the ice cream base.

Strain the mixture into a large measuring cup or pitcher to remove any lumps. Stir in the lime juice. The lime juice is getting added at the end here to keep it bright and tart.

Press plastic wrap against the surface of the mixture so a skin does not form.

The metal pitcher on a shelf in a fridge.
Maybe there’s too much yogurt.

Place in the refrigerator next to all your yogurt cups and fully chill. You want the ice cream mix to be as cold as possible so when it goes into the ice cream maker it’ll freeze faster, which will make smaller ice crystals which means a smoother texture.

A Cuisinart ice cream machine on a counter with the metal pitcher beside it.

Churn in an ice cream maker, following the machine’s instructions. You could make this recipe and use a “no churn” or “no machine” method, but the result won’t be as airy and smooth. An ice cream machine will freeze the mixture faster, creating smaller ice crystals, and churning will introduce air, making the ice cream lighter.

Ice cream being churned.
Look at that creaminess.

Once out of the ice cream maker, place in an airtight container, cover, and freeze for at least 3 hours to allow it to further firm up.

Ice cream in a reusable ice cream quart container.
Use a reusable ice cream container or a tupperware.

Lime Coconut Ice Cream [makes about 1 quart]

1 400-ml can coconut milk
2 tablespoons cornstarch
1 400-ml can coconut cream
3 tablespoon lime zest (from 2-4 limes)
¼ teaspoon xanthan gum
¼ teaspoon salt
⅔ cup sugar
2 tablespoons lime juice (from 1-3 limes)
Optional: 1/2 teaspoon lime extract
Optional: lime green gel food coloring (or 3 parts yellow + 1 part green)

In a small bowl or cup pour ½ cup coconut milk. Whisk in the cornstarch until completely combined.

In a saucepan combine the coconut cream, remaining coconut milk, and lime zest. Over medium heat bring to a boil, stirring frequently. Remove from the heat, cover, and let sit for 30 minutes.

Strain the zest out of the coconut mix. Return to a clean saucepan with the xanthan gum, salt, and sugar, and any optional extract or food coloring. Whisk to combine. Stir over low heat until sugar has fully melted and mixture is warm.

Gradually stream the cornstarch mixture into the saucepan while whisking non-stop. Once everything has been incorporated, whisk continually until the mixture comes to a soft boil.

Strain the mixture into a large measuring cup or pitcher to remove any lumps. Stir in the lime juice. Press plastic wrap against the surface of the mixture so a skin does not form. Place in the refrigerator until fully chilled.

Churn in an ice cream maker, following the machine’s instructions. Once out of the ice cream maker, place in an airtight container, cover, and freeze for at least 3 hours to allow it to further firm up.

Waffle cone bowl with scoops of lime ice cream topped with coconut flakes and a lime slice.

Ah yes, the bug-monkey meatballs again. Or is it monkey-bug? For a creature we made up ourselves we sure don’t know anything about it. This week we’re bringing you another version of these little cocktail appetizers. This time they’re made out of mushrooms and lentils. And before you even say “but I don’t like mushrooms” know that once they’re minced, fried, and mixed in you can’t tell they’re there. We promise! A few of our squad mates down right hate mushrooms, but love these.

Faux Bug-Monkey Meatballs


These little meat-less balls are similar to our original Bug-Monkey Meatballs, with a few differences. The biggest is a base of lentils and mushrooms instead of pork and fish. Since the lentils and mushrooms are on the softer side there’s also less soy sauce with more cornstarch and breadcrumbs to help them bind together. Because the mixture is a bit softer they are also baked instead of pan fried. The sauce is almost the same with the exception of the removal of the fish sauce and extra soy sauce to compensate for it.


Ingredients. Piled artistically. Because we could.


The lentils are first cooked in vegetable stock and liquid smoke to give them some extra flavor. Once they’re soft and all the liquid has been absorbed three-fourths get pureed in a food processor. Pureeing some of the lentils creates a base that is easy to form and binds well, while keeping some of the lentils whole gives the “meat”balls more texture so they don’t end up mushy.


Then mushrooms are cooked in a mixture of vegetable oil and coconut oil. The coconut oil will firm up while the mixture rests in the fridge and make these easier to roll into balls, but will melt when cooked and help keep things “juicy”. Once all the moisture from the mushrooms has cooked out and they become crispy we add the garlic and ginger for a minute to release their flavor.


“Meat”ball mixture


Everything is then mixed together and put in the fridge for an hour. This rest time lets the coconut oil solidify. Towards the end of the rest time preheat the oven. We tried pan frying these, like the original Bug-Monkey Meatballs, and it did not work well. The softer mix didn’t hold up and they fell apart. If you are set on pan frying these and are fine with them not being vegan you can add an egg to help create a tighter bind.


“Meat”balls on the baking tray.

Use about a tablespoon of filling and roll into little balls. Make sure you line your baking sheet with either parchment paper or a silicone mat. Don’t use tin foil. These little suckers will stick to the foil.  Bake for 30 minutes, flipping them around every 10 minutes.


While they bake, make the sauce. It’s almost exactly the same as the sauce from the original recipe, except you’ll use the pan the mushrooms were cooked in and extra soy sauce instead of fish sauce.


Once the sauce is done and the balls are baked combine them, place in a bowl (We understand if your bowl isn’t square and fuzzy. We ourselves could only get a square bowl), garnish with green onions, and serve!


Faux-Bug-Monkey Meatballs with toothpicks!


Faux Bug-Monkey Meatballs

1 cup green or brown lentils
2 cups vegetable stock
1/4 teaspoon liquid smoke (optional)
3 tablespoons vegetable oil; divided use
3 tablespoons coconut oil; divided use
8 ounces cremini mushrooms; minced
4 cloves finely minced garlic
1 tablespoon minced or grated ginger
4 tablespoons Chinese garlic chives, finely chopped (or a mix of the green part of scallions and regular chives)
1/2 teaspoon ground Sichuan peppercorns
1 teaspoon salt
1 tablespoon sugar
2 teaspoons sesame oil
2 tablespoons soy sauce
3 tablespoons cornstarch
1/2 cup breadcrumbs

Prepare lentils by rinsing them and adding to a pot with the vegetable stock and liquid smoke. Bring to a boil, then reduce the heat down and simmer covered until all the liquid is absorbed and lentils are tender (about 15-20 minutes).

Heat 2 tablespoons vegetable oil and 2 tablespoons coconut oil over medium heat in a medium sauté pan. Add the mushrooms and cook, stirring frequently, until the mushrooms have lost all moisture and have become crispy. Add the garlic and ginger and cook until fragrant, about 1 minute. Remove from the heat.

Add 3/4 of the lentils to a food processor and pulse until a thick paste forms. Pour into a large bowl, along with the reserved lentils, the cooked mushroom mix, chives, peppercorns, salt, sugar, sesame oil, soy sauce, cornstarch, breadcrumbs, and the remaining vegetable oil and coconut oil. Stir thoroughly to combine.

Cover with plastic wrap, and place in the refrigerator for an hour.

Preheat the oven to 400 degrees F.

Form into small meatballs, about 1 tablespoon each. Place the meatballs on a parchment or sil-pat lined baking sheet. Bake for 30 minutes, rotating the balls every 10 minutes.


For the sauce:

1 clove minced garlic
1/4-1/2 teaspoon red pepper flakes
1/4-1 teaspoon ground Sichuan peppercorns
3/4 cup vegetable stock or water
3 tablespoons Shaoxing wine
2 tablespoons soy sauce
2 tablespoons Chinkiang vinegar
1 tablespoon sugar
Cornstarch slurry (2 teaspoons cornstarch dissolved into 1 tablespoon water)

To the skillet the mushrooms were cooked in, add the garlic, red peppers flakes, and Sichuan peppercorns. Stir for about 30 seconds, until the garlic is fragrant.

Add the vegetable stock, Shaoxing wine, soy sauce, vinegar, and sugar. Stir to combine, making sure to scrape up any browned bits on the bottom of the skillet left from the meatballs. Bring to a simmer.

Add the cornstarch slurry and continue to simmer for about 2 minutes, whisking constantly, until the sauce has thickened. Add the meatballs to the sauce, and stir to coat them.

Garnish with sliced green onions and serve with toothpicks.


The opening scene of our recent Jedi Adventures arc features the Jedi eating noodles at a street vendor on Coruscant. For these noodles we wanted a fast and easy recipe, since these would have needed to be dished out quickly as people ordered them. The sauce requires no cooking and can be made while the water for the noodles are boiling.

Noodles, with extra sambal oelek for serving


These noodles are seriously delicious and so easy. They’re great for weeknight dinners when you want something fast with as little effort as possible. They are also quite tasty cold, making them wonderful to pack for lunch.


Noodles!


The sauce is rich, creamy, and just a little spicy. It starts with sesame paste (sometimes called tahini) and peanut butter. Together these create the rich, luscious base of the sauce. Soy sauce and rice vinegar are added for flavor, sugar for a touch of sweetness, and sambal oelek for just a bit of heat. Then hot vegetable broth is added to thin out the sauce.


Tabletop One’s Tips:

  • Almost any type of round, Asian noodles work for this dish.
    • At normal grocery stores, look for fresh noodles in the Asian section. They will often have vacuum-sealed packets of noodles.
    • If buying dried noodles, look for “white noodles”; noodles made with white flour instead of semolina. Italian pasta is made with semolina wheat flour, which gives it its distinctive yellow color, but imparts a flavor that is not ideal for this dish.
  • Tahini can be found either with the other nut butters, or the “international” aisle, specifically the Greek or Mediterranean section.
  • Sambal oelek is a Southeast Asian chili paste and can usually be found where ever your store sells sriracha (probably the most famous maker of sriracha, Huy Fong, also makes a sambal oelek. It also has a rooster on the jar.)
  • This recipe is easily scaled up to make more than one serving.


Coruscant Street Noodles [serves 1]

6 ounces fresh wheat noodles (or 3 ounces of dried noodles)
1 tablespoon sesame paste/tahini
2 tablespoons peanut butter
1 tablespoon soy sauce
2 teaspoons rice vinegar
1 teaspoon sambal oelek chili paste, or more to taste
1/2 teaspoon sugar
1/4 cup hot vegetable broth
1 tablespoon chopped green onions

Cook the noodles according to the instructions on the package.

While the noodles are cooking, make the sauce by combining the remaining ingredients, except the green onions. Stir until it forms a smooth, even sauce.

When the noodles are cooked, drain them and toss with the sauce, and place into a bowl.

Top with the chopped green onions and serve immediately.


Scroll to top